Hello! Happy weekend. we have snow forecast so looking forward to staying in the warm with a cosy blanket and just maybe a hot chocolate.
Have you seen the Stamper's Delights Kawaii Xmas Coco Digital Stamp - It is so cute!
Hello! Happy weekend. we have snow forecast so looking forward to staying in the warm with a cosy blanket and just maybe a hot chocolate.
Have you seen the Stamper's Delights Kawaii Xmas Coco Digital Stamp - It is so cute!
Hello! Fall has finally arrived and I am loving the cooler temperatures, makes being outside so much more enjoyable!
My post today is inspiration for a Christmas card using Maker Forte products.
To add some depth to the image I repeated these steps with Lady Liberty Ink.
I used one of the sentiments from the stamp settle gorgeous font is a very fine lettering I love the way it works with the images in this set. As it's a fine detail font it needs to stand out against the dark green. Eclipse Black Ink works well for this.
The card needed more detail so using a red alcohol marker and a white gel pen I drew berries among the branches.
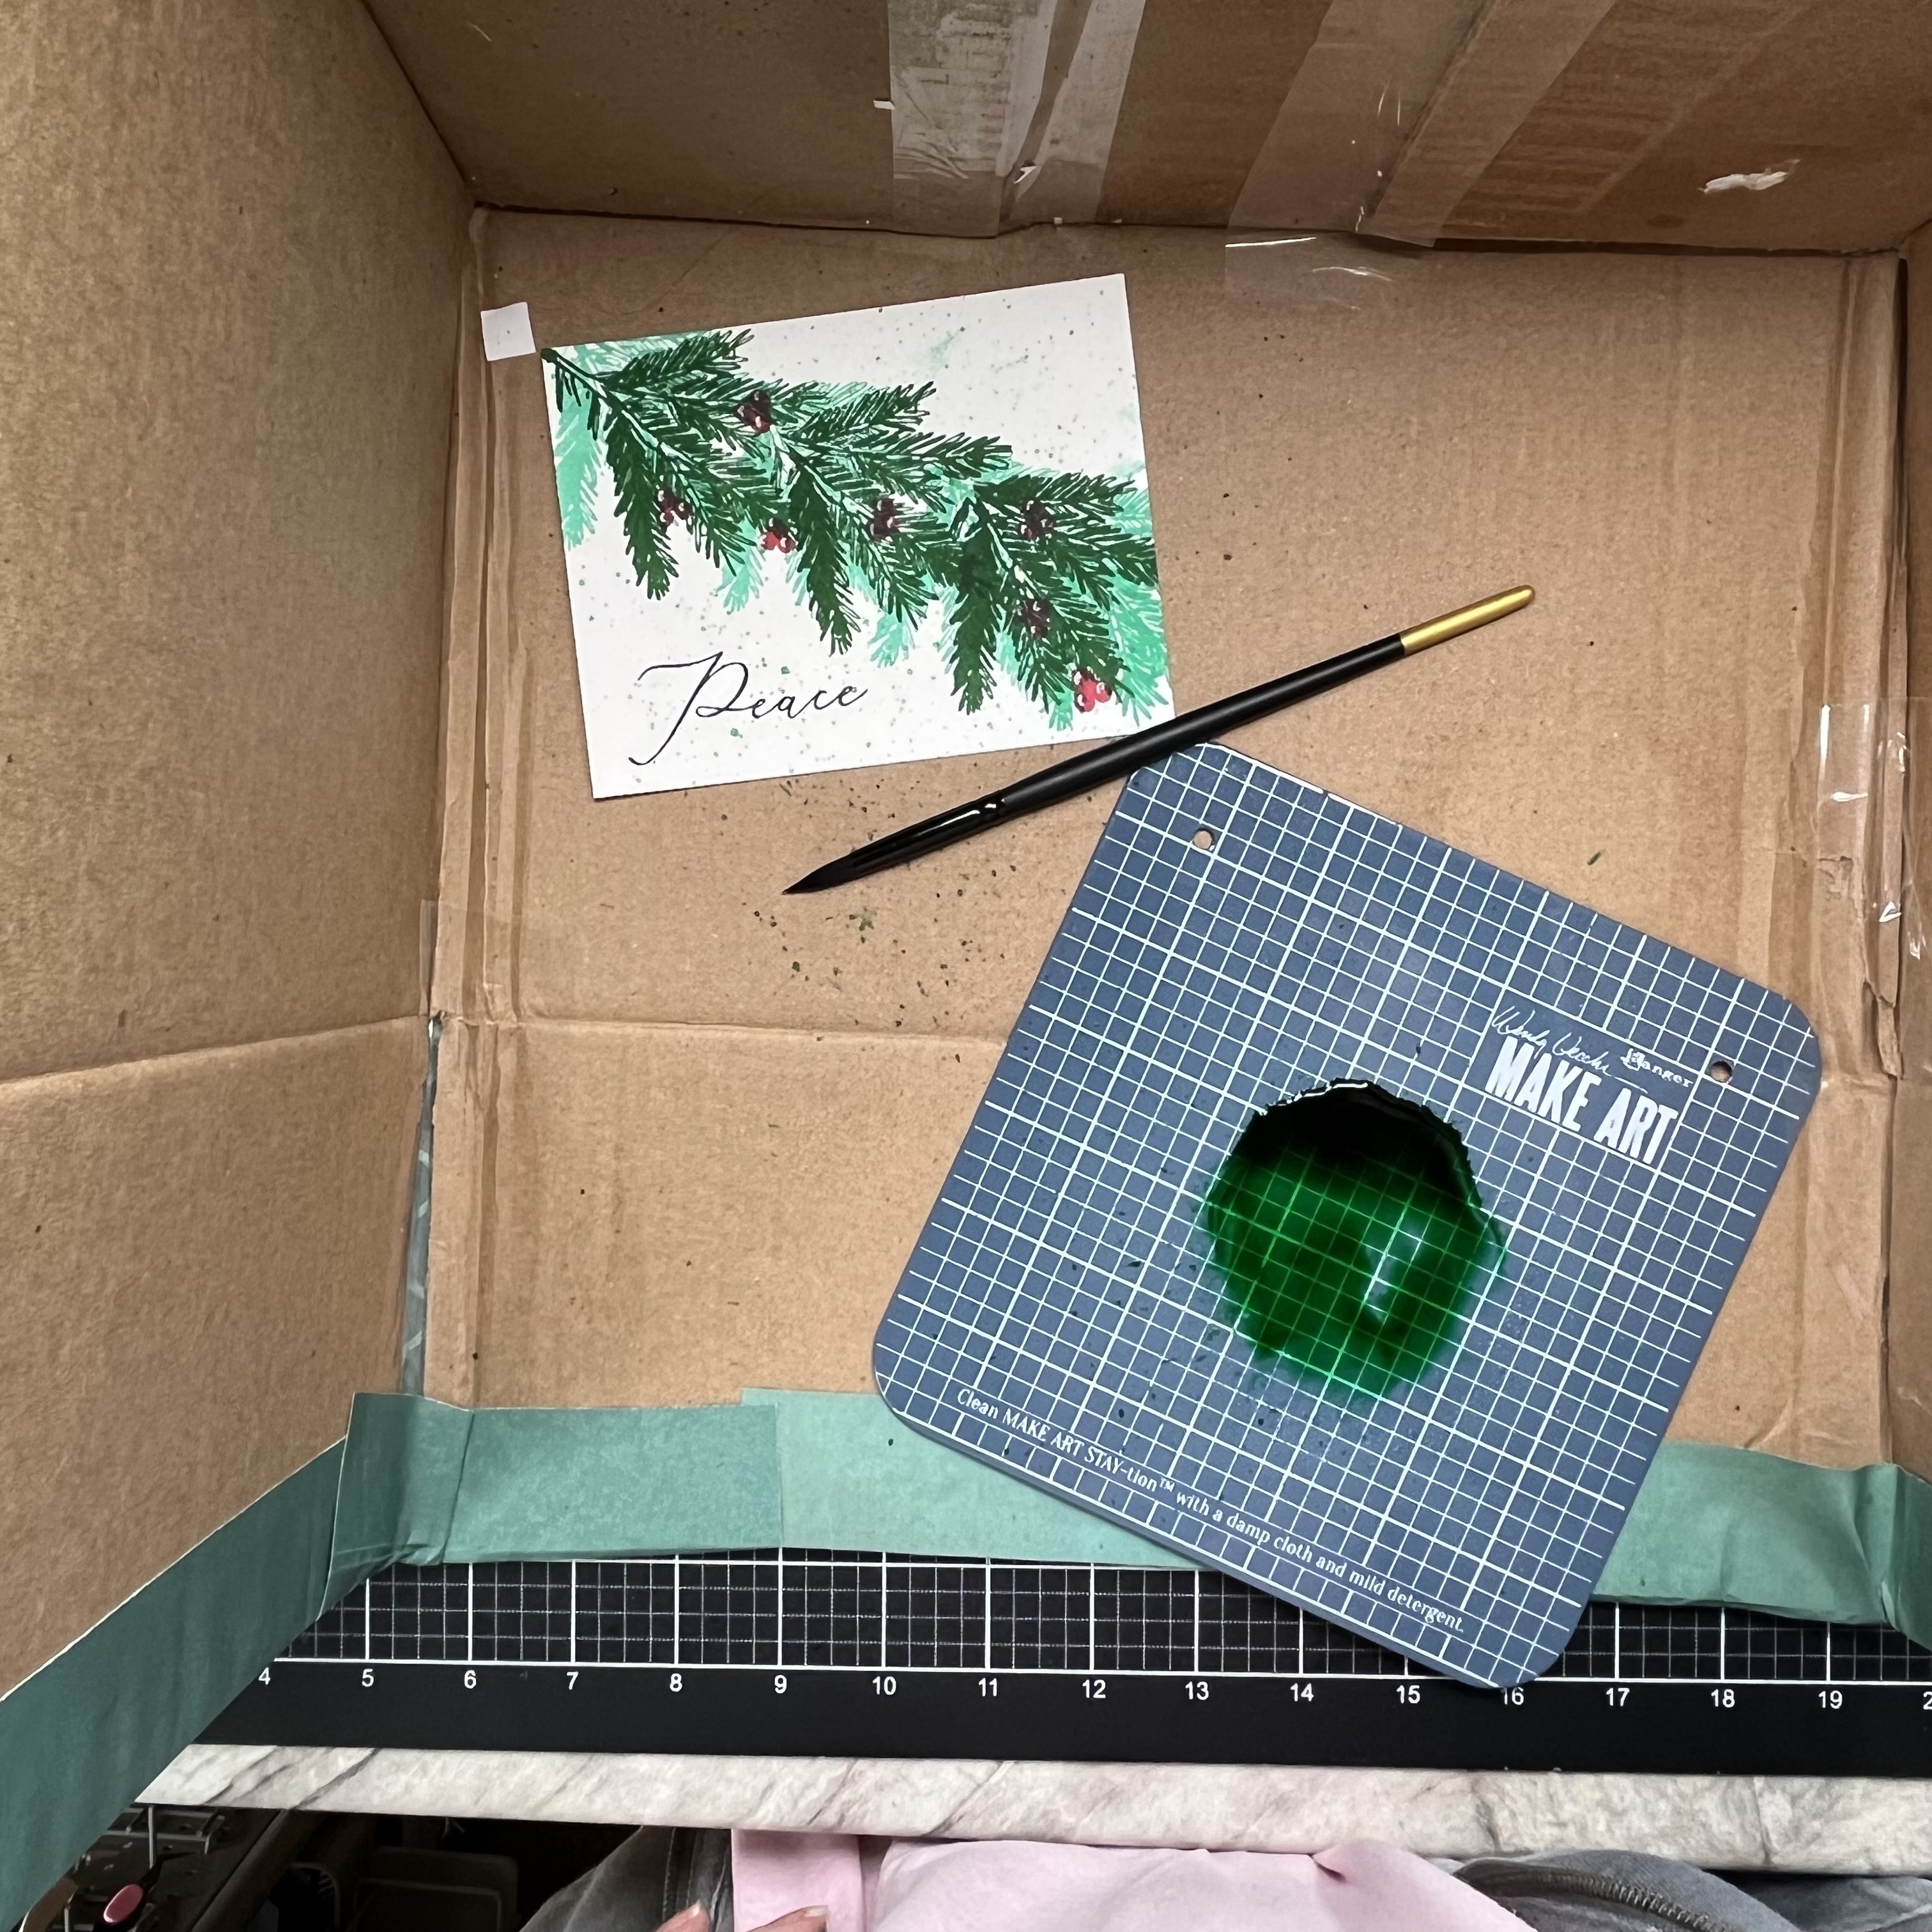
While doing this my hand smudge the green ink. I have happy accidents like this all the time, usually a cleverly placed embellishment covers this. This wouldn't have worked on this card, I pressed my ink pad onto a mat and added lots of water. Then, using a paint brush I splattered ink all over my stamping card. Yes the smudges are still there but they now look like part of the design!
I had planned on matting my card with British Racing Green Cardstock but when I tried this it just didn't pop behind the design. Red is too bright so Eclipse Black Cardstock was used. This is a very dark black so makes the sentiment stand out against the splattered background.
Good Morning! We had temperatures above freezing yesterday for first time in weeks - nothing to get excited about though, we are back to snow today!
I'm here with a cheeky early drink today - well it is 5 O'clock somewhere!
Good afternoon. Are you looking forward to the holiday this week?
Well before that Crescent Creations has a new release and are doing a blog/you tube hop to celebrate where you could win yourself some goodies. I have used Sweet Christmas for my inspiration:
I resized the cups and placed them together, they are great for building a scene because although they are png images they are solid images so you can layer them without the worry of the back image showing through. The sentiment was added before printing on to stamping cardstock.
The images were colored with Copic markers I then added glaze to the tall glass to make it look more like glass.
Good afternoon, are you ready for Christmas? No? me neither. I have a few gifts but so many more to get and cards still to make.
It's new release day at Stamper's Delights and I have a cute Anime girl who is great for holiday cards, meet Anime Secret Santa:
Why not stop by the Stamper's Delight Facebook page for regular news and inspiration from my Teamies you can also enter the progressive challenge there, no blog needed and if you sign up for the Stamper's Delight Membership you will get free images to enter the challenge with!
All the design team projects are available on the Inspiration blog - hop on over there for more inspiration.
Thanks for stopping by and if you like what you see please leave a comment to let me know!
Good morning! Fall has finally arrived, the maple tree in the yard is starting to turn to stunning colors it gives us this time of year
My post today is using another of the gorgeous new release digi stamps from Sunshine Bee at The Little Paper Tree. I have done something different with it this time, it started as an experiment and ended up better than I expected.
Good Morning! How is it Monday again???
A couple of weeks ago I was honored to take part in a workshop taught by Lana Taber as part of her final challenge for the AECP program.
She provided an amazing kit for us to work with and we made 3 different Christmas cards. When I say different I not only been they were 3 different designs but they were unusual too! Who has ever made or received a holiday card made with a stiletto shoe stamp?
The first card is a wreath card:
Can you make out the shoes?
We started by stamping and masking the shoes multiple times to give the wreath. These were then colored with artist markers. The original card was just the shoes but Lana decided we would add greenery to it and it really was effective. I stamped the sentiment in embossing ink and them heated embossed with gold powder. We added the card front onto a white card base, gold gems were adhered to give the look of Christmas baubles. Finally I added a red ribbon bow to the top of the wreath
The next card was a Christmas tree again built with shoes
Once the shoes were colored the greenery of the tree was added making sure to fill in all the gaps between the shoes. I decided to put a bow at the top of my tree. I formed the bow in the center of a piece of red ribbon leaving long tails. These were then spiraled down the tree fixing in multiple places with hot glue.
I heat embossed my sentiment again this time using red and gold powder.
I added the card front to my card base and scattered gold gems around to look like more tree decorations.
My last card was a simple one but is just as effective as a Christmas card:
I added my sentiment under my shoes to balance the design and of course a scattering of the gold gems just finished the look!
Lana did an amazing job in first designing these cards and then teaching 5 of us how to make them.
She passed the challenge and is now an educator - a huge congratulations to her!!!!
Altenew Products I Used
Crisp Dye Ink - Jet Black Purchase From: SSS | ALW |
Embossing Ink Purchase From: ALW |
Red Sunset Artist Markers Purchase From: ALW |
Bold Heels Purchase From: ALW |
Halftone Holidays Purchase From: ALW |
Starry Night Purchase From: ALW |
Milky Way Stencil Purchase From: ALW |
Antique Gold Embossing Powder Purchase From: ALW |
Good morning from a rainy Michigan, we had storms last night and lots of rain so it's a bit cooler this morning - I just hope it stays that way.
I'm back today with part 2 of my AECP level 2 challenge. For this I needed to make an altered /upcycled project. I decided to do something that all us crafters use. Whether gifting cards or sending them envelopes are usually required. We put lots of effort and love into making the card but often send it with a plain white or colored envelope.
As I did for part one I have chosen 3 techniques on this project too. Monochrome for the inside of the envelope from the Polychromatic class, layering from the All About Layering Class and masking from Masking Unleashed. I love the layered stamp look, I don't do many monochrome designs and masking has opened a whole new designing world for me so that's why I chose these.
I have used Build a Flower Wild Rose (which is the latest build a flower set) with the Envelope Liner die set to upcycle some plain white envelopes.
Envelope Liner Die Set Purchase From: SSS | ALW |
Golden Sunset Crisp Dye Inks Mini Cube Set Purchase From: ALW |
Build a Flower Wild Rose Stamp and Die set Purchase From: ALW |
Green Fields Crisp Dye Ink Mini Cube Set Purchase From: ALW |
All About Layering 1 Purchase From: ALW |
Polychromatic Purchase From: ALW |
Masking Unleashed Purchase From: ALW |
MISTI Original Purchase From: ALW |