Hello

Welcome to my blog, a place where I can lose myself in a crafty haven. Pull up a comfy chair grab a cuppa and come and have a read. Oh and if you like what you see, stop by and leave me some love in the comments section

Followers

Wednesday, May 25, 2022

Blooming in Happiness

 Good morning from Tennessee! Our vacation has finally arrived and we are in s stunning cabin high up in the Smokey Mountains. It's a much needed break from reality.

My post today is inspiration for Maker Forte products. I am using the gorgeous Bloom Its Happiness Stamp Set as my main focus.


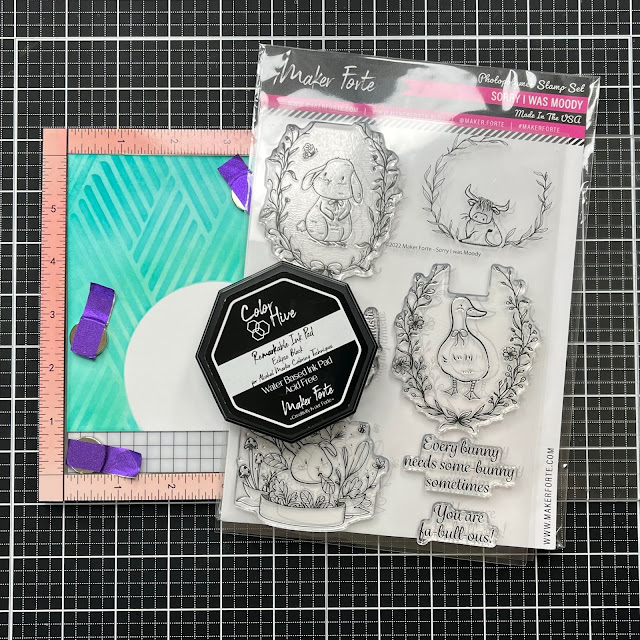
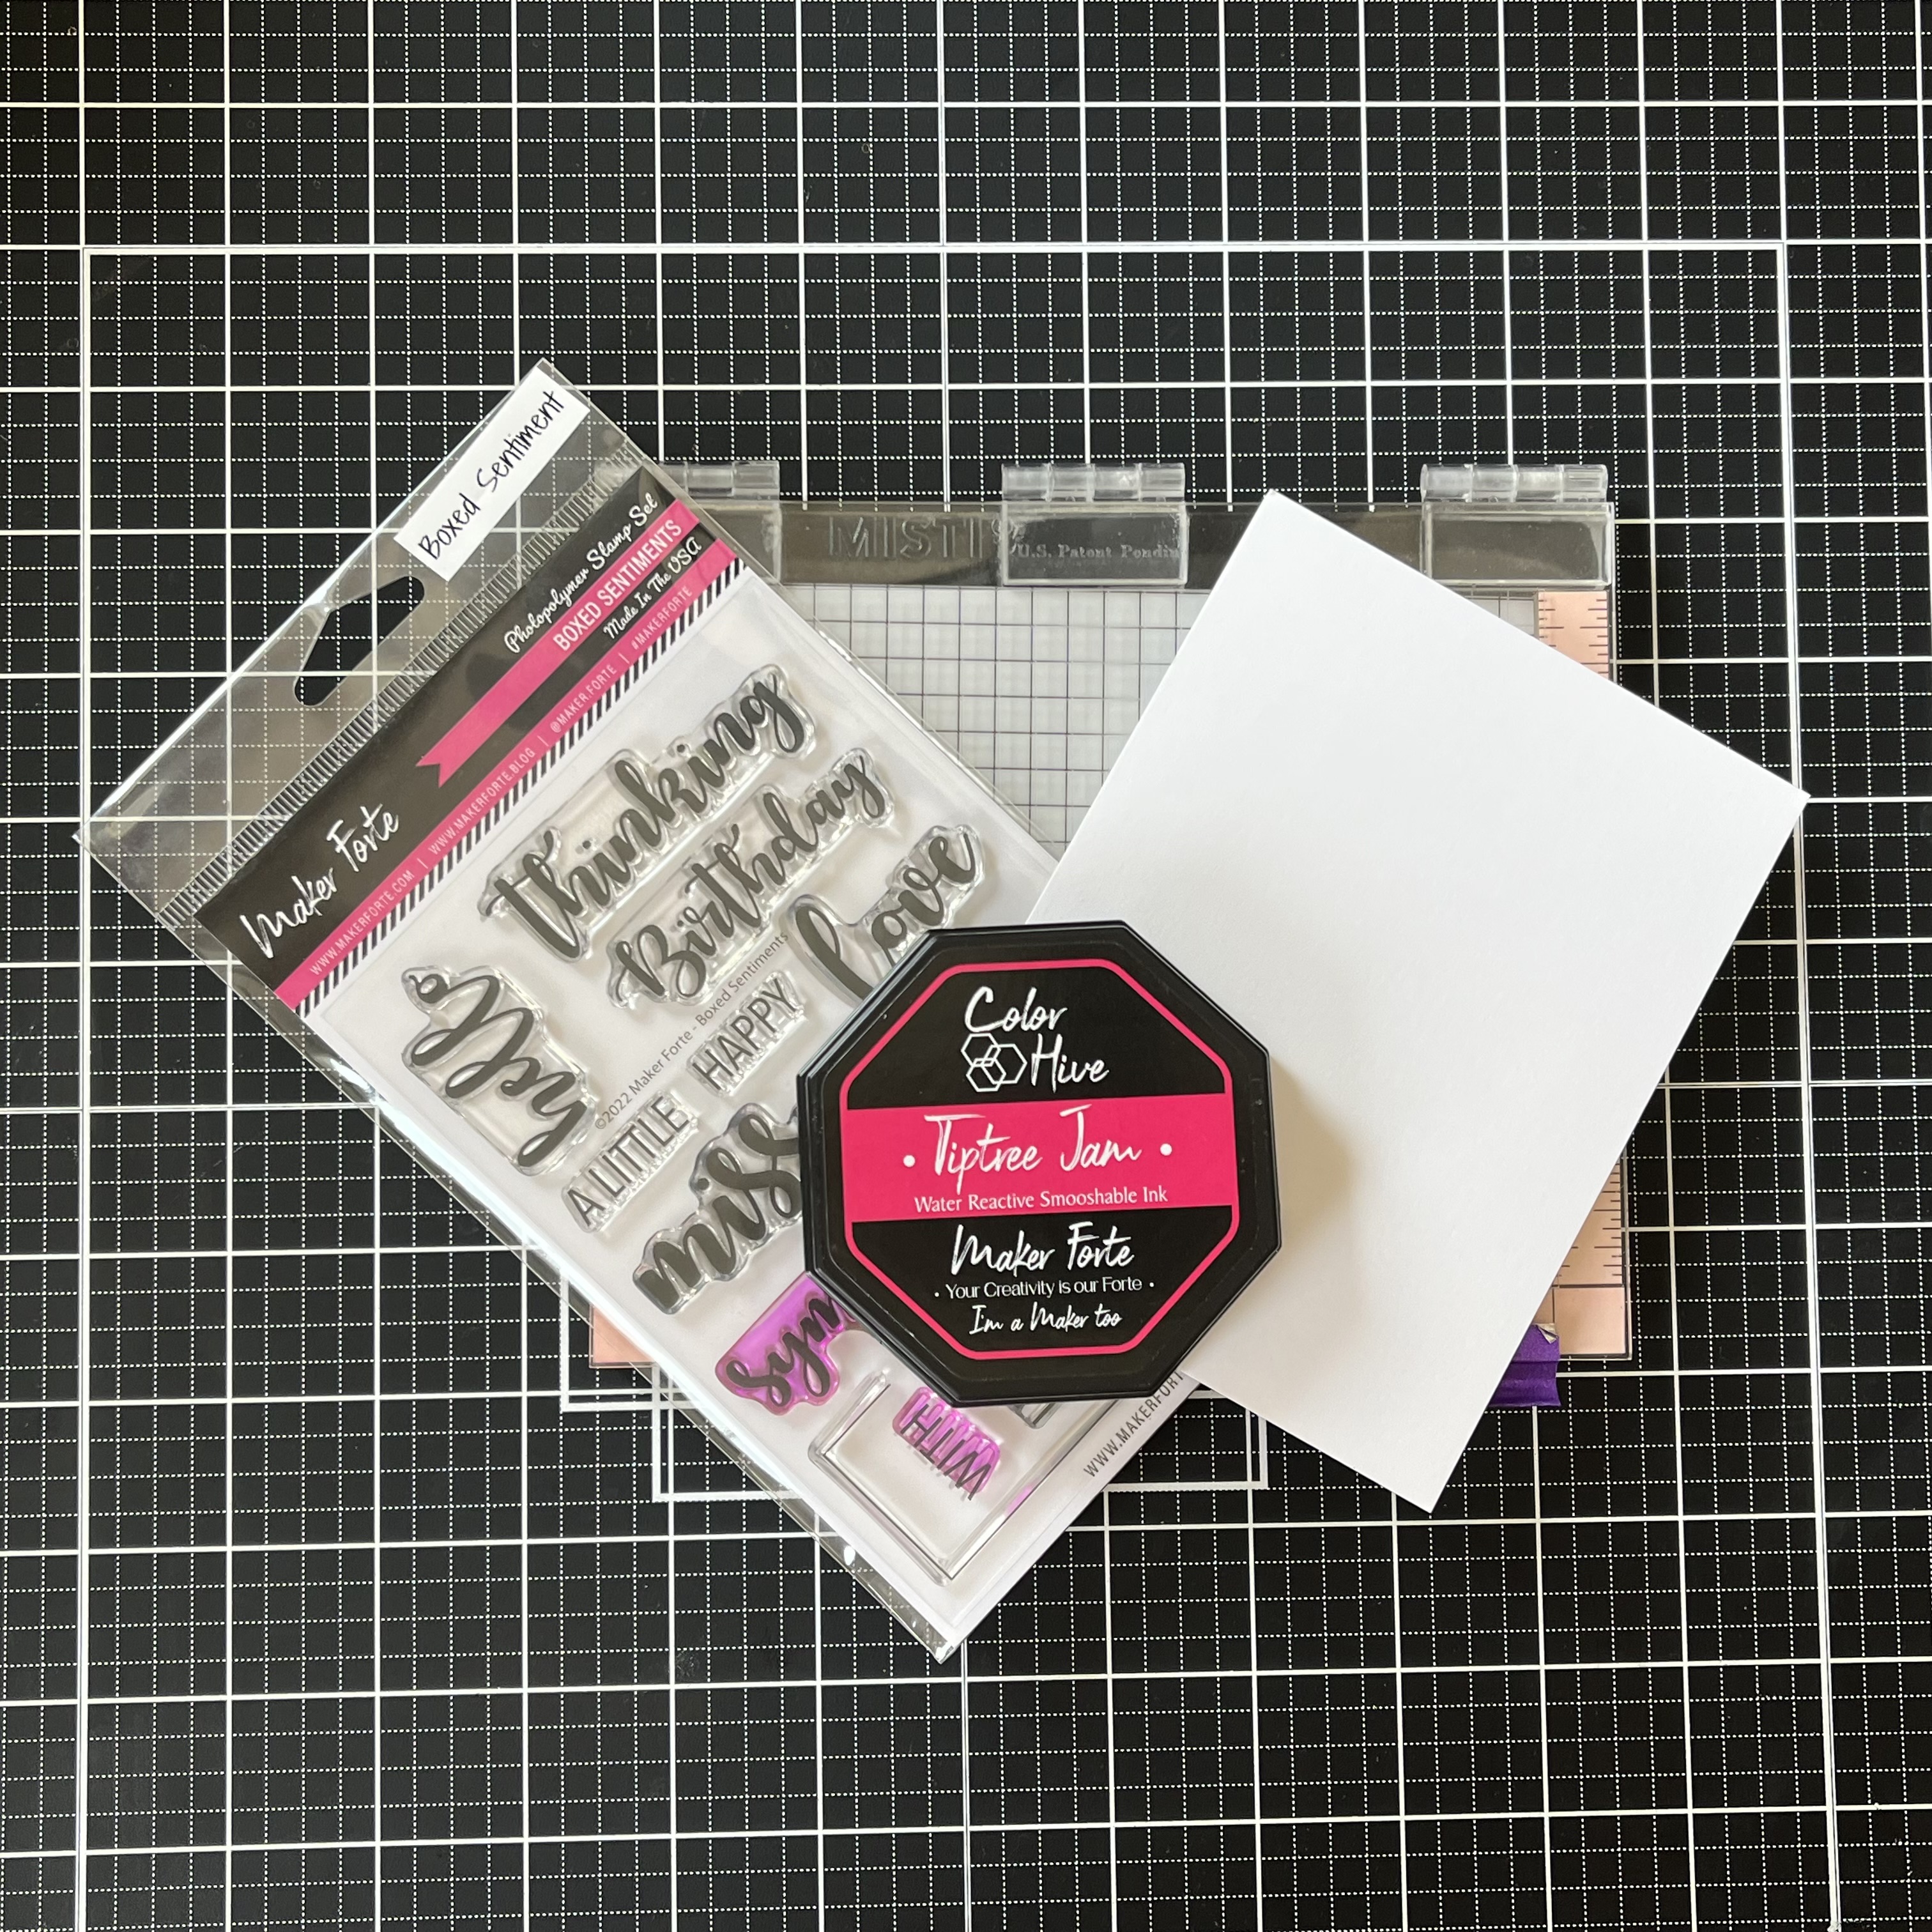
As always I gathered my products, before starting my project. I attempted a couple of techniques but discovered some weren't going to achieve the look I wanted so discarded my original idea. I started this card with a piece of Ultra White Heavy Card StockClear Embossing Ink and Supernova Embossing Powder:


Using the main wreath image from the stamp set I stamped it with the clear ink. I used my Perfect First Impression Smoosher to get even pressure when stamping the image on to the card stock. This gives an even ink layer for the embossing powder to adhere to. My card stock needed prepping, I use baby powder so the embossing powder only sticks to the stamped image. The Supernova Embossing Powder has a number of colors within it and gives a pretty finish to end stamped image.


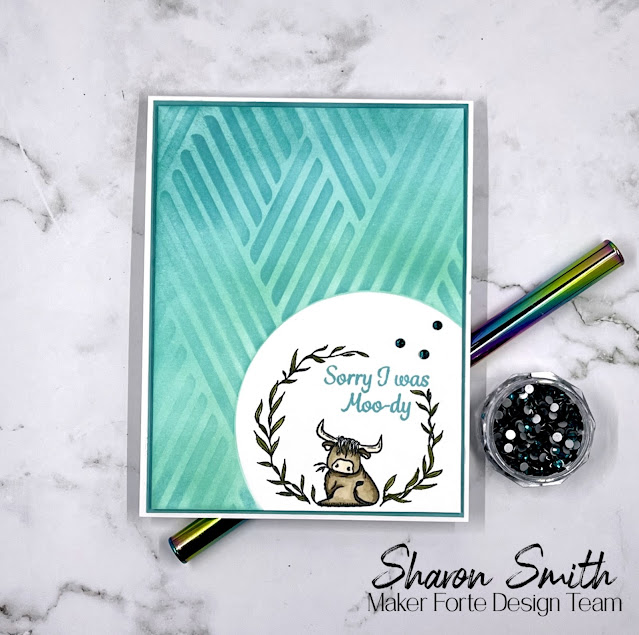
When the embossed image had cooled I added my sentiment. I decided to make this an any occasion  so went with the 'may your day bloom with happiness'. The included sentiments all fit across the center of the wreath image. This image is also perfect for an A2 card.


I used Flamingo Ink which drew attention to the pink within the embossing powder. The stamp set includes lots of extra images including a trio of butterflies in incremental sizes. I stamped these inside the wreath, again with Flamingo Ink, to fill in the white space.

Next came building my design using White A2 Top Folding Card Base, and a mat with Tiptree Jam cardstock. this was cut slightly smaller than the card base. My topper adhered to this again cut smaller than the mat. I like to cut my layers an 1/8th of an inch smaller than the last. This gives a visible border of the base and mat but not too big it detracts from my image.


Because I had so much white space below the image I decided to add some embellishment. White Pearl Maker's Magic is great for this, it gives a touch of shine without distracting you too much. 3 dots in each lower corner is just enough.


The Bloom with Happiness Stamp Set is such a pretty set, it can be used in so many ways for so many occasions that it's perfect addition to anyone's collection.


Thank you for taking time to read my post and I hope it inspires you to make something similar. If it does I would love to see your creation.

Saturday, May 21, 2022

More from Mer-May

 Good Afternoon! We head out for our vacation tomorrow and I am so ready for it!

It's still May so the Mermaids are still everywhere in the crafting community and I have a friend for Adell who I blogged about a couple of weeks ago. Meet Trion Happy Hour:


 As he is sitting in his cocktail glass I have made a matching card to Adell . I started by resizing and printing my image and sentiment.

This was then colored with Copic markers and glitter marker added to his tail.

I matted an A7 card base with teal cardstock and a bubble digital design paper. Then added bubble die cuts.

Trion was also matted with teal cardstock and added at and angle to my card.

Finally I added a few iridescent pearls in a green/blue shade for the bubbles.

If you love this image there are lots more mermaids over on the Stamper's Delights website. Also if you head to the Fan Facebook group you can enter our Progressive challenge.

Thank you for taking time to read my post and happy crafting!

Wednesday, May 18, 2022

I'm Sorry!

 Good morning! I am loving the weather here currently, warm enough to have all the doors open but not too hot. We go on vacation at the weekend so that may change!

I am back with some Inspiration using Maker's Forte Products, predominately the super cute Sorry I Was Moody Stamp Set was used for my design today. The animals in this collection are adorable:


I used a number of other Maker Forte products to construct the card. Most of these are in the following photo but then changed my mind on some of them and add others too


I began my card by blanking off a section on bottom right using the inner circle of the Spotlight Circle Stencil. This is because I wanted to keep this section white to stamp my image into.

Switching up the ink colors from my initial idea, I used Welsh Dragon and Blue Moon. I blended the inks over the uncovered section of cardstock which I had trimmed to 4x5.25in.


Once the cardstock had dried I decided it was too plain. So I added some pattern over the top using In Your Lane Stencil and Blue Raspberry Ink.


This just gives a tone on tone effect which goes well with the rest of my design. Next was stamping this cute little Highland cow into the white partial circle using Remarkable Eclipse Ink. Of course I also used my MISTI.


My cardstock is marker friendly but also takes ink well so its no problem coloring him with my Copic Markers. A Zig Clean color marker worked better on the leaf wreath surrounding him as the point this is finer. I used Blue Raspberry Ink for my sentiment - I feel sometimes sentiments need a bit of color so they stand out.


 My card front actually looks layered with the image on a matted section. However this technique give a totally flat result. This is easy for shipping, however I like my cards to have some dimension. So I added it in the next steps.

I wanted a mat to coordinate with the front. So I smooshed Blue Raspberry Ink over a piece of white cardstock cut slightly smaller than A2.


Once this dried it gave me a solid color to add under my card front. Now to build my card, I used an A2 Top Folded White Card as my base.

I adhered my mat to this and then used foam tape to add my card front. Its a struggle for me to say that a card is finished when it had no bling. So this one called for a few Crown Jewel Gems in Lady Liberty.


I add these with the Makers Magic Crystal Clear Glue which I decant into a Makers Magic Ring. It is so easy to collect the tiny amount I need for the gems.

Thank you for taking time to read my post and I hope you found some inspiration. If you do please share is with me.

Wednesday, May 11, 2022

Sunrise Silhouette

 Good Morning! We are busy busy! getting ready for our impending vacation, finishing up school and looking after 5 rapidly growing puppies!

My post today is inspiration using products from Maker Forte. I have created a sunrise with silhouettes using their Wildflowers & Butterflies Stamp and Stencil Set


 I started the card by gathering my ingredients, this stamp set makes a stunning card with very little else needed.


I started the card with the stencil, laying it over a piece of Bristol Smooth Card cut slightly smaller than a slimline card.


I chose 3 different inks, Red Leicester, Tiptree Jam and Coronation Purple. Starting in the center with the lightest ink I blended out over the stencil giving me an early morning sunrise effect.

Keeping with the early morning theme, I stamped over the stenciled image with the included stamp. Choosing Eclipse Black Ink for this because I wanted the image to look like shadowed silhouettes.


I felt the card needed a sentiment and initially was going to use the box from the Boxed Sentiment Set but felt this covered too much of my card front. Instead I used the 'Thanks' stamp from the set and stamped it in Tiptree Jam on to a piece of Ultra White Heavy Cardstock.


Making sure the sentiment stood out without covering too much of the image meant it needed a frame. I cut it with my electronic die cutter leaving an offset around it. 

My card just needed building together now. I used a Slimline Perfect Fold Card Base which I matted with a piece of Tiptree Jam Cardstock.


My card front was added to my matted base making sure it was centered on the colored mat. I didn't feel the card needed any dimension so 'Thanks' was glued flat against the card. Finally I used my Right on Point Bone Folder to finish the card.


This is a very simple card to make but looks effective. It would be easy to batch make if you needed a of them!


Sunday, May 8, 2022

It's Mer-May!

 Good afternoon and happy weekend! Quick puppy update one has now got a forever home. they were all weighed on Friday and are gaining fast so Mama is doing an amazing job!

Stamper's Delights are celebrating May with some Mer-mazing images. Yes if you love mermaids this is the month for you.

My inspiration today is using Adell Happy Hour.


Do you remember the brightly colored plastic mermaids that you could hang on the edge of a glass well this is where my inspiration came from hence the bright pink hair!

I colored her using Copic markers and added sparkle pen to her tail.

My A7 card base was matted with bright pink card and a paler shade of striped design paper. I also matted Adell with the pink cardstock and die cut some bubbles too. These were added under my image.

Finally I added some iridescent bubbles coming from her margarita glass.

If you love this image there are lots more mermaids over on the Stamper's Delights website. Also if you head to the Fan Facebook group you can enter our Progressive challenge.

Thank you for taking time to read my post and happy crafting!

Wednesday, May 4, 2022

Sunflowers of Hope

 Good morning. It's been an exciting week so far! Sassy gave birth to five adorable puppies. Mama and babies are doing great and its fun to hear all the little squeaks coming from the pen.

My post today is inspiration for you today using The Sunflower Zentangle Stamp and the Sunflower Layered Stencil from Maker Forte. The stamp was used in the background and Stencil was inked over the top of this.


To show you the process I have a You Tube video explaining the steps I took.


I hope you found that informative and enjoyed seeing the card being designed. All products I used are linked in the video description.


Thank you for stopping by and I hope you gained some inspiration from my post.