Good morning! I am loving the weather here currently, warm enough to have all the doors open but not too hot. We go on vacation at the weekend so that may change!
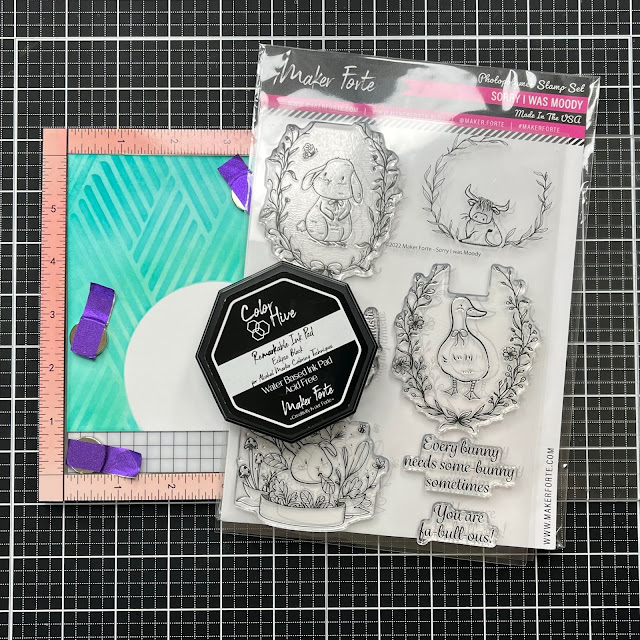
I am back with some Inspiration using Maker's Forte Products, predominately the super cute Sorry I Was Moody Stamp Set was used for my design today. The animals in this collection are adorable:
I used a number of other Maker Forte products to construct the card. Most of these are in the following photo but then changed my mind on some of them and add others too

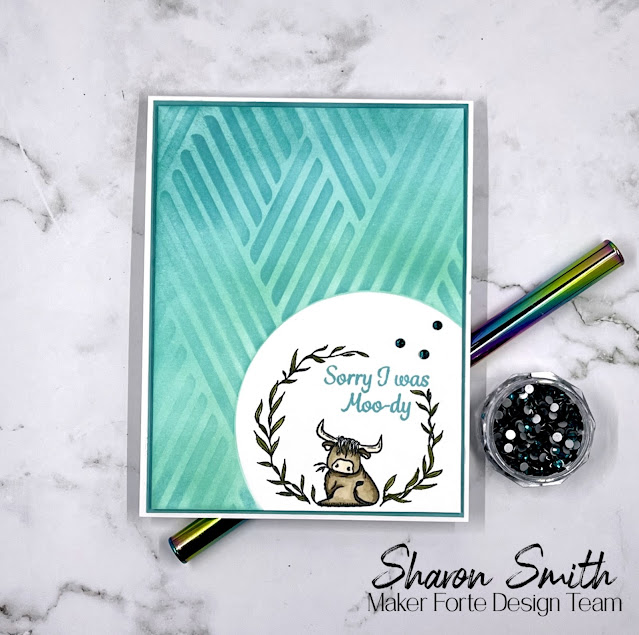
I began my card by blanking off a section on bottom right using the inner circle of the Spotlight Circle Stencil. This is because I wanted to keep this section white to stamp my image into.
Switching up the ink colors from my initial idea, I used Welsh Dragon and Blue Moon. I blended the inks over the uncovered section of cardstock which I had trimmed to 4x5.25in.

Once the cardstock had dried I decided it was too plain. So I added some pattern over the top using In Your Lane Stencil and Blue Raspberry Ink.

This just gives a tone on tone effect which goes well with the rest of my design. Next was stamping this cute little Highland cow into the white partial circle using Remarkable Eclipse Ink. Of course I also used my MISTI.
My cardstock is marker friendly but also takes ink well so its no problem coloring him with my Copic Markers. A Zig Clean color marker worked better on the leaf wreath surrounding him as the point this is finer. I used Blue Raspberry Ink for my sentiment - I feel sometimes sentiments need a bit of color so they stand out.

My card front actually looks layered with the image on a matted section. However this technique give a totally flat result. This is easy for shipping, however I like my cards to have some dimension. So I added it in the next steps.
I wanted a mat to coordinate with the front. So I smooshed Blue Raspberry Ink over a piece of white cardstock cut slightly smaller than A2.

Once this dried it gave me a solid color to add under my card front. Now to build my card, I used an A2 Top Folded White Card as my base.

I adhered my mat to this and then used foam tape to add my card front. Its a struggle for me to say that a card is finished when it had no bling. So this one called for a few Crown Jewel Gems in Lady Liberty.

I add these with the Makers Magic Crystal Clear Glue which I decant into a Makers Magic Ring. It is so easy to collect the tiny amount I need for the gems.

Thank you for taking time to read my post and I hope you found some inspiration. If you do please share is with me.
No comments:
Post a Comment