Hello

Welcome to my blog, a place where I can lose myself in a crafty haven. Pull up a comfy chair grab a cuppa and come and have a read. Oh and if you like what you see, stop by and leave me some love in the comments section

Followers

Showing posts with label Maker Forte. Show all posts

Wednesday, November 2, 2022

Floating on Dreams

 Good morning! The days are great at the moment, nice mid temperature fall days which make being outside fun.

I'm back with a card using Maker Forte supplies, I love these images from Floating on Dreams Stamp Set. There is also trails you can add to the butterflies that have sentiments. As well as the main sentiments.


I don't color with pencils often so decided to try them and a no line coloring technique on this card. Remarkable Fog Inkis great for this technique as it leaves faint lines instead of the stark black lines. However, because I have used Toned Tan paper my sentiment needs be darker so I used Eclipse Black Ink for this.


My next stage is to color the images, I chose just a few color blends and used them on both butterflies. Coloring with pencil takes longer as you have to layer your colors to get a good coverage. My Faber Castel Polychromo Pencils lay down a good coverage of color.


The rest of the card is kept simple, mats are using colors similar to the pencil colors. A buttery yellow was my fist choice but this doesn't make the colors pop. Redwoods Cardstock on its own was the same however when layer both of these colors it gives a totally different effect.


Using a Top Folding A2 Cardbase I added the layers. I have trimmed these and my design so they are slightly narrower than my base. This draws the eye to the design.


My card needs a little more detail so I chose Roller Skates and Lemon Roller Skates.


These coordinate with the colors in the butterflies. I just like to have a little sparkle or texture on my cards. Makers Magicis great to adhere these in place and of course the Maker's Magic Wand helps to position these perfectly.


I love the wording on this sentiment I perfect way to describe a butterfly!


Thank you for joining us today and I hope I gave you some inspiration for your designs.

Wednesday, October 26, 2022

Rainbows and Stars

 Hello! Well after the snow of last week the temperatures have risen again and we have been back in 75F weather!

I'm back today with a card using Maker Forte supplies. In the main the Star Gazer White Rubber Stamp Set.


The design in this stamp is tiny but the fact it is rubber makes it is show perfectly.
My card begins by using the circle from the Spotlight Circle Stencil to mask off part of my cardstock.


The Stargazer background stamp is put in place over this also I am using my MISTI because I want to stamp the image a couple of times. This makes sure I get a solid color on my cardstock. Sugar Plum Ink covers all of the stamp and I used my Smoosher to make sure I got even pressure. 


It doesn't matter that the ink hasn't stamped right up to the edge of the mask. It's just going to make my 'moon' look bigger. Being careful not to get ink onto the masked section, I lift the circle up and have a perfected clean circle area. 
It's not going to stay that way for long though. Fossilized Amber and Squeezed Lemonade Distress Oxide Inks are blend across the circle to give me a yellow moon.


Trimming my design makes it ready for my card base.

The sentiment that come as part of the stamp set are perfect for using with the background stamp. Using black cardstock I prepped with an Anti-Static Pad. Applying Clear Embossing Glue Ink Pad to the wording helps white powder to stick to them, heating it gives crisp white sentiments.


I couldn't at this point decide which sentiment to use however once fussy cut the top one looks a little lost on my card but the rainbows and stars looked perfect.


Foam Squares adhere the sentiment in place to give some dimension to my card front.
I love using A2 Top Folding Card Bases and this design is no different. Gluing the design straight on the base without a mat (which would take away from the star pattern) finishes my card.


I decided moon looks a little bland so Shooting Star Crown Jewels in sets of 3 take the bareness away.


Thank you for taking time to read my post, I hope you love my design and it gives you inspiration.


Wednesday, October 19, 2022

Thank and Gather Tags

 Good morning - well we've had snow this week! yep never mind fall we've jumped straight to winter.

I've started planning thanksgiving makes and my post today is my first design. I am using Maker Forte products for these tags including Thanks and Gather Stamp Set.


These Kraft Shipping Tags would make great place setting labels with the person's name attached to the ribbons.
The first step is to add the design to the tag. Using On Tap Stencil Set, Taping the first layer to the tag I inked through with English Mustard and Grand Canyon Inks. This gives me the color of 2 different beers. 


Replacing the stencil with the 2nd layer I inked Icy Mist and Picket Fence Distress Ink through which gives me a head on my beer and a stem on the glasses.


Leaving this to dry I repeated the steps on a 2nd tag and left this to dry. They have to be dry because I am heat embossing in the next step and I don't want the embossing powder to stick to my beers!

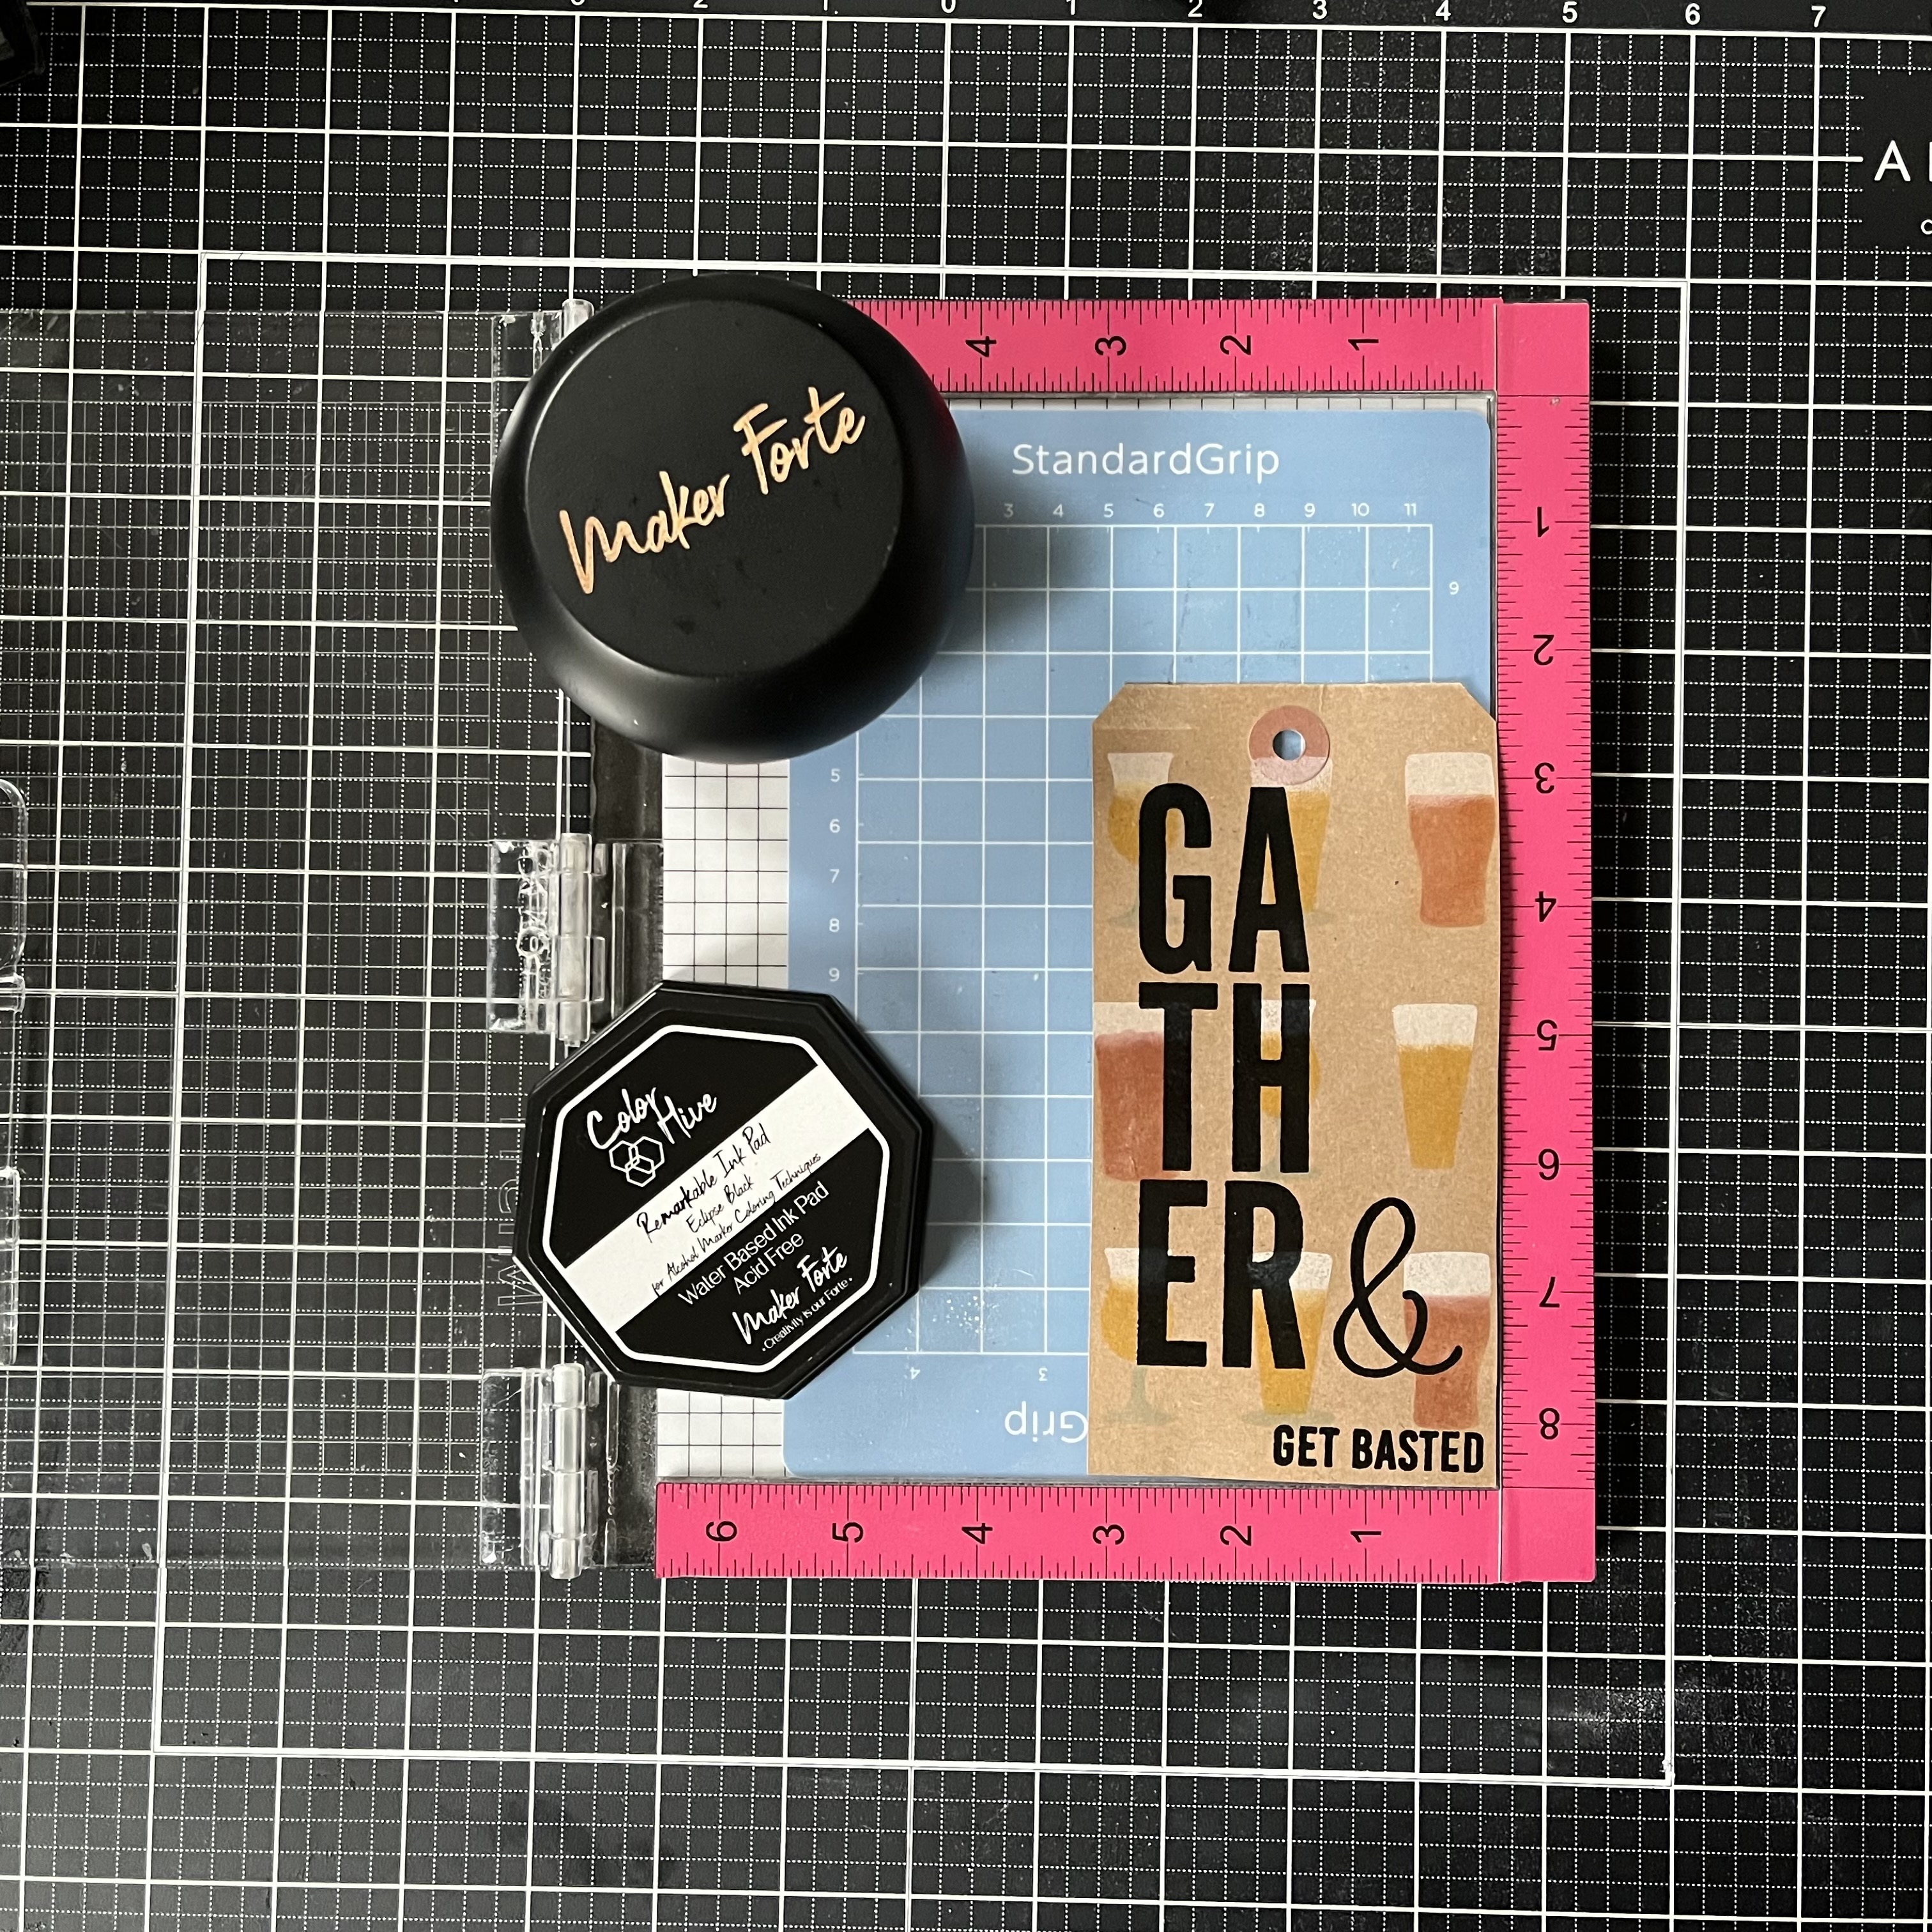
Placing the tag in my MISTI I lined up the Gather stamp on the left of it and the ampersand plus 'basted' in place. Eclipse Black Ink is perfect for heat embossing as it stays wet for a few seconds after stamping.


Crystal Clear Embossing Powder gives me the shiny lettering which helps make it stand out from the beers.

I repeated this step on the 2nd tag but using Give Thanks. I love the different fonts, it gives the possibility of lots of different looks. There is also a ton of combinations with the different words too.


The tags looked a little plain so using the English Mustard I ink blended around the edges giving them a more distressed look.


These are more of a masculine look so the edging helps to keep this theme.


Finally some yellow and brown ribbon was threaded and stapled through the holes.


Thank you for taking time to read my post. I hope these simple designs give you some inspiration for you holiday makes.


Wednesday, October 5, 2022

Fall Country Girl

Good morning! The weather is great at the moment, nice and sunny but at a great temperature! I am loving it - yes it gets cooler at night but who doesn't like that!

Fall is THE best season and my card today is fall themed - Sunflowers and western boots my favorites and I would love some boots like these.


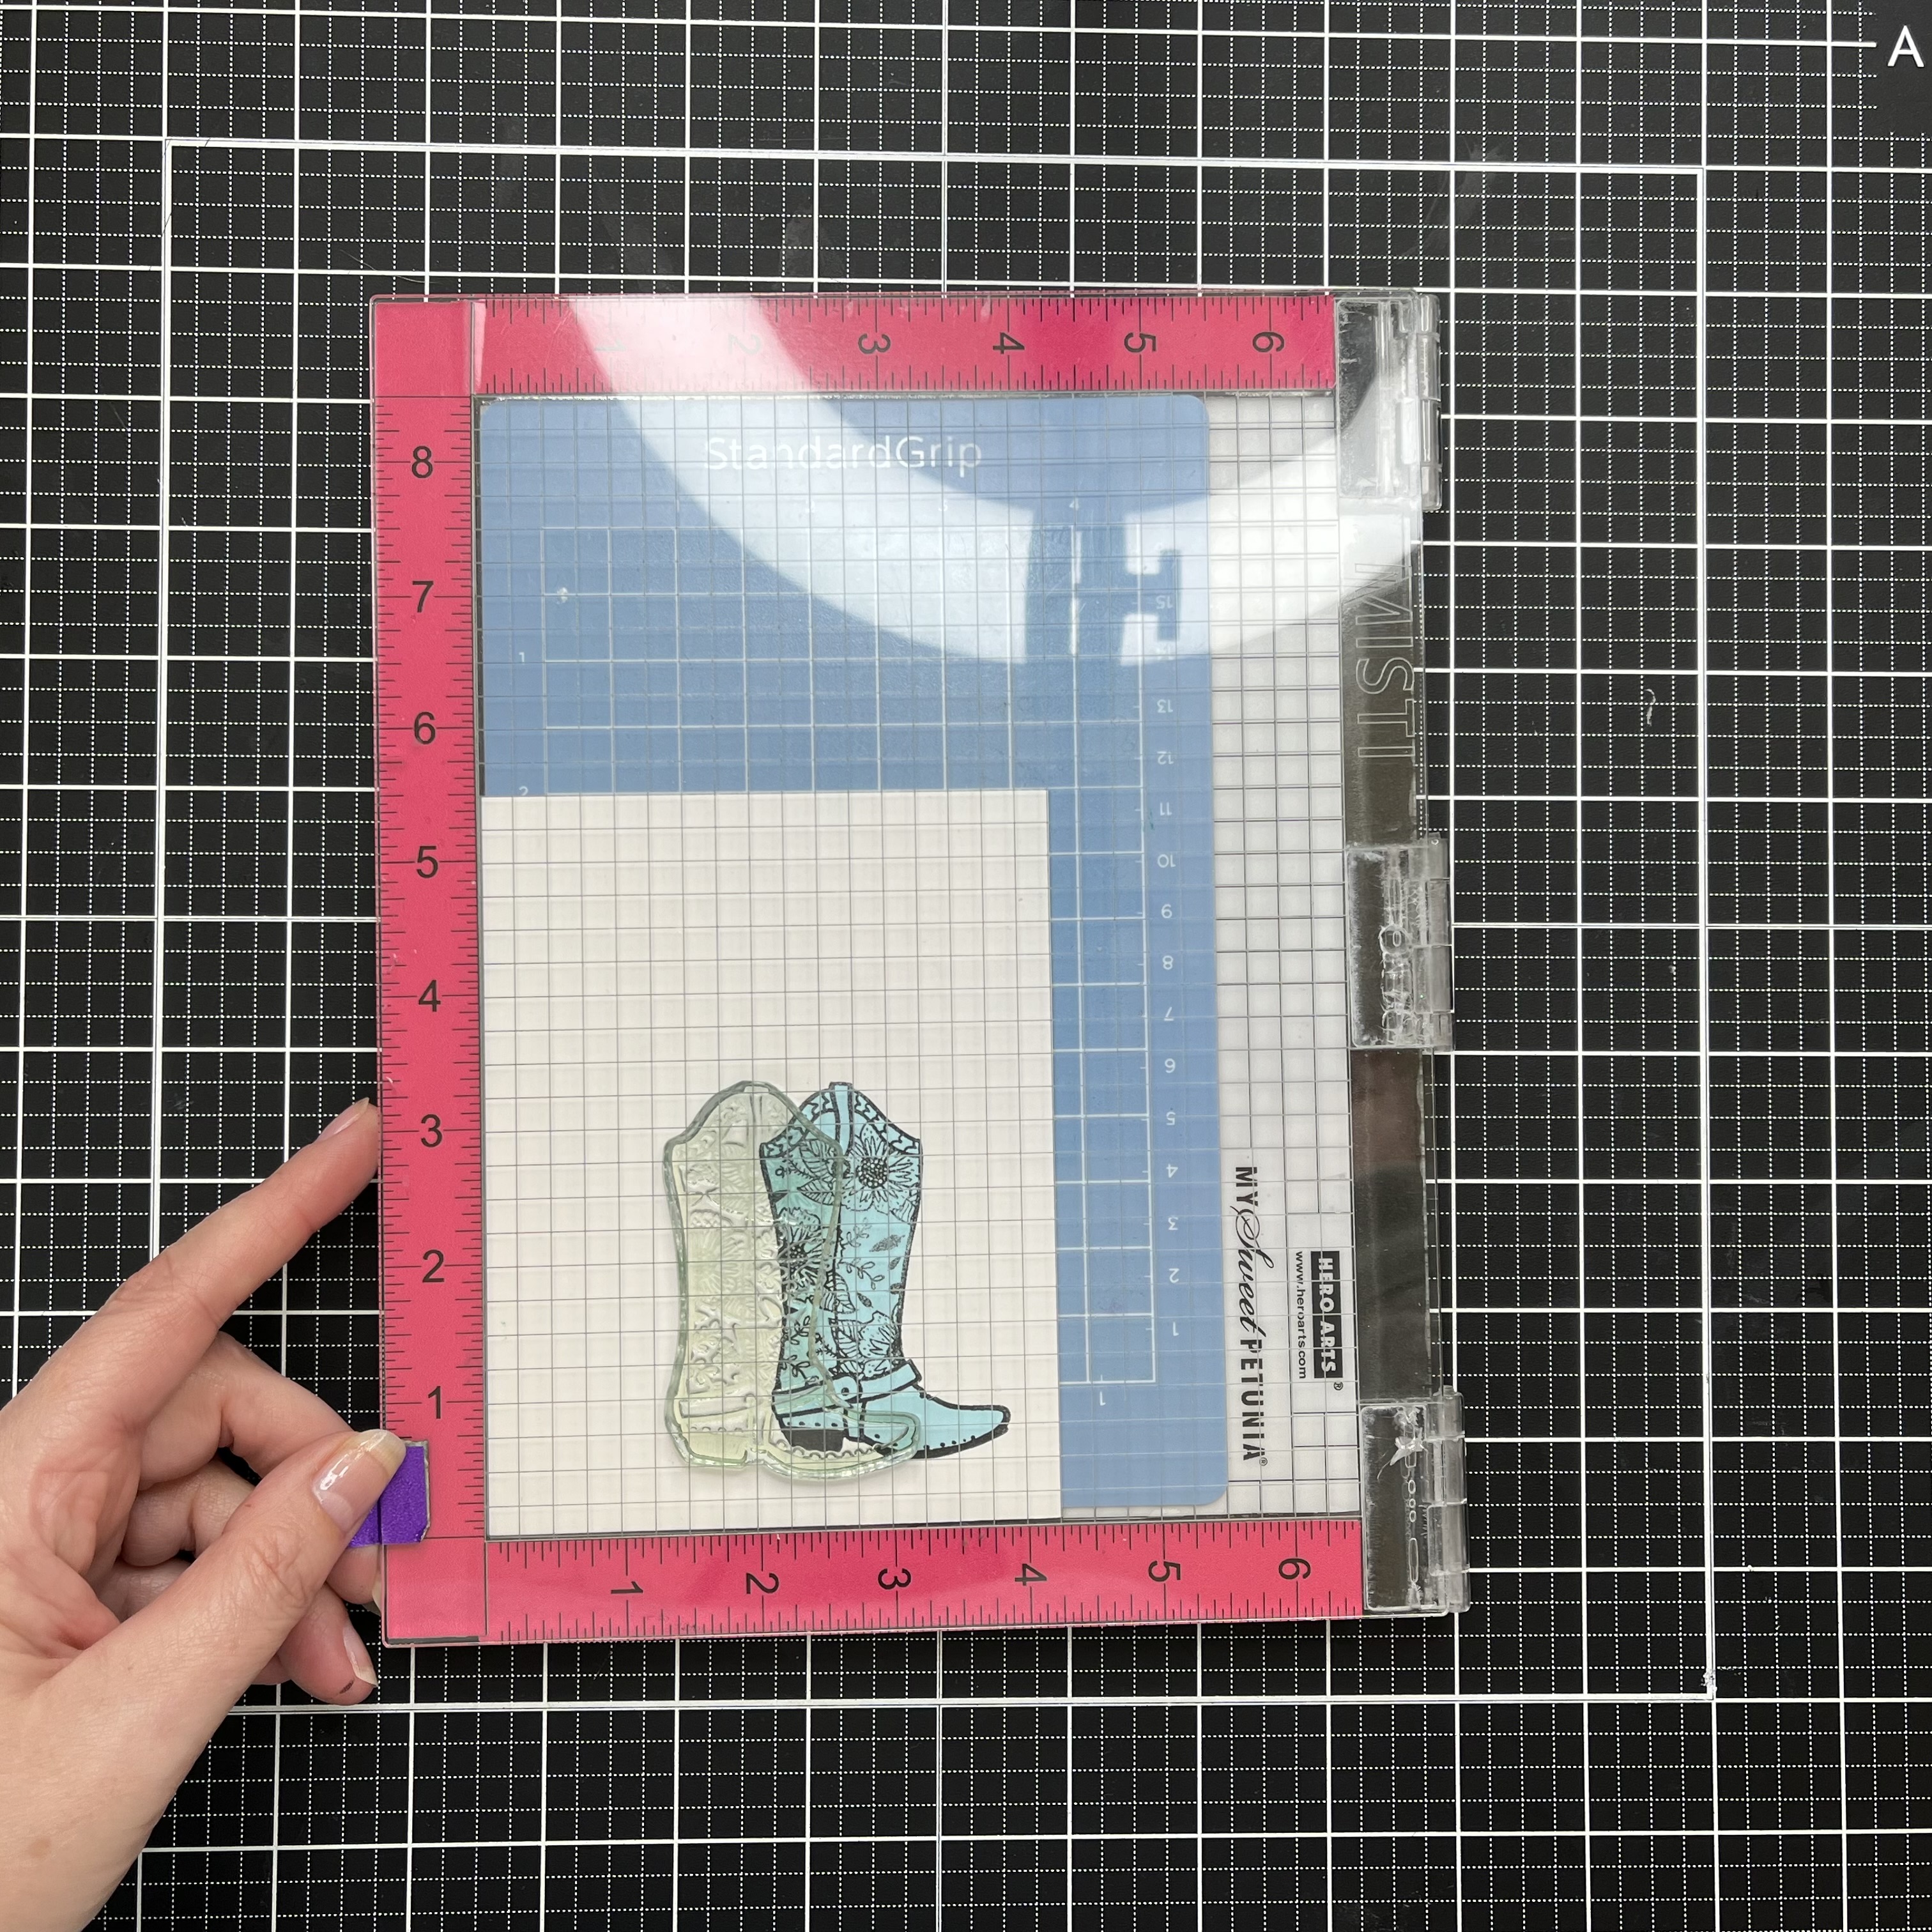
Aren't they adorable? There are a few boot designs to choose from in the For My Cowboy Stamp Set from Maker Forte. I began with stamping one the floral boot onto stamping card using Eclipse Black Ink. 


Covering the first boot with masking paper I stamped 2 more boots on the paper and fussy cut these. 


Masking is how to achieve layered images. By covering the first boot and stamping the second one nearby I can make it look like the 2nd boot is behind the first.


Placing a mask over the 2nd boot I moved on to my background. The Layered Sunflower Stencil is perfect so the first layer I stamped in English Mustard Ink which is a great yellow.


The next layer is the shading on the petals using Red Leicester Ink. Grand Canyon Ink colors the flower center then the seed layer uses Ground Espresso Distress Ink.


Removing the masks leaves me with clean white stamping of the boots all ready to color.


You can see here how masking gives the impression of stacked images with the sunflower behind them.

Copic markers work great for the main color of the boots and fine liners for the floral design. These allow me to get into the smaller parts of the design.


My card needs a sentiment and 'Country Girl' is part of the stamp set. It fits well with the design in Eclipse Ink.


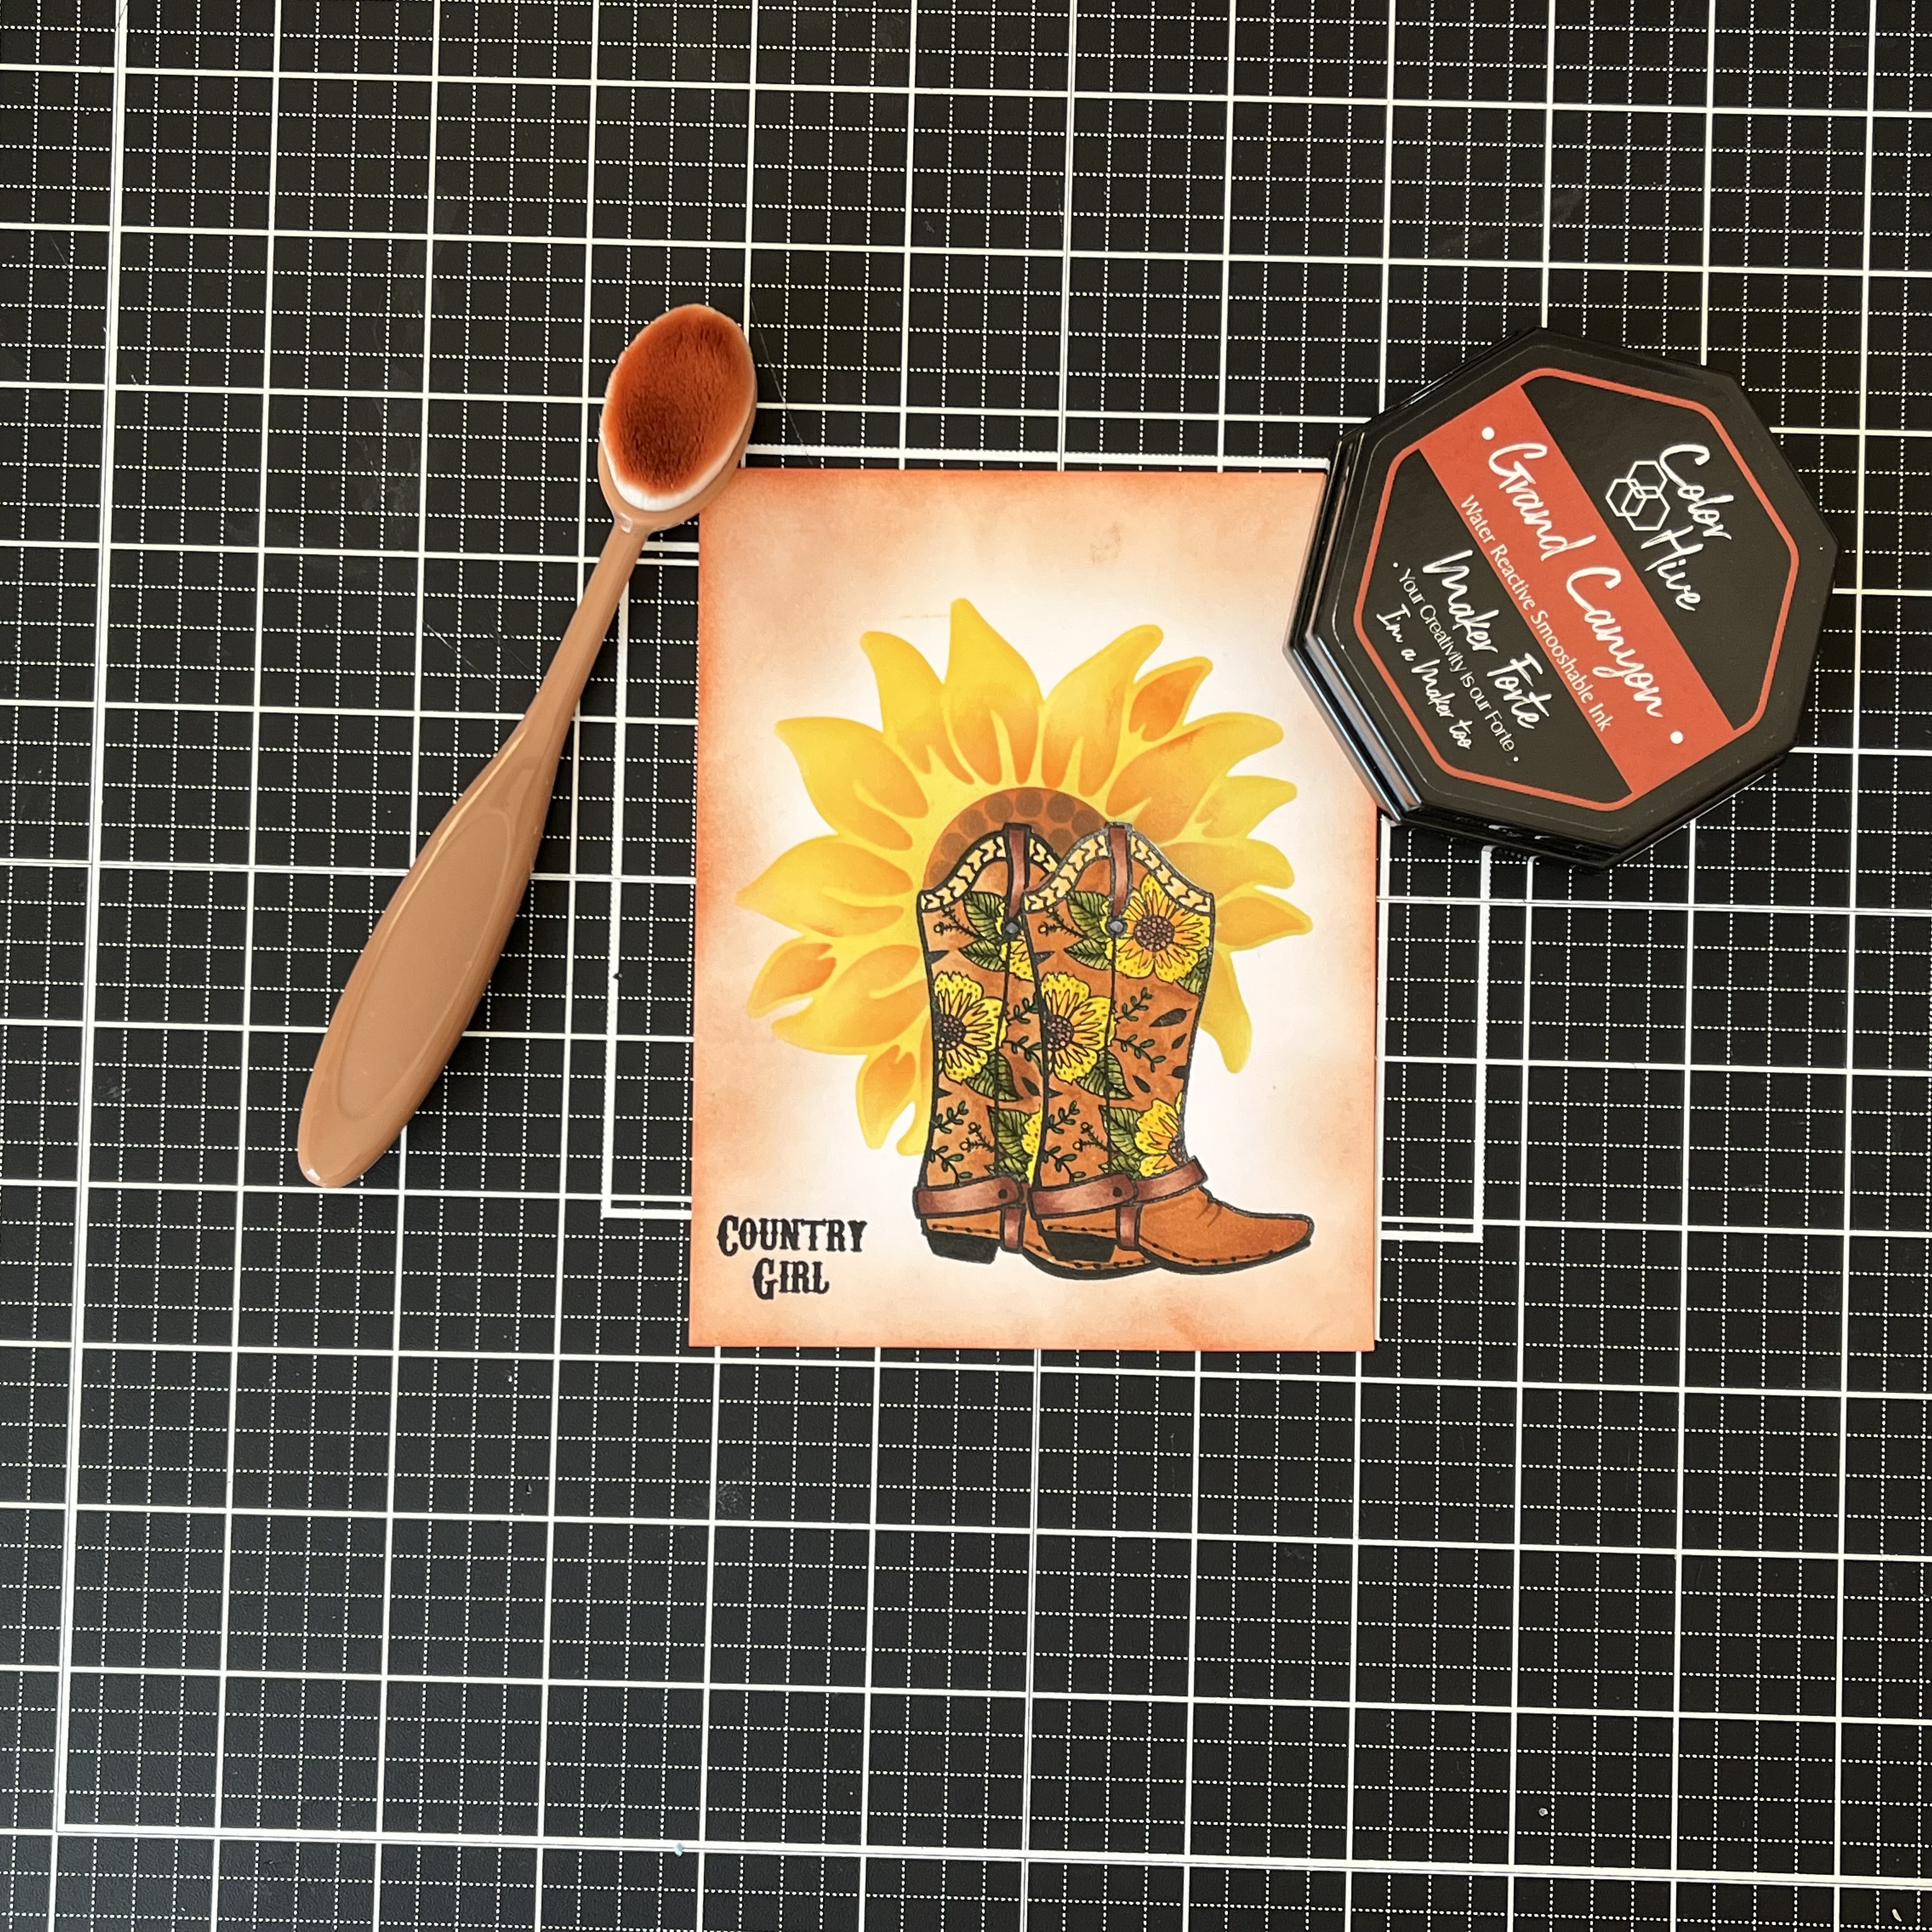
I love clean and simple cards however the white of this looked a little stark against the bright colors. using Grand Canyon again I ink blended the edges of the card.


To finish the design I chose a brown cardstock for my mat and a Side Folding A2 Card Base with wet glue so keeping the layers flat.


The colors just pop against the darker brown mat.


I hope you love the fall look of this card as much as I do and thank you for stopping by.


Wednesday, September 28, 2022

Christmas Peace

Hello! Fall has finally arrived and I am loving the cooler temperatures, makes being outside so much more enjoyable!

My post today is inspiration for a Christmas card using Maker Forte products.


I have used elements of Modern Christmas Watercolor Stamp Set. First I wanted to achieve a fir branch across my card. Using the branch stamp I stamped it in the top corner of my stamping card with British Racing Green Ink.


To avoid it crossing the previous stamped image I masked the branch end of the stamp with masking paper and repeatedly stamped the branch across the card.


To add some depth to the image I repeated these steps with Lady Liberty Ink.

I used one of the sentiments from the stamp settle gorgeous font is a very fine lettering I love the way it works with the images in this set. As it's a fine detail font it needs to stand out against the dark green. Eclipse Black Ink works well for this.


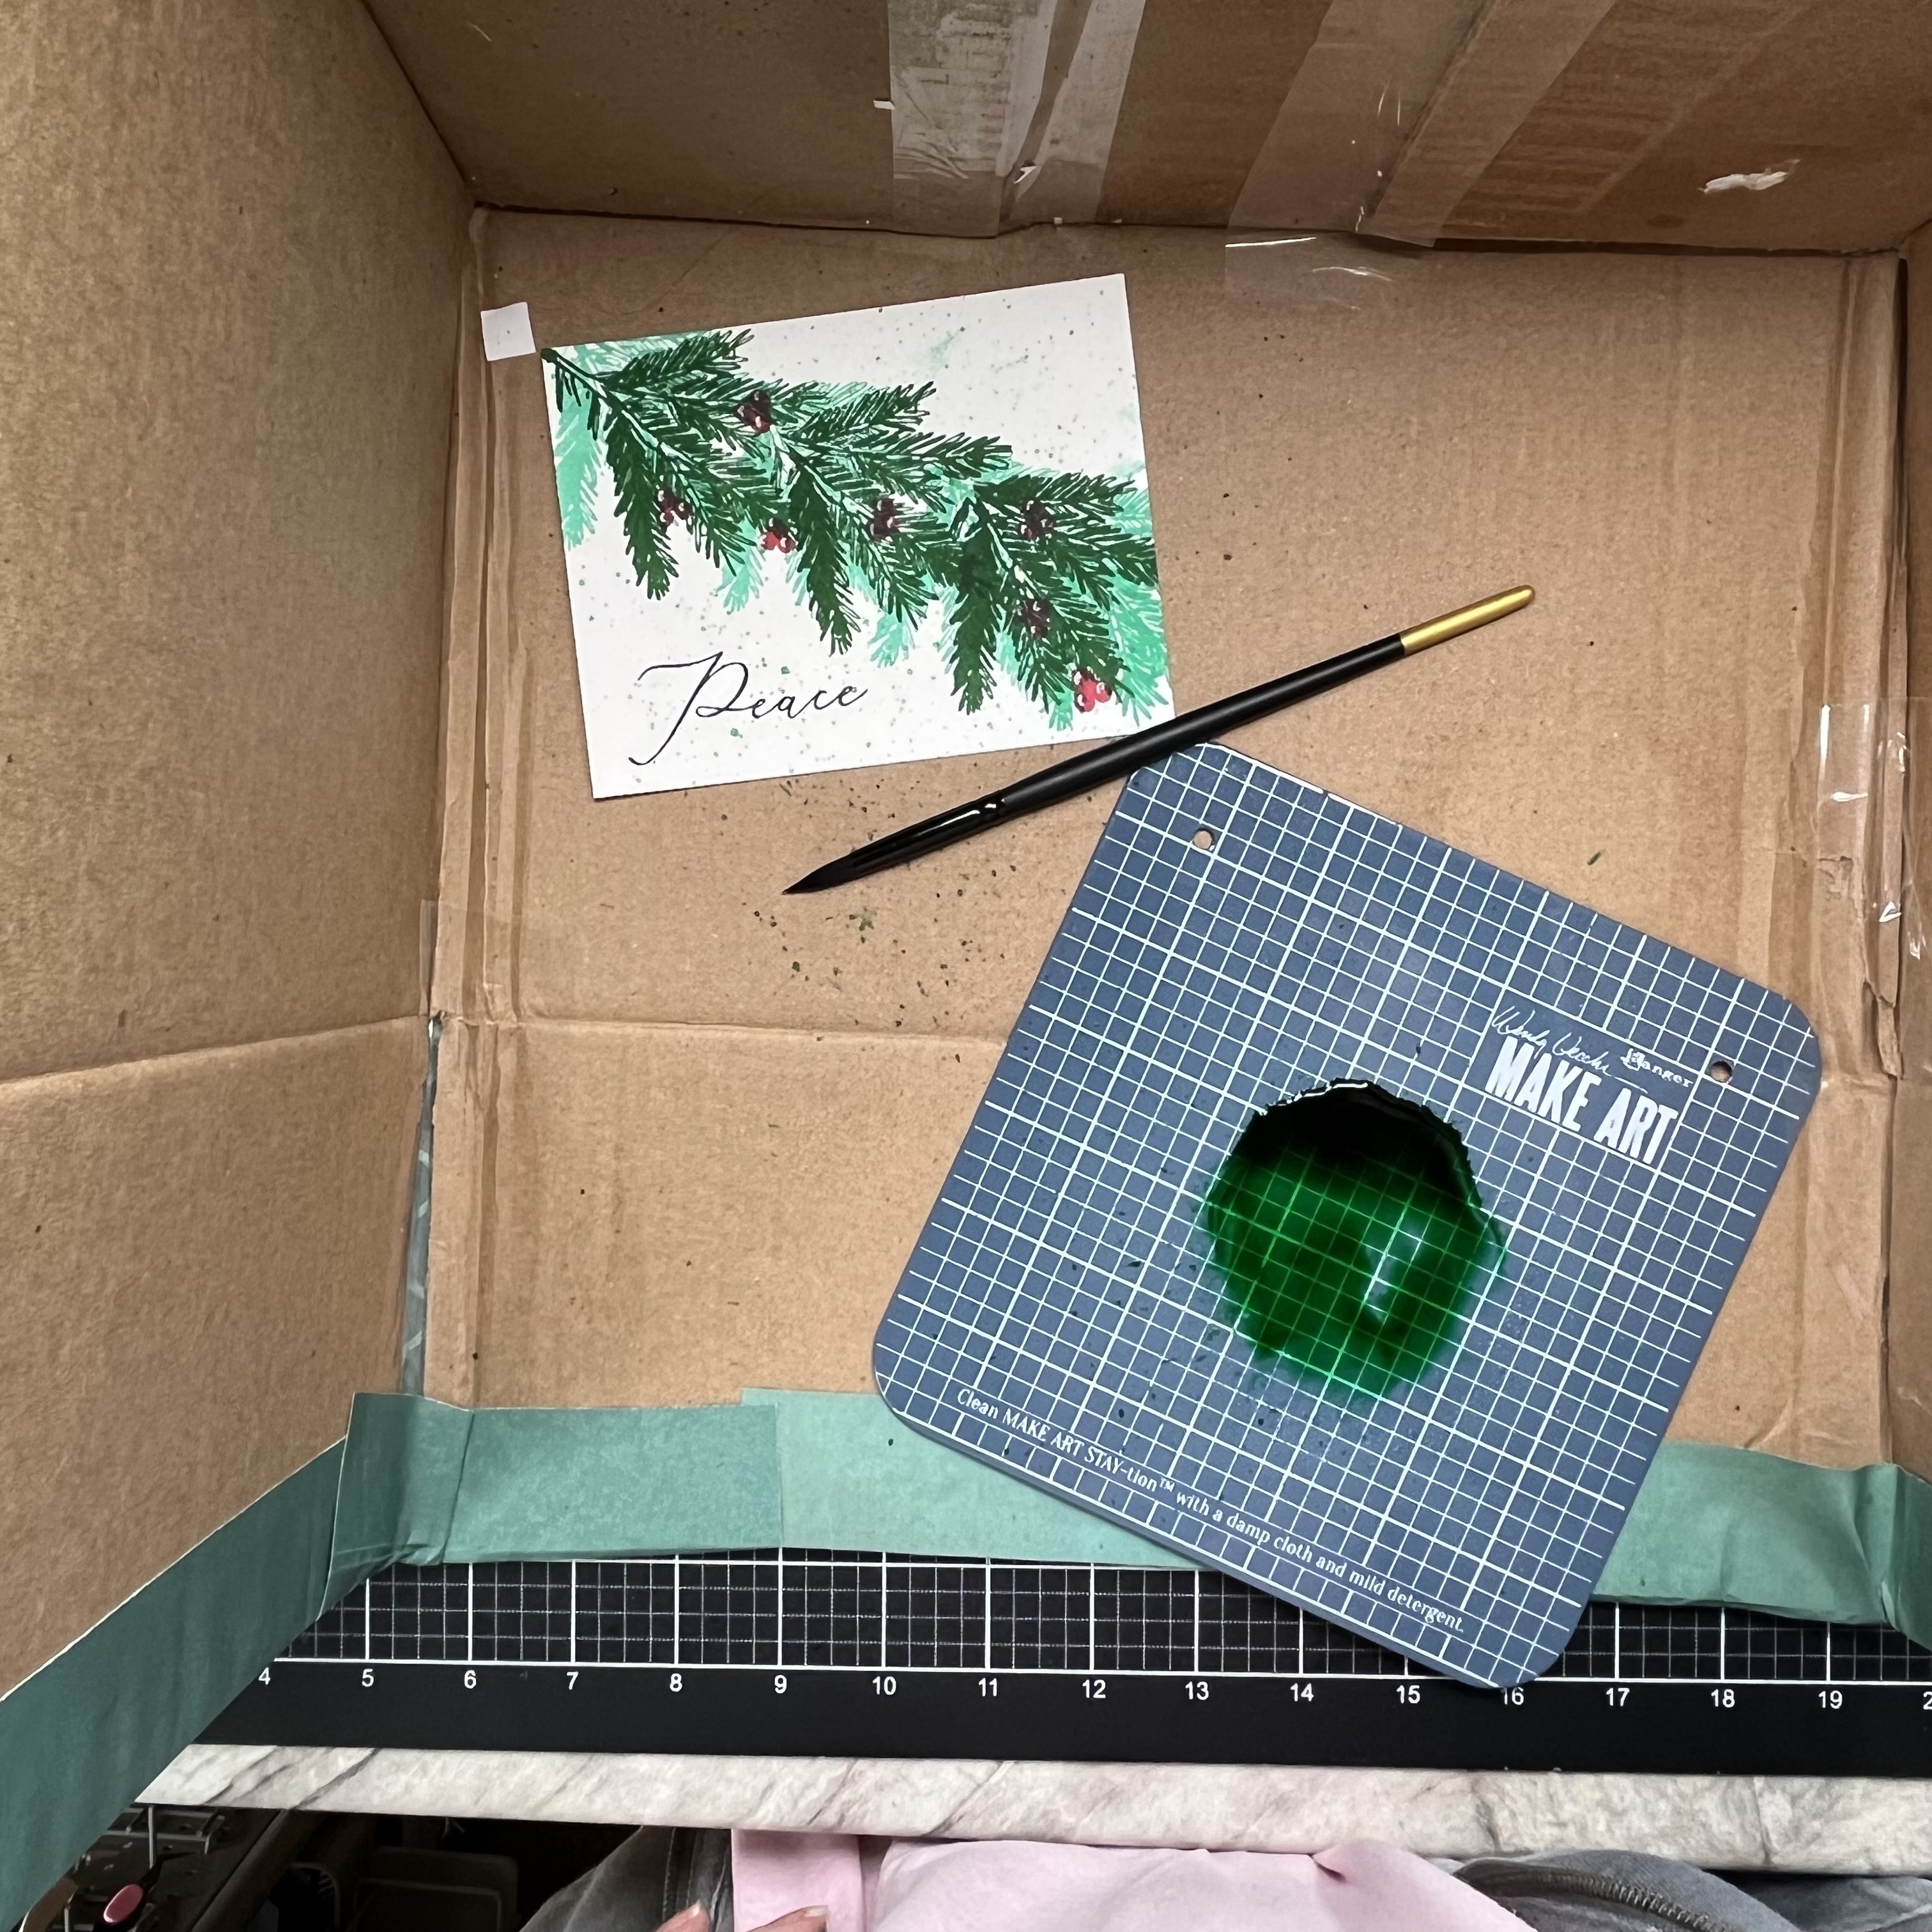
The card needed more detail so using a red alcohol marker and a white gel pen I drew berries among the branches.

While doing this my hand smudge the green ink. I have happy accidents like this all the time, usually a cleverly placed embellishment covers this. This wouldn't have worked on this card, I pressed my ink pad onto a mat and added lots of water. Then, using a paint brush I splattered ink all over my stamping card. Yes the smudges are still there but they now look like part of the design!

I had planned on matting my card with British Racing Green Cardstock but when I tried this it just didn't pop behind the design. Red is too bright so Eclipse Black Cardstock was used. This is a very dark black so makes the sentiment stand out against the splattered background.


Black is not something you usually see on a Christmas card but I feel it works well with this. Finally I matted the design on to a Side Folding A2 Card Base.


Thank you for taking time to read my post and I hope it gives you motivation to start your holiday cards.

Wednesday, September 21, 2022

Die Cutting Inlaying

 Good morning! It's finally cooler here, we had storms all day yesterday and has been in the 70s.

I'm back today with some inspiration using Maker Forte products. I am using the Flower Trio Die and a die inlaying technique today.


The card began life as a plain white cardstock. After running the die through my die cut machine I carefully made sure all the waste bits stayed in place in the die. Lifting off the actual image I then placed press and seal over the remaining parts. When I carefully lifted this all the white waste was attached to it.


Bubble Tea Ink and Flamingo Ink make great colors to blend together. Using brushes I started with the darker Flamingo and worked out to edges coloring all the waste pieces.


Some of the pieces lifted while doing this but as long as I didn't lose any I'm not concerned.

Moving onto the actual die cut I masked off the flowers. 


To give my card a frame I inked the remaining edge with Flamingo Ink.


The masking paper keeps the underneath ink free so on removing my flowers are still bright white.


Turning this over I applied foam tape to the edge and smaller pieces to the backs of the flowers. I then adhered this to a 8.5x4in card base. 


The card base isn't a standard size but it gives the die cut a look of matting. Next I inlaid all the 'waste' pieces back into the die countersinking them. This works because the foam tape raises the die cut. I did use Makers Magic Crystal Clearfor this, the fine tip is great for getting into the tiny spaces.


The Rainbow Picker & Poker makes lifting the tiny pieces and placing them easier than using my fat fingers!

The inlaying took quite a while but the effect is worth it.


My card needs a sentiment. I love the A Sentiment For Every Occasion stamp set for cards like this. Making my sentiment coordinate with the colors on the card was easy. I swiped Flamingo Ink across a piece of 1in card strip.


Once this was dry I stamped 'Hope this is the best day ever' using Remarkable Eclipse Black Ink. I the quickly covered this with Crystal Clear Embossing Powder and melted it to give a glossy finish.


I adhered this to my card with foam tape. Subtle embellishments are a great finish to a card. Using Maker's Magic White Pearl instead of gems give a touch without taking away from the card design. These are dotted in an uneven number around my sentiment.


Thank you for taking time to read my post and I hope it gives you inspiration!