Hello

Welcome to my blog, a place where I can lose myself in a crafty haven. Pull up a comfy chair grab a cuppa and come and have a read. Oh and if you like what you see, stop by and leave me some love in the comments section

Followers

Showing posts with label winter. Show all posts

Wednesday, September 28, 2022

Christmas Peace

Hello! Fall has finally arrived and I am loving the cooler temperatures, makes being outside so much more enjoyable!

My post today is inspiration for a Christmas card using Maker Forte products.


I have used elements of Modern Christmas Watercolor Stamp Set. First I wanted to achieve a fir branch across my card. Using the branch stamp I stamped it in the top corner of my stamping card with British Racing Green Ink.


To avoid it crossing the previous stamped image I masked the branch end of the stamp with masking paper and repeatedly stamped the branch across the card.


To add some depth to the image I repeated these steps with Lady Liberty Ink.

I used one of the sentiments from the stamp settle gorgeous font is a very fine lettering I love the way it works with the images in this set. As it's a fine detail font it needs to stand out against the dark green. Eclipse Black Ink works well for this.


The card needed more detail so using a red alcohol marker and a white gel pen I drew berries among the branches.

While doing this my hand smudge the green ink. I have happy accidents like this all the time, usually a cleverly placed embellishment covers this. This wouldn't have worked on this card, I pressed my ink pad onto a mat and added lots of water. Then, using a paint brush I splattered ink all over my stamping card. Yes the smudges are still there but they now look like part of the design!
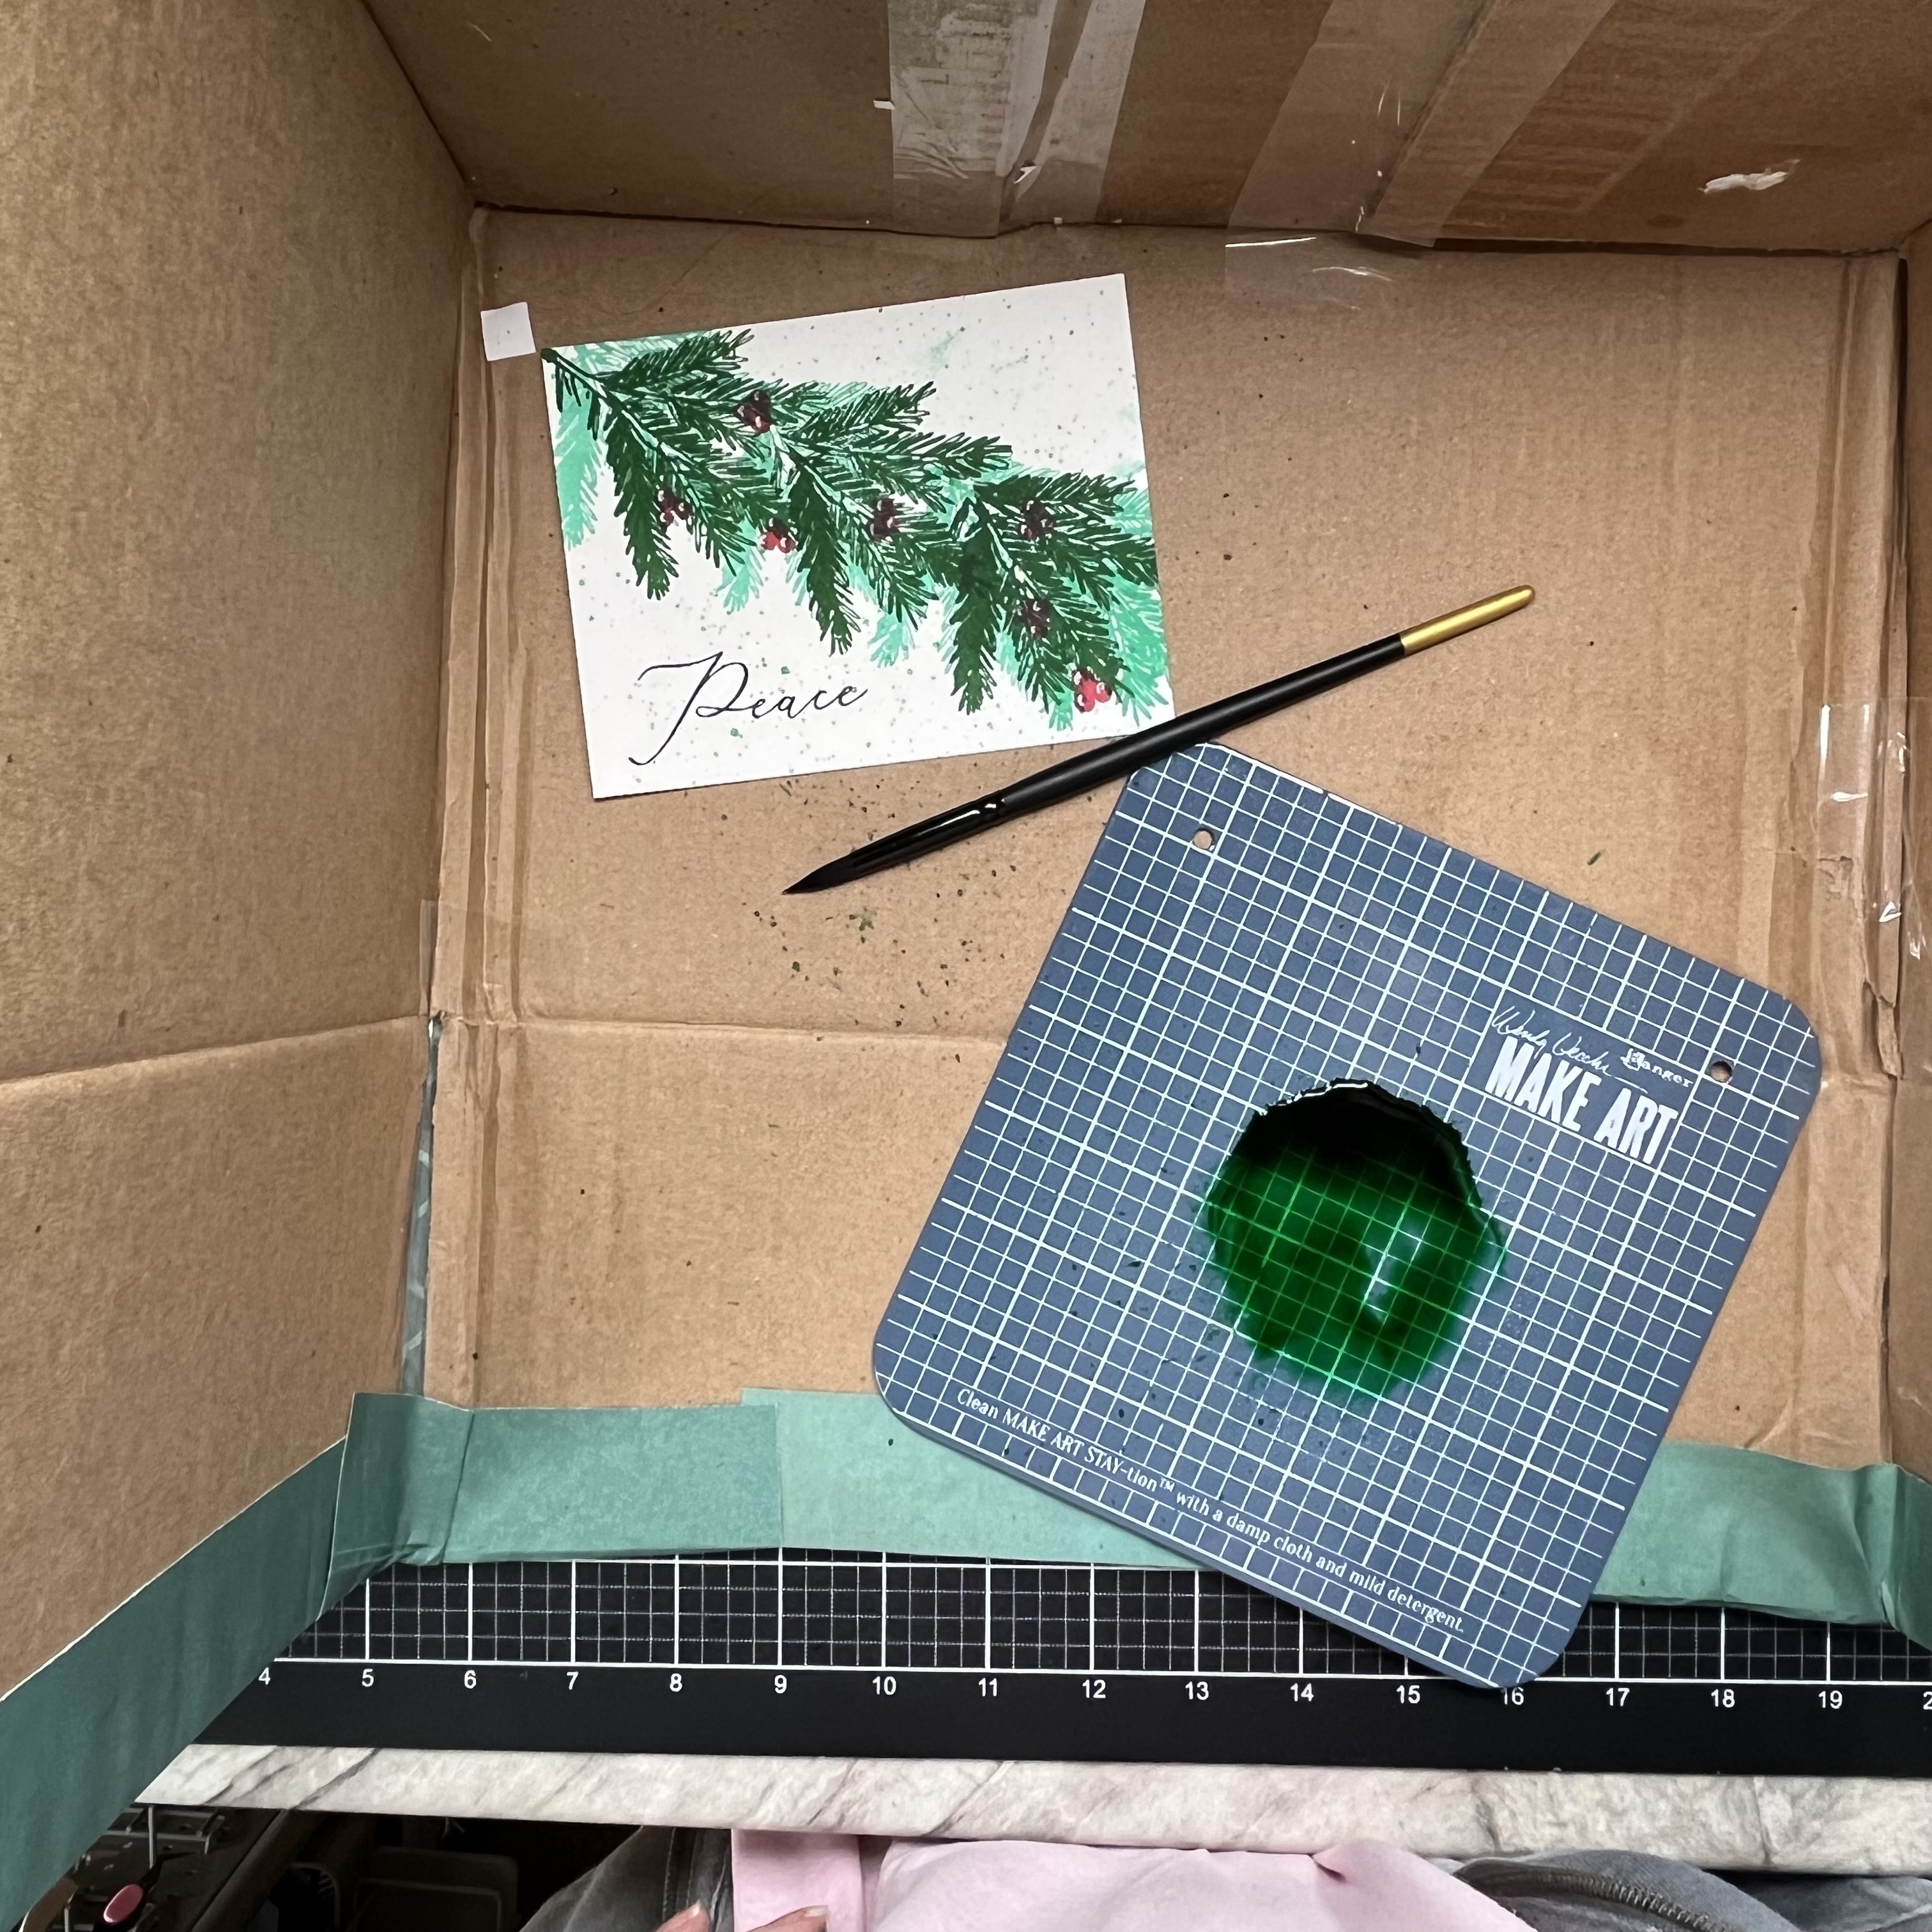
I had planned on matting my card with British Racing Green Cardstock but when I tried this it just didn't pop behind the design. Red is too bright so Eclipse Black Cardstock was used. This is a very dark black so makes the sentiment stand out against the splattered background.


Black is not something you usually see on a Christmas card but I feel it works well with this. Finally I matted the design on to a Side Folding A2 Card Base.


Thank you for taking time to read my post and I hope it gives you motivation to start your holiday cards.

Saturday, January 8, 2022

Snow Happy!

 Good morning and Happy weekend! 

January is well under way now before you know it it will be spring but until then I will be showing some winter cards including this one!

Snow Happy is from Not 2 Shabby and would be me if I was a snowman:


All set up with his donuts and hot cocoa. 
I colored the image with Copic markers and trimmed the edges with my deckle edge guillotine. 


I typed up the sentiment - I think it was fitting for the image.
This was printed in a coordinating color that matched well with my mats
An A7 card base was matted with a snowflake background. My image and sentiment we adhered onto teal cardstock and added.


A few sparkly gems finished the design.

You will be seeing more cards designed with Not 2 Shabby images as I was chosen to join their design team - I am looking forward to sharing you inspiration with you all.


Sunday, November 8, 2020

Nose it's Snowing

 Good afternoon! Michigan is known for it's snowy winters and yes we've already had the first snow of the season last weekend. Thankfully it didn't hang around and it's 70 degrees here today!

Since snow is on my mind, let me share some cute images from Stamper's Delights. They are doing mystery boxes and this month is winter if you've been following on the Facebook group you will have already had sneak peeks of some of the cut 12 images.

let me introduce Winter Snowman:

What I Did:

I started by choosing a wintery digital design paper, I imported my images onto this and resized them for my card. I then typed up the sentiment (this is not part of the pack) which I felt was so fitting since the little guy is holding the snowman's carrot nose!
I printed and then colored the images with alcohol markers. My A7 card base was matted with red card and my image was added to this. Finally I added lots of snow with a paint marker.

What I Used:

Digital Design Paper: Unknown
Alcohol Markers: Copic
Red Cardstock: Tonic
White Card for base: Neenah solar white coverstock
Paint Pen; Molotow
Glue: ZipDry

The winter mystery box is available all month for £12 - a saving of £8!!!! there are lots of super winter images great for Christmas or winter birthdays!

Head on over to the Stamper's Delights Store to see all of this month’s New Releases so far!

Why not stop by the Stamper's Delight Facebook page for regular news and inspiration from my Teamies you can also enter the progressive challenge there, no blog needed and receive freebies! 


All the design team projects are available on the Inspiration blog - hop on over there for more inspiration.
Thanks for stopping by and if you like what you see please leave a comment to let me know! 


Thursday, September 3, 2020

Too Cute - Yep that's Waddy!

 Good afternoon! it's already been a crazy week but that's life now!

I'm here today to share the first of my Polkadoodles Too Cute new releases with you. Christmas is only 3 and a half months away and we have some adorable things to share with you over the coming weeks.

Meet Waddy Snow Kite:


What I Did:
I resized the image and printed him onto stamping card. I then colored him with alcohol markers.
My white 7 x 5 in card base was matted with deep red cardstock. I matted digital design paper onto this.
I then rounded opposite corners of my image with a corner rounder along with a mat for this. and adhered it to my card.
My sentiment was resized and printed onto stamping card, matted and added to my card with foam tape.
To give dimension to my image I added crystal glaze to Waddy's googles and covered the bottom of his sled with snow writer. I then cute a length of twine and covered the kite string with it.
Finally I added some graduated pearls to the lower left corner.

What I Used:
Alcohol Markers: Copic
Stamping Card: X-Press It
White Cardstock for Base: Neenah Solar White 110lb 
Red Cardstock: Core'Dinations Premium
Crystal Glaze: Tonic Studio Nuvo
Snow Writer: DecoArt
Twine and Pearls: From my Stash
Glue: ZipDry
Foam Tape: Dollar Store

All the new releases can be found in the Polkadoodles Store I will have another Waddy inspiration post later this week.

Looking for more inspiration? Then check out my teamies designs over on the Facebook page, you can also post your own Polkadoodles' designs on the Craft Stamp and Colour with Polkadoodles Facebook group


Monday, December 30, 2019

Shaking In The Snow

Good afternoon! I hope everyone had a great Christmas I know we did! Santa was definitely kind to use all.

Today's post is a card using a super cute image from Scrapper's Delights which was a gift for the design team members:


Isn't this a gorgeous Image! I colored it with my Copic markers, after it was colored Mollie said the girl reminded her of Anna from Frozen - I had unintentionally colored her is a similar color scheme!

I haven't made shaker cards for so long that I thought this was the ideal image to do so.
I had some acetate with snow already on it so I used This for my window. I cut an oval aperture from some patterned and foiled cardstock and added the acetate over this. 
I then matted my 7x5 inch card blank with a coordinating aqua colored card. I then lined up my image so she would show through the aperture and adhered it to my card base. Using foam tape I covered the back of the aperture card ensuring that there was a seal around the acetate window so the glitter wouldn't fall through.
I added a pile of glitter over the image and placed the aperture cardstock over the base, sealing in the glitter so it would shake loosely.


As the cardstock has snowflakes foiled on to it I didn't feel I needed to add anything else to the card.


I am trying to incorporate more videos in to my crafting so here's a little one showing the shaker!

Thanks for stopping by and if you love what you see please let me know in the comments


Saturday, January 5, 2019

Free Snowman!

Good morning, has everyone recovered after the holidays? We are almost back to normal just got the decorations to get put away and I will be happy! We have snow but hey it's winter what do you expect.

Today's card is showcasing SumMore Fun's Watercolor Snowman stamp set and it is a cute one!!

He comes unassembled so I decided to stamp him the same way.


I stamped his head and body on black card in an opaque ink and added his face by coloring the stamp with markers.

I then stamped his arms, hat and scarf on separate pieces of white card.


I matted these onto the same card stock used for my card base. I then added the Free Snowman sentiment to the arm stamps.

 I decided to make my card into an impossible card and details of how I made this can be found on I Heart Maggie's Blog


I thought this was a great way to display all the snowman parts - You have to go hunting around the card for them!

Thank you for stopping by, If you are looking for more inspiration check out my teamies creations on the Blog, FaceBook, Instagram and Pinterest.


Friday, December 9, 2016

Winter Coffee anyone?

Good morning from a very snowy Michigan - yes its finally arrived with a vengeance. It snowed all day yesterday and is still coming down!

Today is the start of the famous Winter Coffee Blog Hop  over at the Coffee Loving Cardmakers - Prickley Pear Rubber Stamps and Riley and Company are both sponsors so I am joining in with a cards I have made using both company's stamps.

I have to admit that I hate the taste and smell of coffee but I do love some of the cute coffee stamps that are out there, including this one from Prickley Pear:


As the theme of the blog bop is winter I have added snow flakes!
I masked to cup off the Coffee Stamp and stamped that and the Snowflake Corner with Versamark. I then added gold tinsel embossing powder and heated it. Next I masked off the flourish on the stamp and again using Versamark stamped the cup section. I used black tinsel embossing powder on this. I matted a card blank with gold and black card and added my image layer to this. A few dots of crystal drops just finished the design.


I stamped it using Espresso colored ink (so fitting don't you think!) I then matted my card with gold and dark brown card. I rounded the corners and added my image layer to my card base.  I then die-cut a coffee set and arranged this on my card. A very simple card but it gets the point of the sentiment across!

You too can join in the coffee blog hop by making up a card with either a coffee, tea or cocoa theme and linking it to the blog. If you are going to join in why not use the Riley and Company or Prickley Pear Rubber Stamps stamps - they have plenty of Coffee related ones to choose from. Whether you like Snark or serious they have the lot!!!!

Thanks for stopping by and I hope you check out the links above for more inspiration 

 photo Crafty Hugs_zpsmrp6bnmu.gif

Friday, November 4, 2016

Snowflakes stick together!

Good morning, I can believe we are still walking around in T-Shirts and it is November! Unfortunately as we live in Michigan I can't see this lasting for long!!!

I'm back today with my 2nd inspiration for Prickley Pear. I'm staying with the winter theme and although this card isn't necessarily a Christmas card it could be used as such:


It's a very simple card, I used a 5x5 inch scalloped card blank and matted it with blue card and snow flake patterned design paper. I then stamped this lovely sentiment from Prickley Pear. It's called Stick Together and I really love the wording. 
I die cut the stamp using a scalloped frame die. I also used the same die on some blue card. I adhered the sentiment using wet glue but then used foam squares on the frame to give it dimension. 
The 3 blue snowflakes were white buttons, I remove the stitch hoops from the backs and colored them to match my design.

Thank you for stopping by, you can find more inspiration from me and my teamies on the Prickley Pear blog and their Facebook page.


 photo Crafty Hugs_zpsmrp6bnmu.gif