Hello

Welcome to my blog, a place where I can lose myself in a crafty haven. Pull up a comfy chair grab a cuppa and come and have a read. Oh and if you like what you see, stop by and leave me some love in the comments section

Followers

Friday, December 16, 2022

Holiday Candy Treats

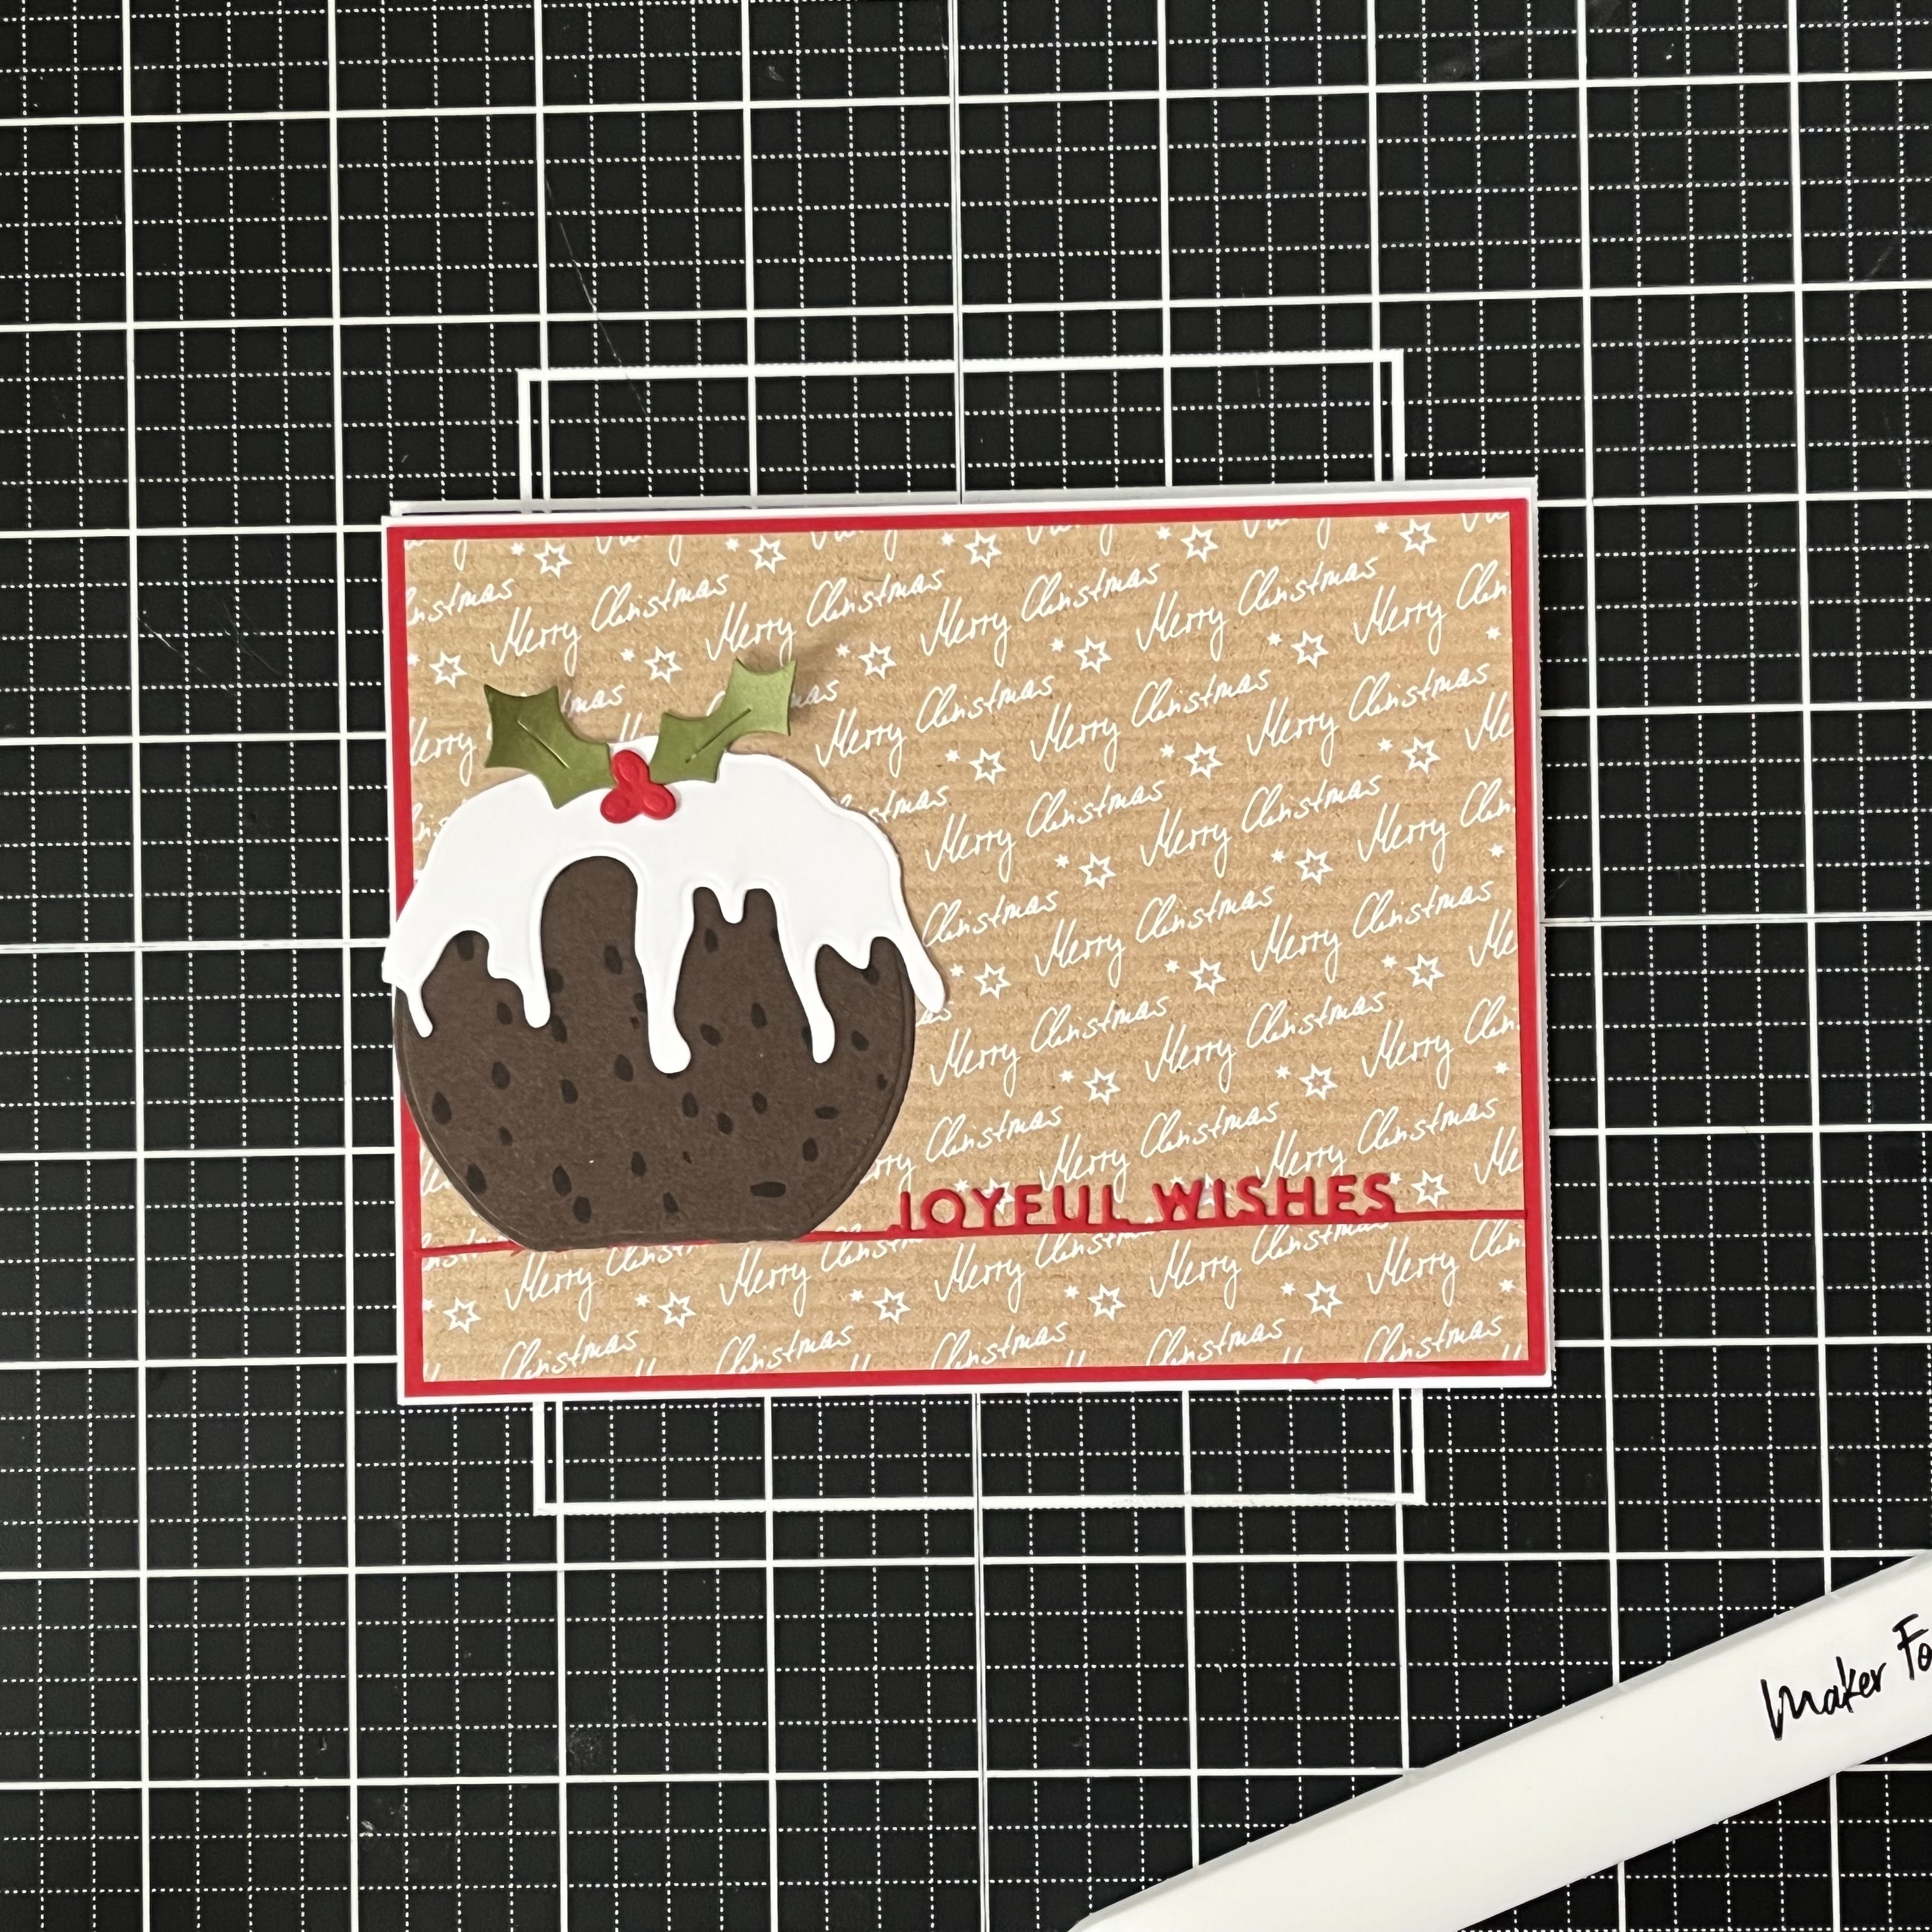
Hello! The holidays are almost upon us. Who is ready for Christmas? We are just about there - presents to wrap and some food to buy!

Who love's to receive candy at the holidays? There is always lots of it around in our home and what better way to give it as a gift when decorated with hand crafted wrappers. My family love to see what I have come up with.

This year I have chosen some little critters to hold a small treat for everyone.


Using a cutting file, each layer is cut from Pop Tone Cardstock or Neenah Classic Crest Solar White 80lb. The snowflake comes first, It has 3 layers and I used Neenah, Sno Cone and Black Licorice.

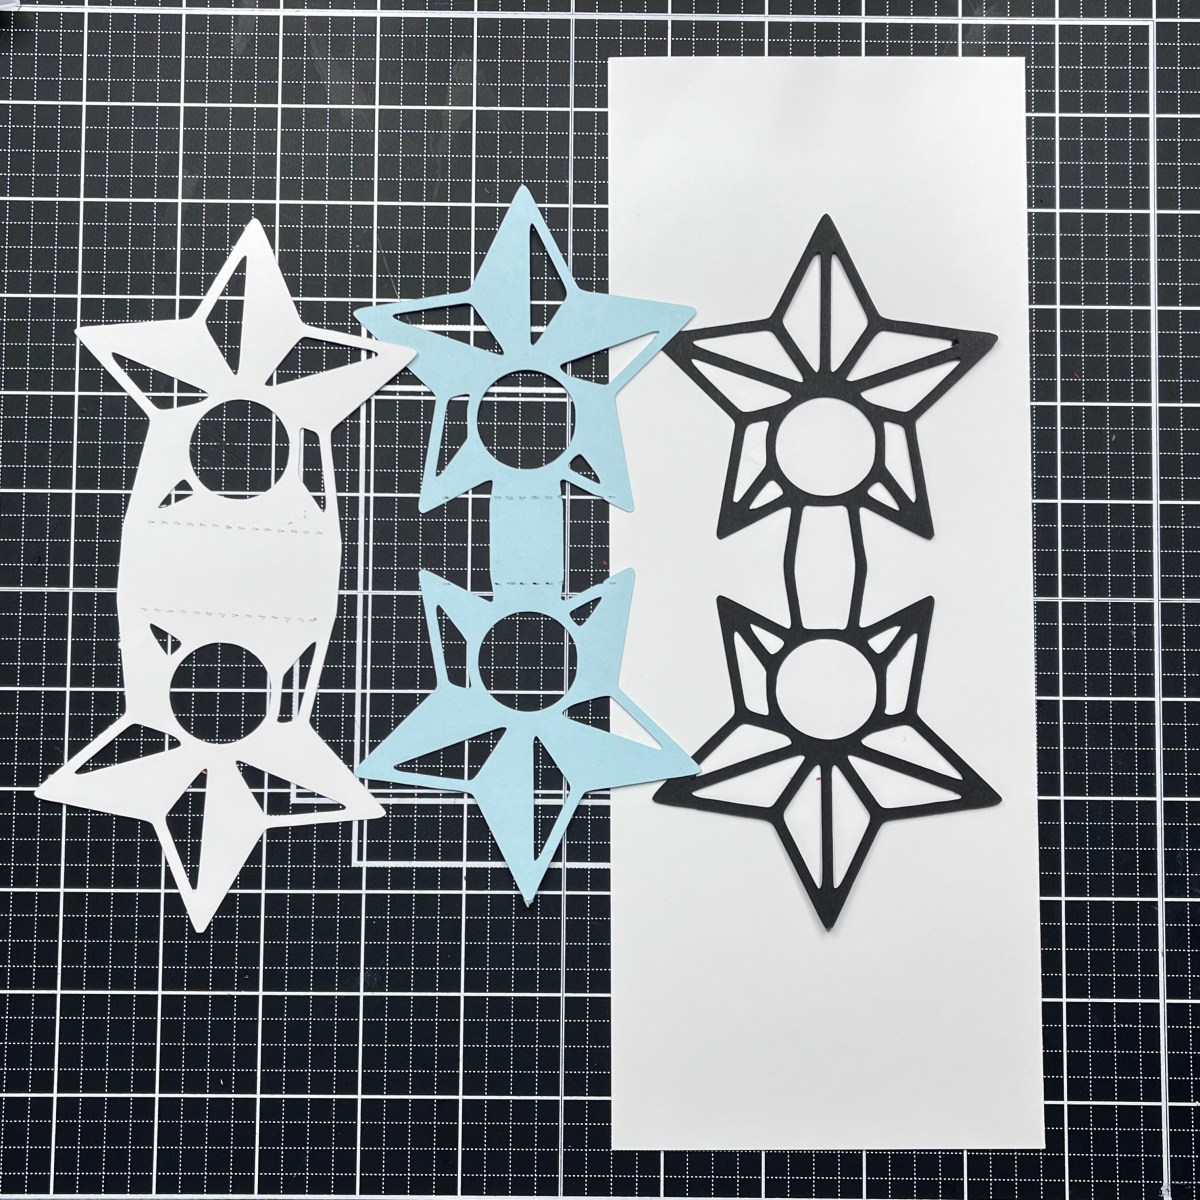
They are very simple to line up and by using wet glue I can have some wiggle room to make sure the layers all line up correctly.

The little snowman is next. He has 3 layers Black Licorice for his eyes and coal buttons, Tangy Orange for his nose and of course Neenah Classic Crest Solar White for his all over color. 

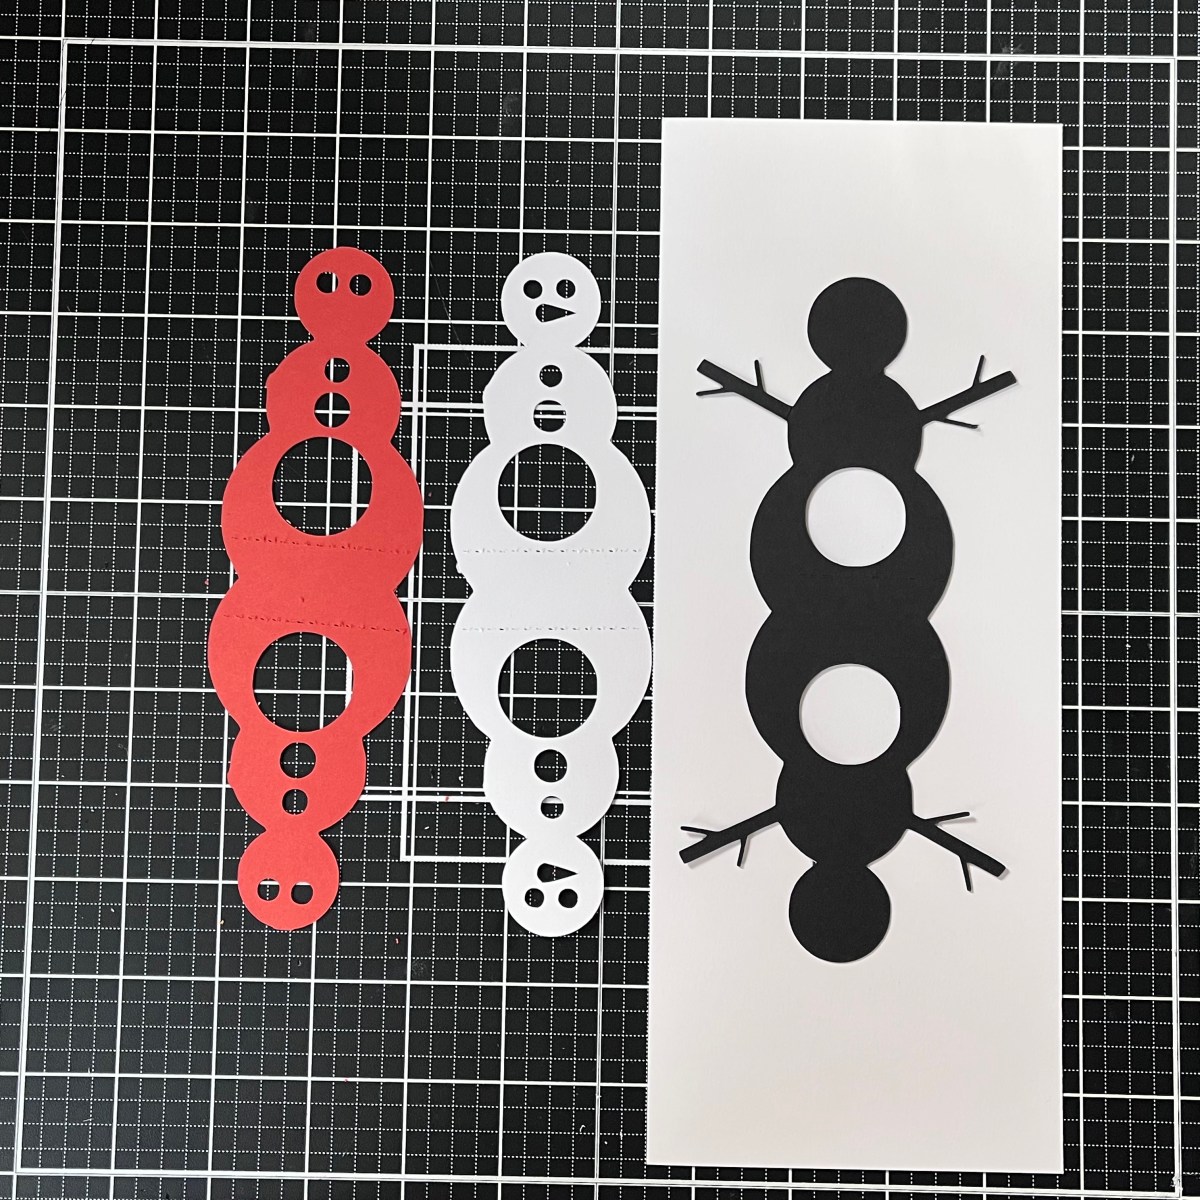
Even though his nose is only a tiny section, each color a full piece so that the end result is flat with no uneven surface.

Next comes the penguin, he is my favorite. Orange FizzBlack Licorice and Neenah Classic Crest Solar White make him come to life.

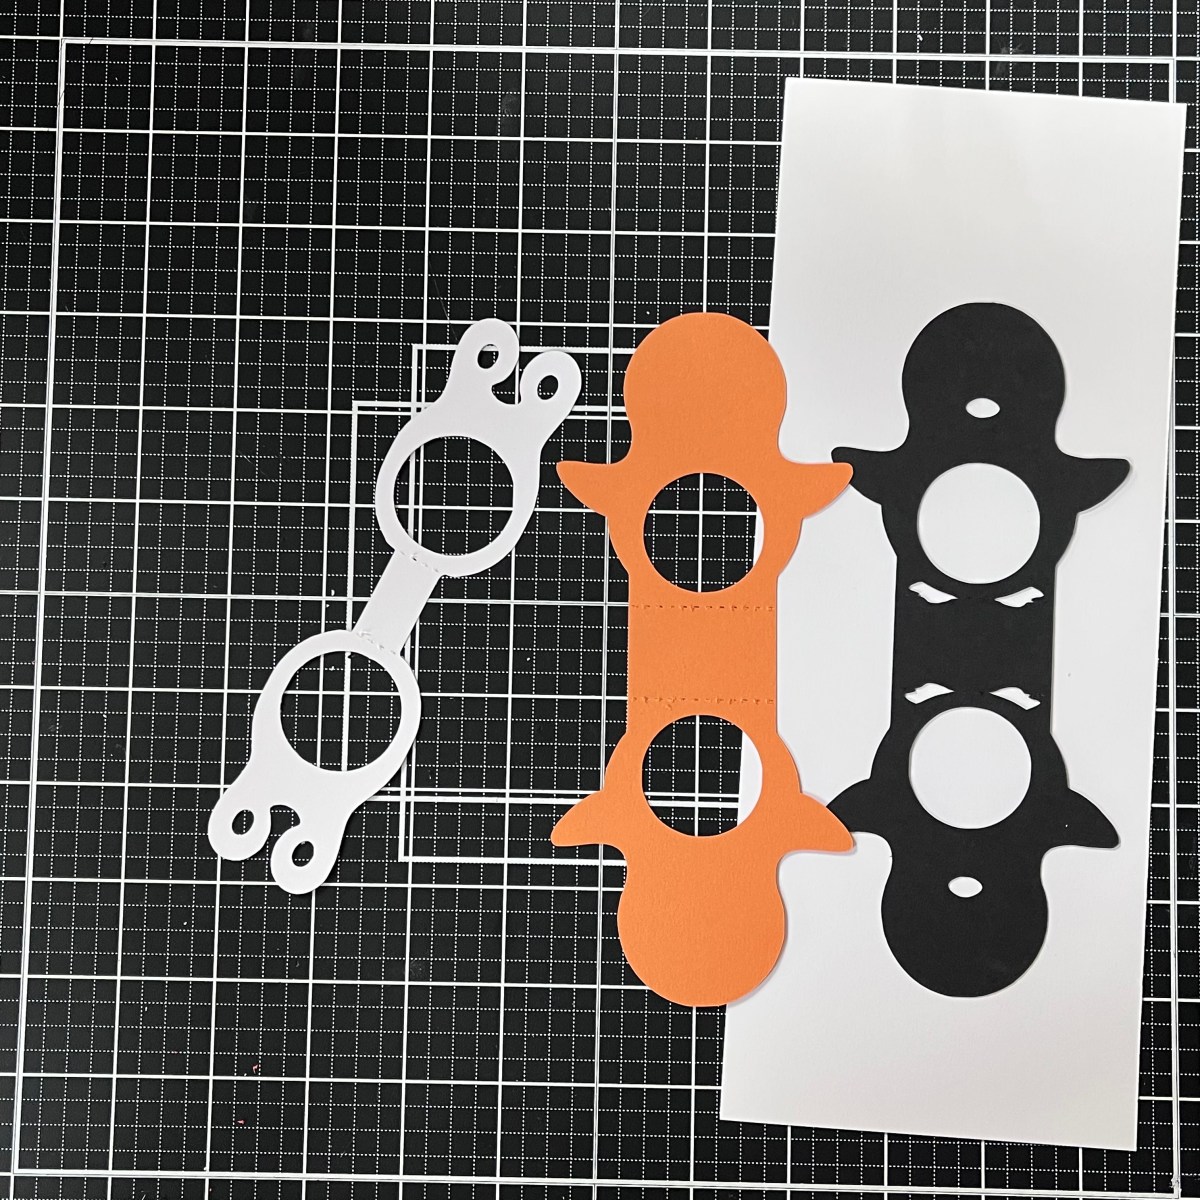
The piece of white cardstock in each of these is only there so the black section shows against my mat. Mr penguin has orange feet and beak and of course his black and white body.

We can't do Christmas crafts without a reindeer. There are only 2 colors for him: Black Licorice and Hot Fudge.

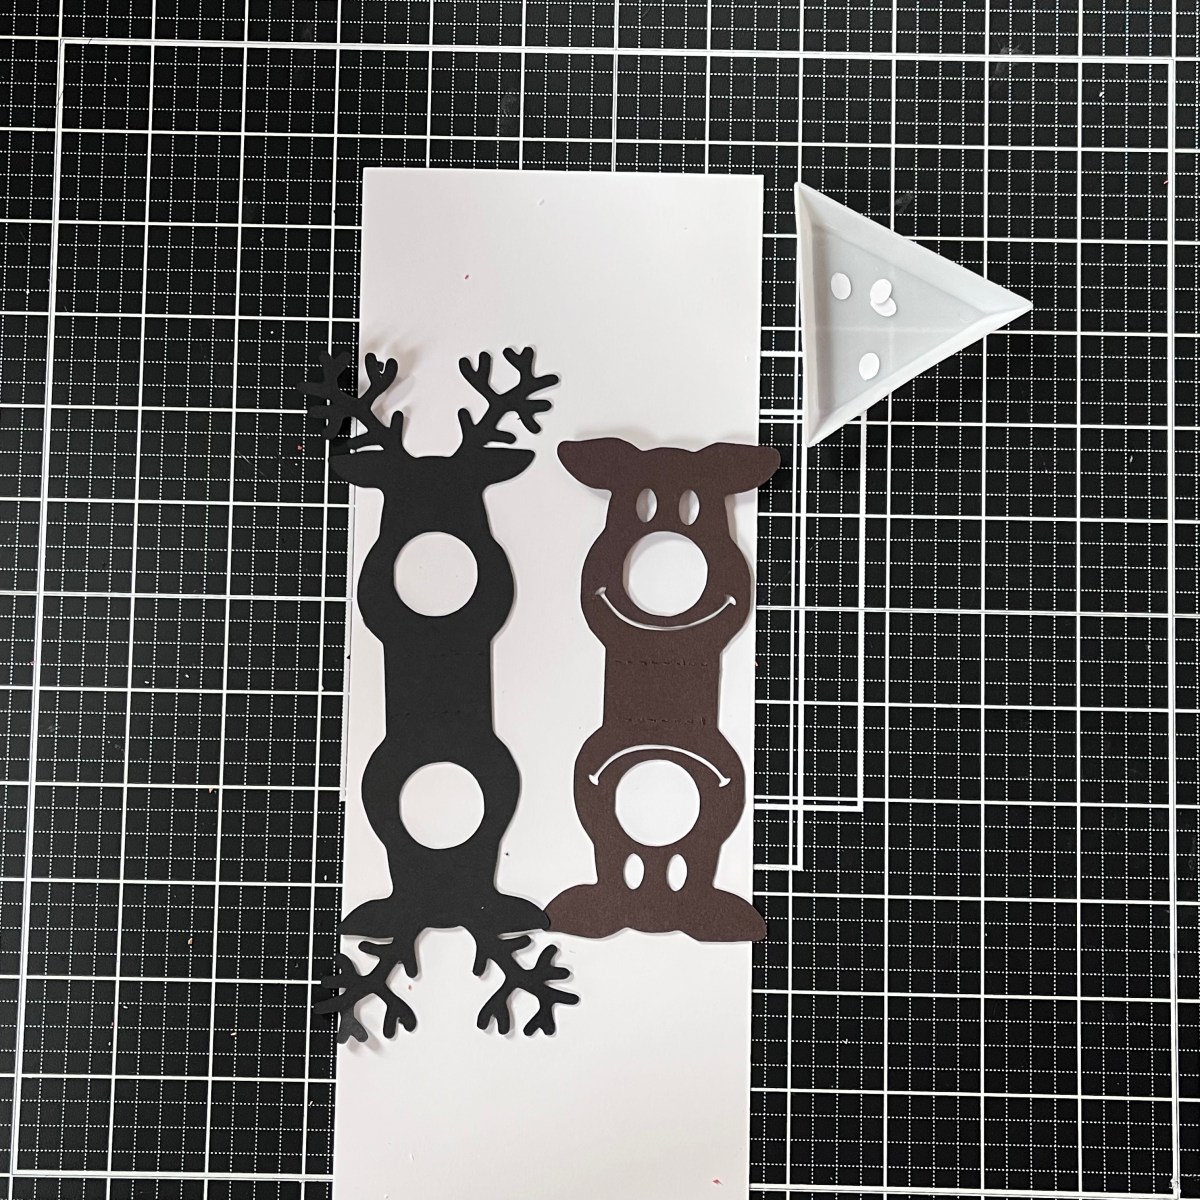
Once I adhered the layers together I realized that his eyes were very vacant. I had saved the waste from the penguin's face and the eye piece fit so well in the reindeers eye sockets.

A little black marker and white gel pen makes him more friendly.

Now to make them in to candy holders. Each shape has 2 score lines so they bend in to shape.

The popular truffles fit well well in the holes of each shape, you can also use round lollypops. Once the candy is in position I can glue the top of each shape. Again I use wet glue and hold them together with a paper clip until dry.

Rudolf now has his red nose. I intend on adding one of these to each of our stockings as a little extra surprise.

Oh I have made a little extra one since I did my tutorial photos, since gnomes are popular I had to add one to my little candy family. 

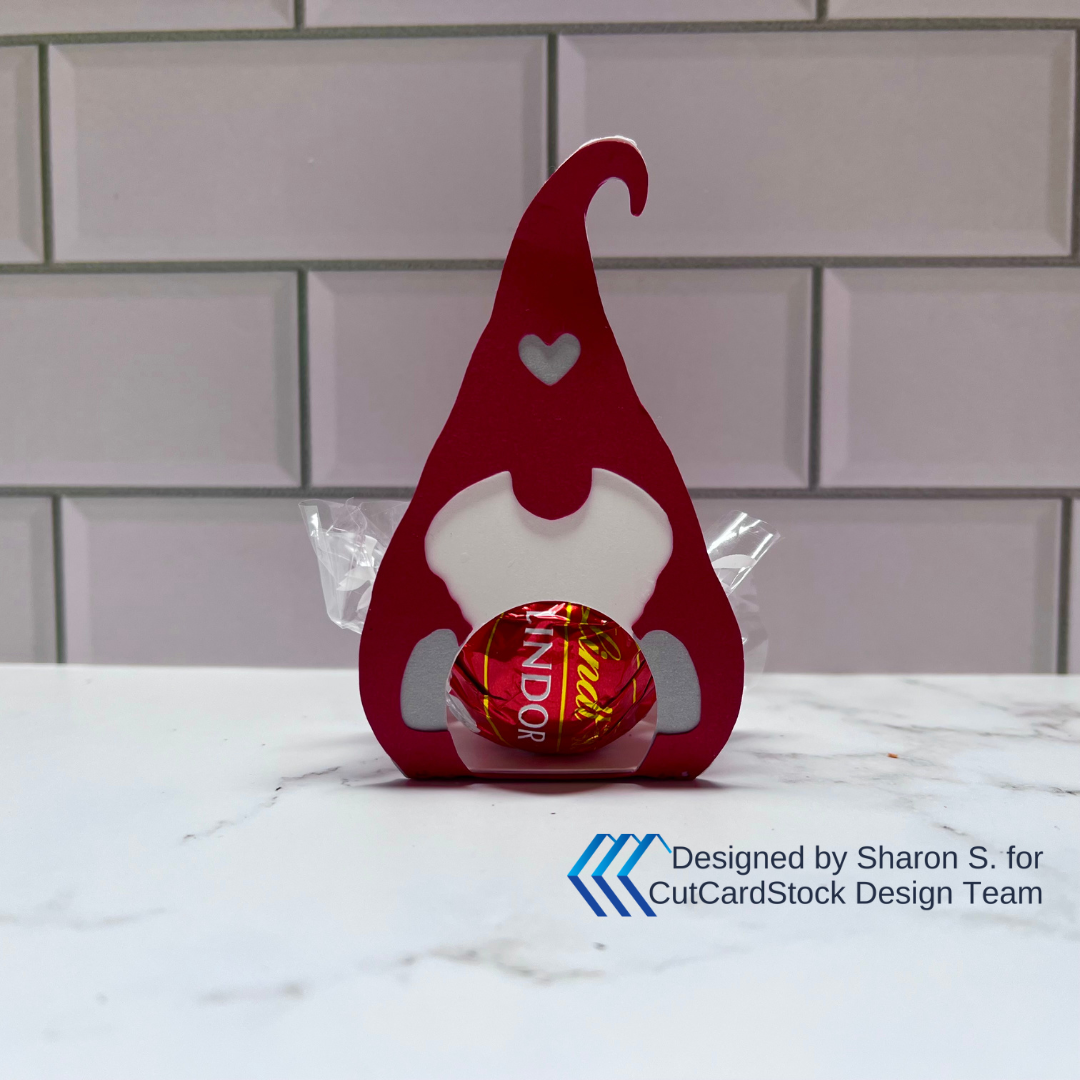
He actually looks like he has fairy wings with the wrapper of the truffle.

I hope I have given you some inspiration especially if you need last minute crafty holiday ideas.

Thursday, December 1, 2022

For We All Like Figgy Pudding

Hello! It's December which means Christmas is almost here. How are you doing with your shopping?

Coming from the UK we always have something called Christmas (figgy) pudding for dessert following Christmas dinner. It's a steamed dark pudding rich in fruit that is usually round in shape - Just like on my card.


I need all my die cuts to start the design so using Gina Marie Designs Figgy Pudding dies I cut the main pudding from Pop Tones in Hot Fudge. The cream is using Neenah Solar White 80lb. The holly is Pop Tone Jelly Bean Green and the berries are using Pop Tone Wild Cherry.


These colors are perfect for both for a Christmas design and for the pudding!

As the pudding is full of fruit I added marks with a black Copic Marker. This doesn't achieve the look I was wanting so I changed it up as you will see lower down.


The card needs a sentiment so using Wild Cherry and Simon Says Stamp Holiday Words On A Line I die cut Joyful Wishes. I am now ready to build mat design, this is a landscape card. A Classic Crest ReCycled 100 Bright White A-2 Folded Card is perfect.


I like to have mats on my cards I think they give the card stability. So I cut a mat of Wild Cherry and another from some design paper I have in my stash.


Wet glue is the best adhesive to add mats to the base, this gives me a little wiggle room to get them straight.

My sentiment is just less than an inch from the bottom of the card. Trimming the excess line so it doesn't overlap the pattern paper.

This gives me plenty of room to add my 'pudding' which I placed on the sentiment line.


Decorating the pudding is easy. The 'cream' drips down the top of it and the holly with the berries goes on the top. Shaping the holly leaves so they add a little dimension.


This is where I change to the pudding texture. Crystal Glaze makes the copic marks shine it also gives my berries a bit of dimension.


The right of the card looks a little bare until I add some red berries (pearls) above the sentiment. As the pudding is the main image using pearls draw the eye to the sentiment.


Thank you for taking time to read my post. I hope it gives you some inspiration it so please tag me on your designs!