Hello

Welcome to my blog, a place where I can lose myself in a crafty haven. Pull up a comfy chair grab a cuppa and come and have a read. Oh and if you like what you see, stop by and leave me some love in the comments section

Followers

Showing posts with label For my Cowboy. Show all posts

Wednesday, October 5, 2022

Fall Country Girl

Good morning! The weather is great at the moment, nice and sunny but at a great temperature! I am loving it - yes it gets cooler at night but who doesn't like that!

Fall is THE best season and my card today is fall themed - Sunflowers and western boots my favorites and I would love some boots like these.


Aren't they adorable? There are a few boot designs to choose from in the For My Cowboy Stamp Set from Maker Forte. I began with stamping one the floral boot onto stamping card using Eclipse Black Ink


Covering the first boot with masking paper I stamped 2 more boots on the paper and fussy cut these. 


Masking is how to achieve layered images. By covering the first boot and stamping the second one nearby I can make it look like the 2nd boot is behind the first.
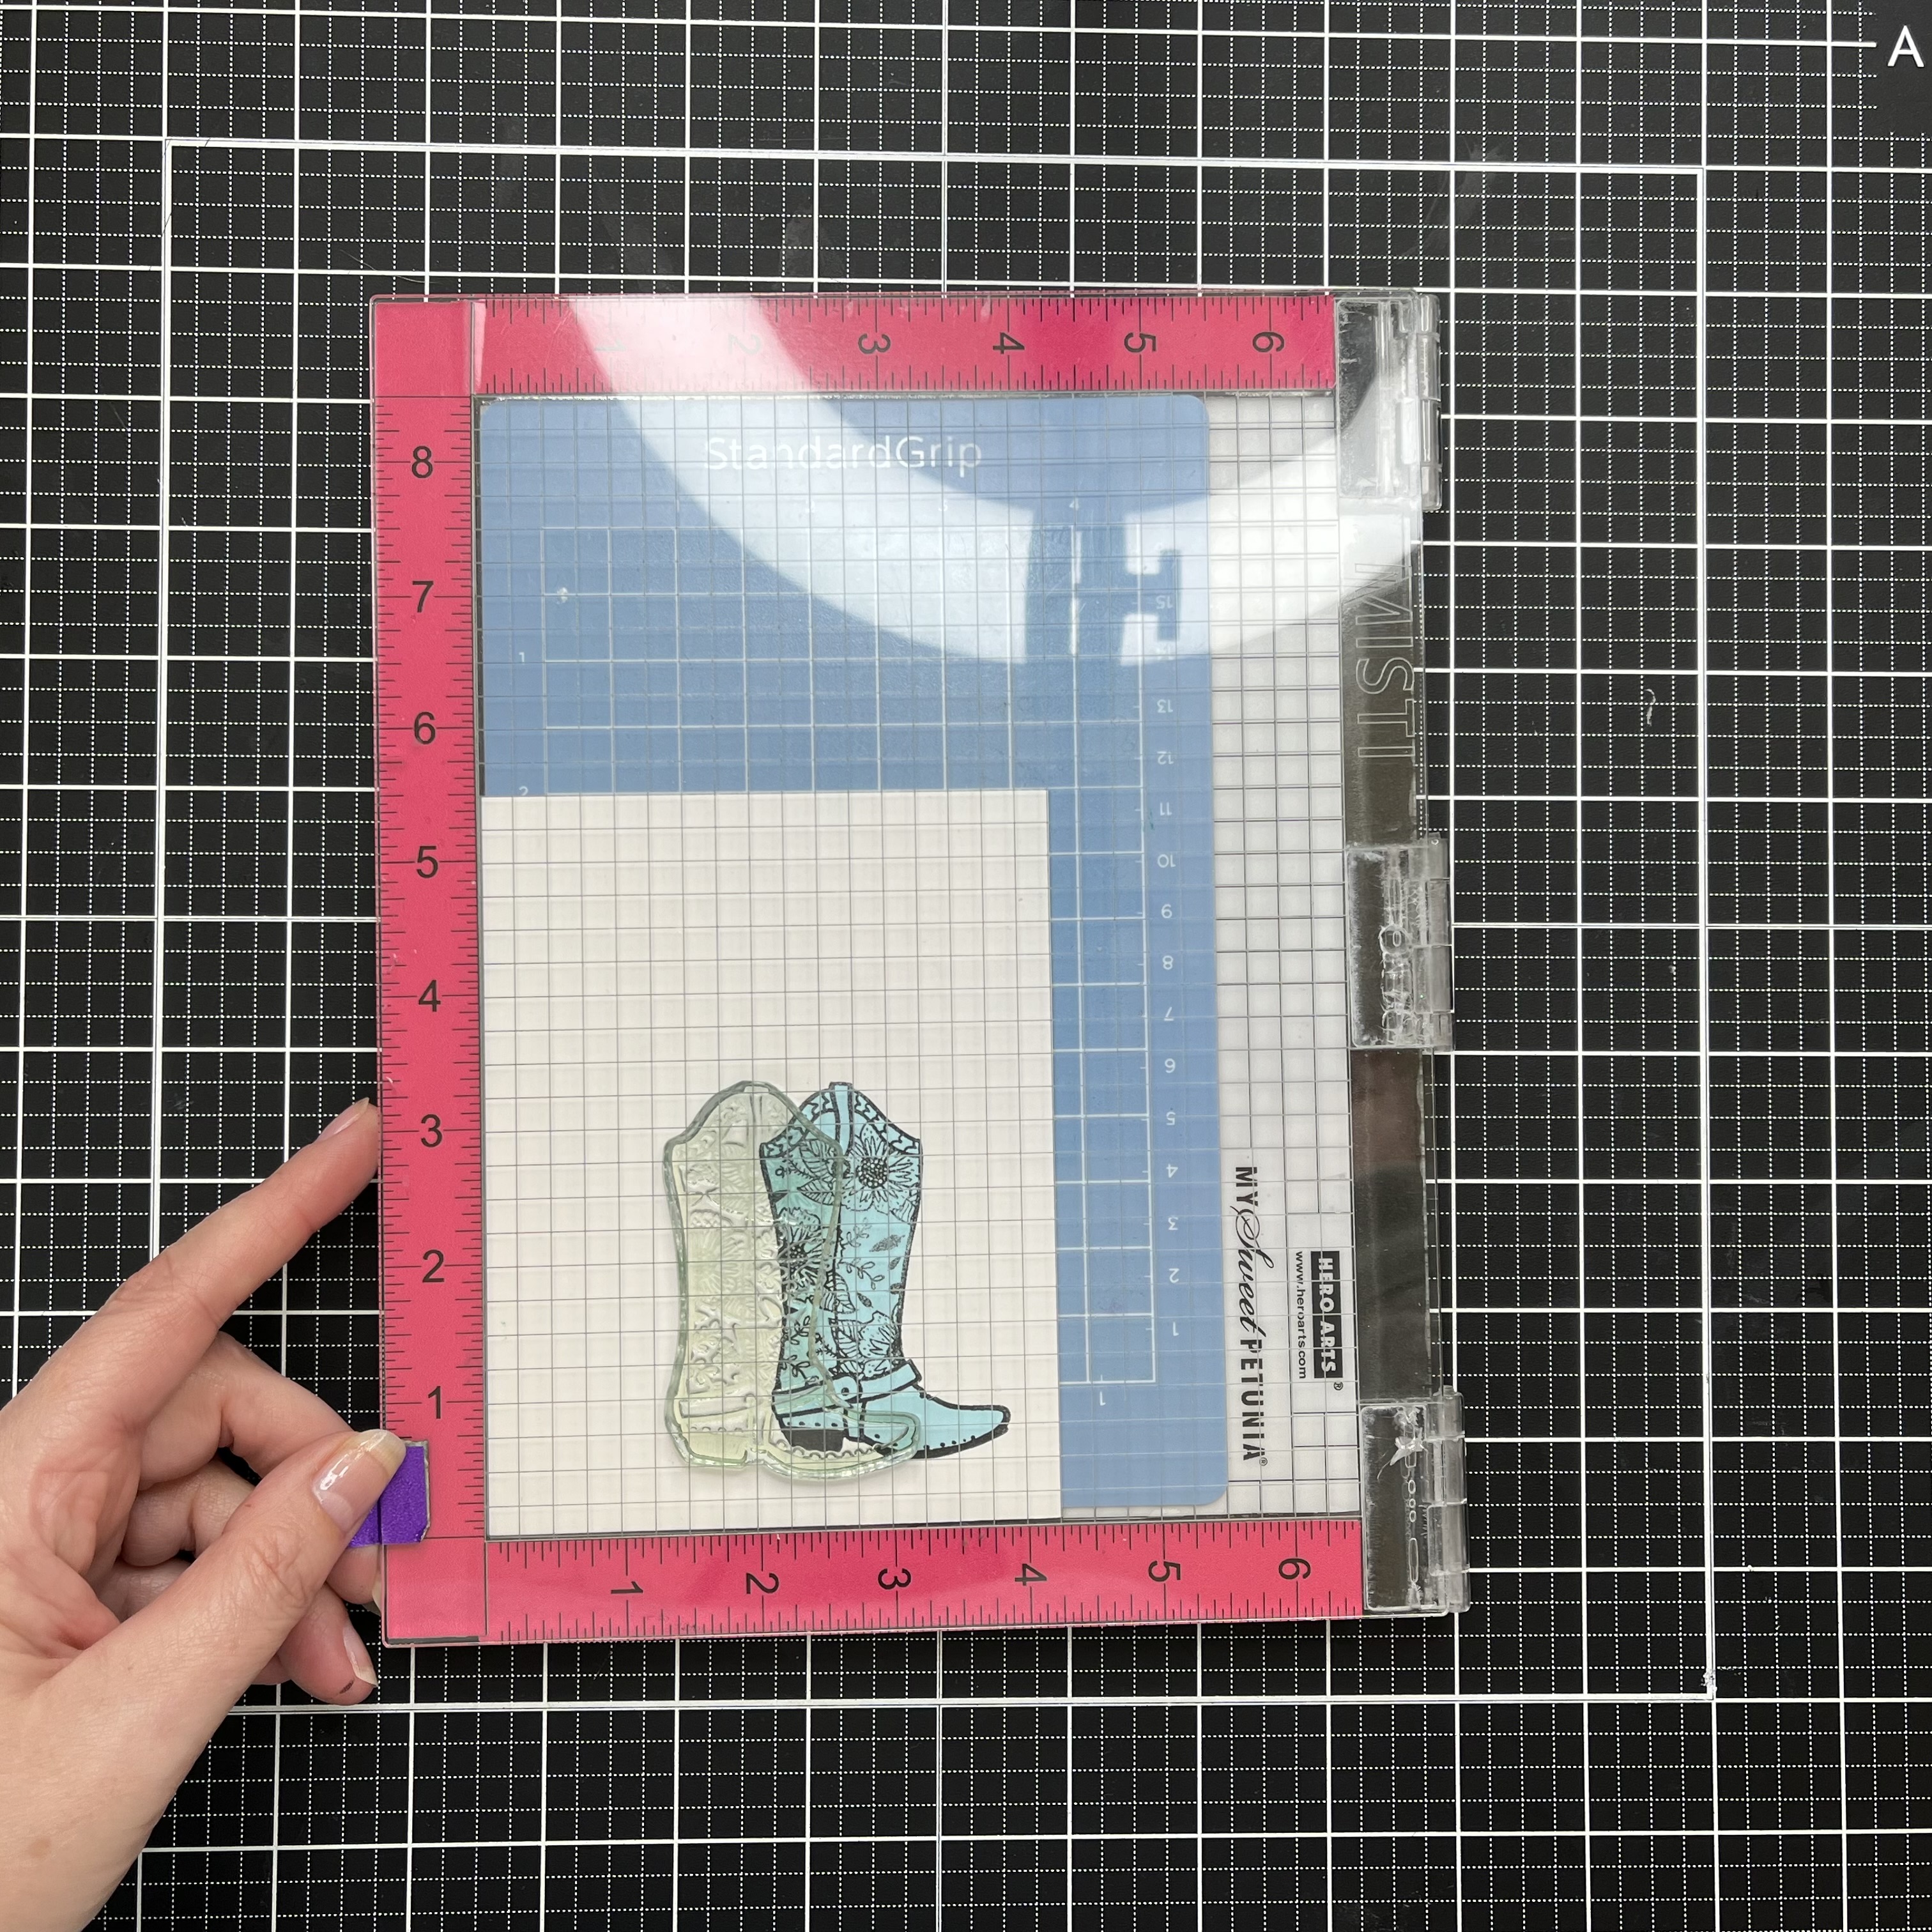

Placing a mask over the 2nd boot I moved on to my background. The Layered Sunflower Stencil is perfect so the first layer I stamped in English Mustard Ink which is a great yellow.


The next layer is the shading on the petals using Red Leicester InkGrand Canyon Ink colors the flower center then the seed layer uses Ground Espresso Distress Ink.


Removing the masks leaves me with clean white stamping of the boots all ready to color.


You can see here how masking gives the impression of stacked images with the sunflower behind them.

Copic markers work great for the main color of the boots and fine liners for the floral design. These allow me to get into the smaller parts of the design.


My card needs a sentiment and 'Country Girl' is part of the stamp set. It fits well with the design in Eclipse Ink.


I love clean and simple cards however the white of this looked a little stark against the bright colors. using Grand Canyon again I ink blended the edges of the card.
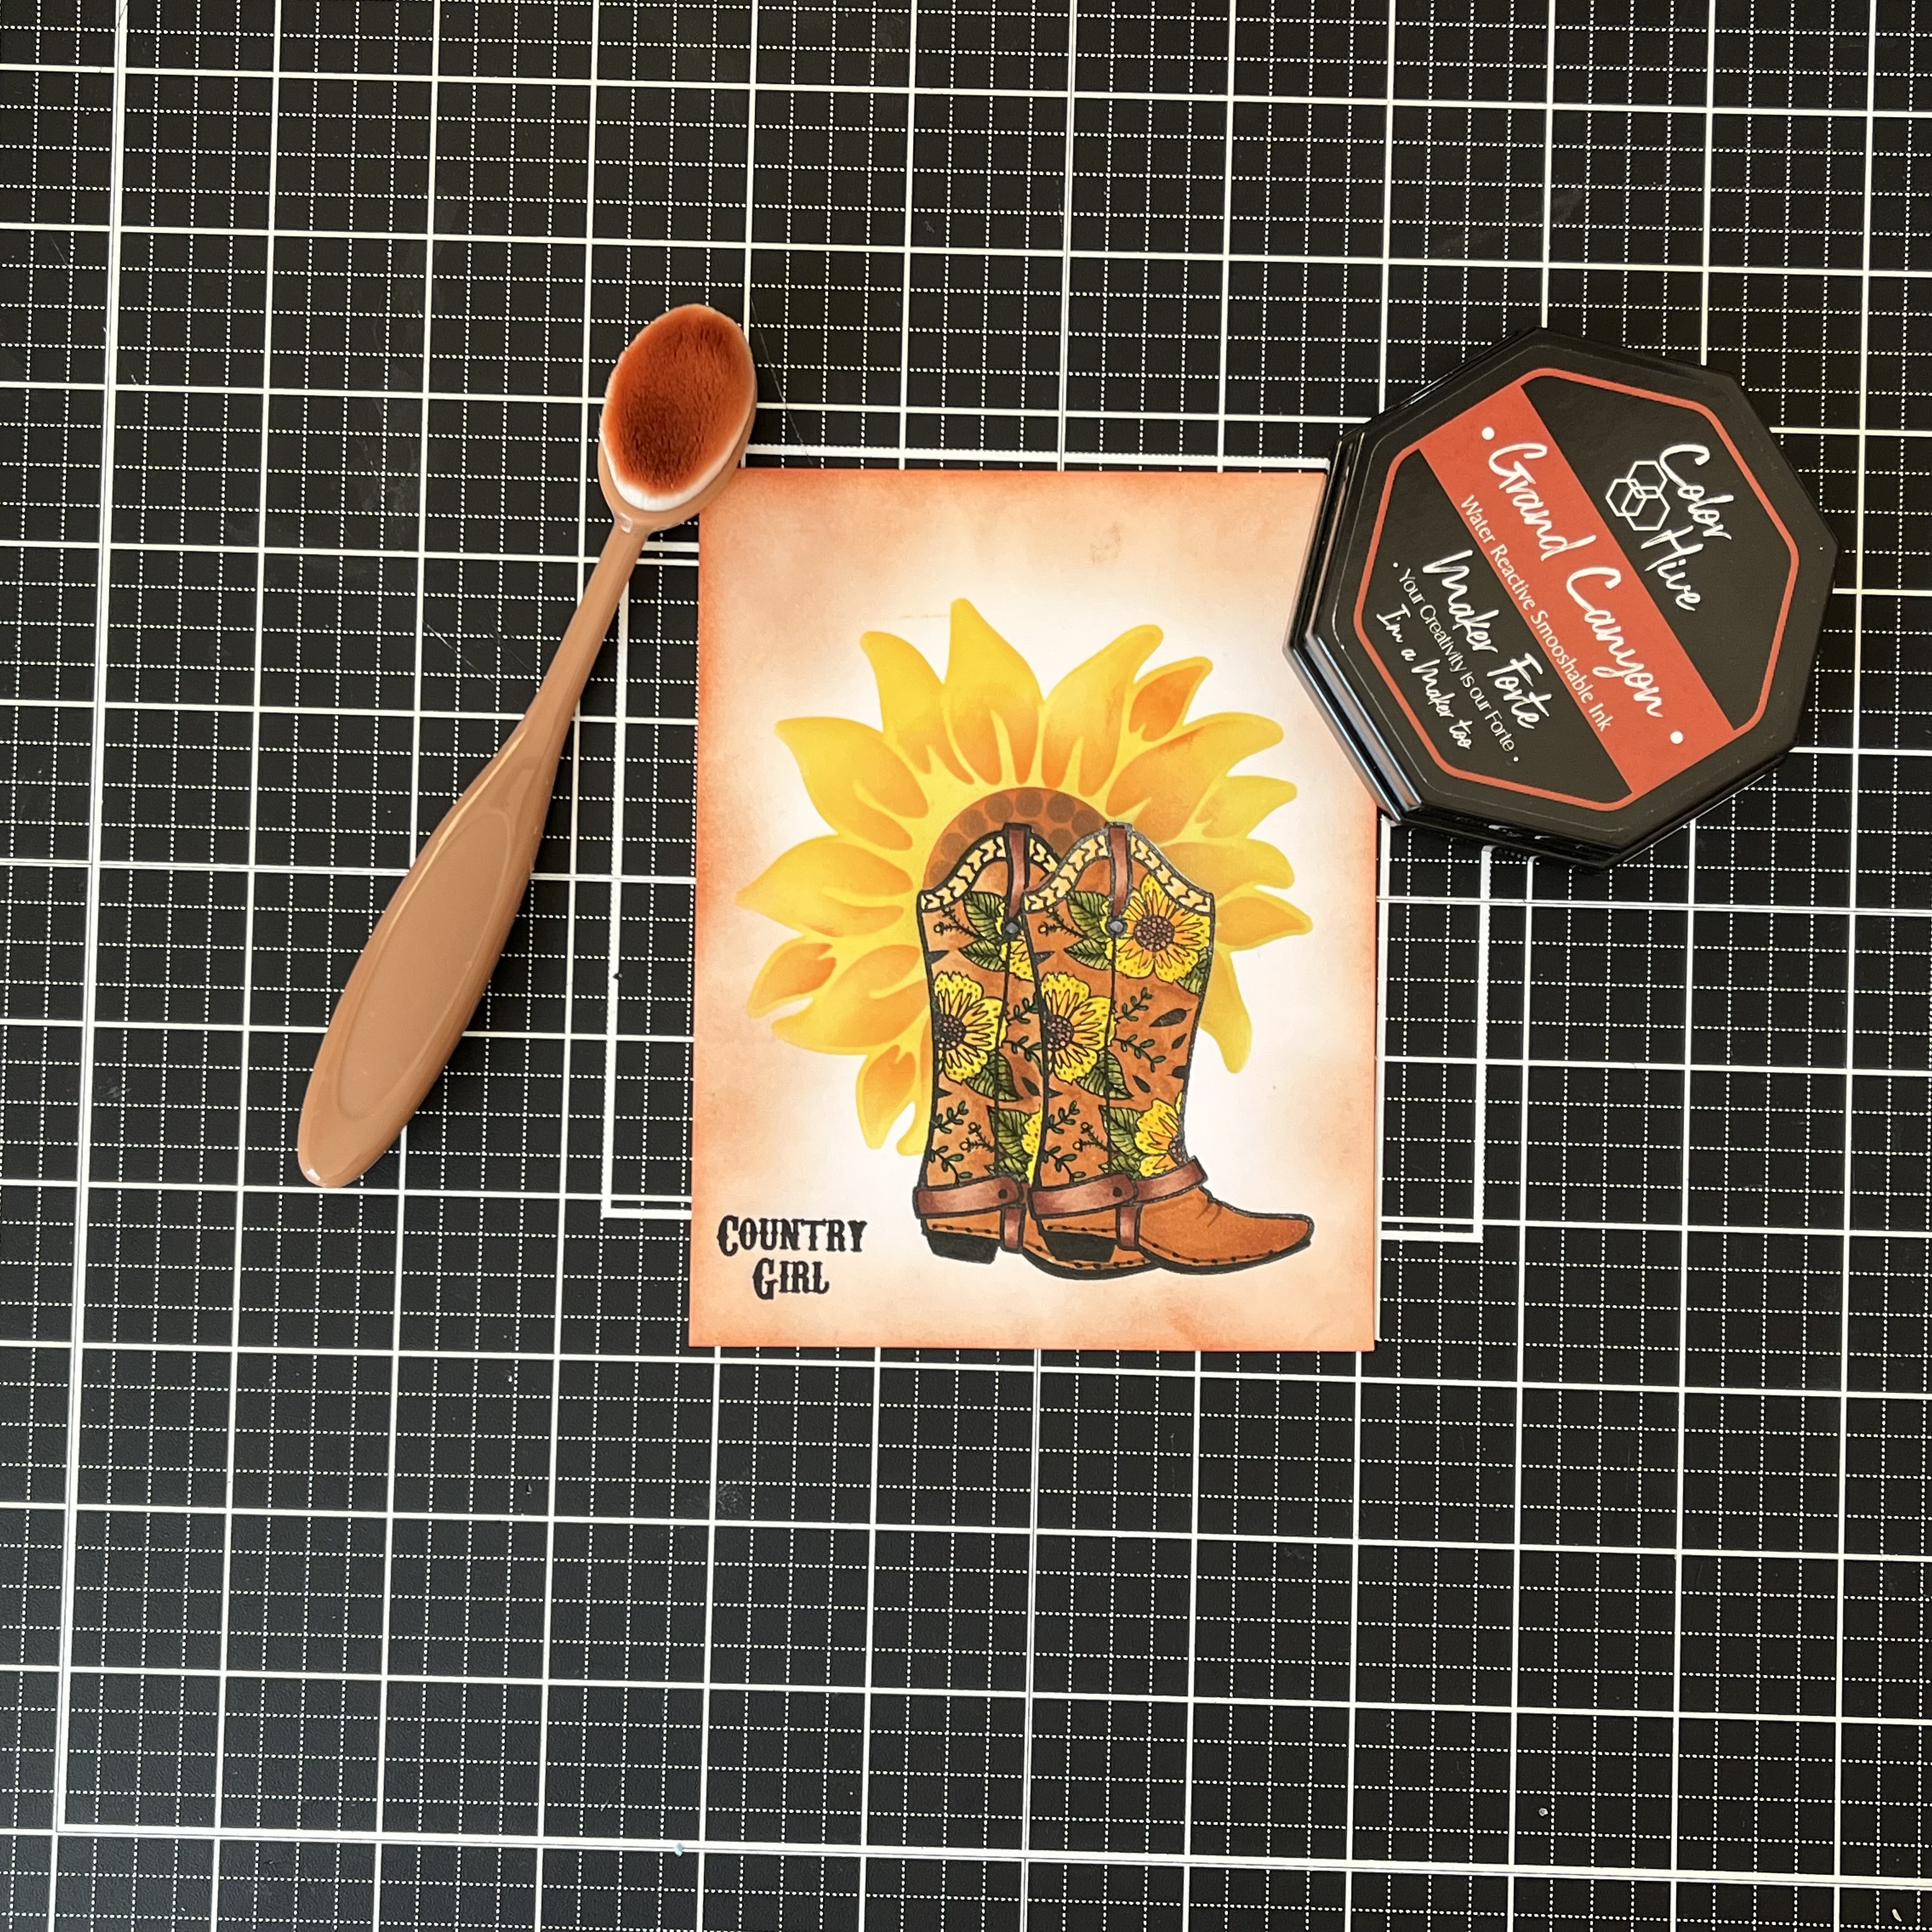

To finish the design I chose a brown cardstock for my mat and a Side Folding A2 Card Base with wet glue so keeping the layers flat.


The colors just pop against the darker brown mat.


I hope you love the fall look of this card as much as I do and thank you for stopping by.


Wednesday, June 1, 2022

Dirty and Fun

 Hello! we are back from our vacation which was fabulous - Tennessee is a great 'country style area' So my card today uses the same theme!

Maker Forte have release a great collection pod Western Style products - I will be using these in more cards to come!


Used a few different products for this card, my main aim was to make it looked distressed.


I started by fixing the Rodeo Stencil a piece of Bristol Smooth cardstock. Using a blending brush and  Corduroy Distress Ink I inked through the stencil. 


Using For My Cowboy Stamp Set, I stamped 2 of the boots with Eclipse Black Ink on to white card.


The boots in the set are all different which makes it easy to make pairs of different boots. I wanted 2 different ones to fit with the sentiment I chose to use.

Coloring them with alcohol markers, I used different brown tones both for shading and pattern. Then were then fussy cut them ready for my card.


I stamped the 'If it Ain't Dirty it Aint Fun' sentiment using Eclipse Black Ink and trimmed to size.


Ink blended edges, with the Brushed Corduroy Distress Ink, were added to give it and aged look. Then I used a distressing tool to scuff the edges of both this and my stenciled card. You can use scissors to obtained the same look I just find it easy with this tool.


To make the card look even more distressed I ink blended the roughed edges with the same distress ink.


To build my design I chose A2 Top Folding Card Bases and some dark brown cardstock.


The brown cardstock was used to my base and sentiment then my stenciled topper was added. My boots were arranged and one was adhered flat on the card while the other was placed crossed and fastened in place using foam squares. Finally my sentiment was added a little crooked to fit with the card theme.

Thanks for taking time to read my post, I hope you find some inspiration from it and if you do I would love to see your design.