Hello

Welcome to my blog, a place where I can lose myself in a crafty haven. Pull up a comfy chair grab a cuppa and come and have a read. Oh and if you like what you see, stop by and leave me some love in the comments section

Followers

Showing posts with label yellow. Show all posts

Wednesday, November 2, 2022

Floating on Dreams

 Good morning! The days are great at the moment, nice mid temperature fall days which make being outside fun.

I'm back with a card using Maker Forte supplies, I love these images from Floating on Dreams Stamp Set. There is also trails you can add to the butterflies that have sentiments. As well as the main sentiments.


I don't color with pencils often so decided to try them and a no line coloring technique on this card. Remarkable Fog Inkis great for this technique as it leaves faint lines instead of the stark black lines. However, because I have used Toned Tan paper my sentiment needs be darker so I used Eclipse Black Ink for this.


My next stage is to color the images, I chose just a few color blends and used them on both butterflies. Coloring with pencil takes longer as you have to layer your colors to get a good coverage. My Faber Castel Polychromo Pencils lay down a good coverage of color.


The rest of the card is kept simple, mats are using colors similar to the pencil colors. A buttery yellow was my fist choice but this doesn't make the colors pop. Redwoods Cardstock on its own was the same however when layer both of these colors it gives a totally different effect.


Using a Top Folding A2 Cardbase I added the layers. I have trimmed these and my design so they are slightly narrower than my base. This draws the eye to the design.


My card needs a little more detail so I chose Roller Skates and Lemon Roller Skates.


These coordinate with the colors in the butterflies. I just like to have a little sparkle or texture on my cards. Makers Magicis great to adhere these in place and of course the Maker's Magic Wand helps to position these perfectly.


I love the wording on this sentiment I perfect way to describe a butterfly!


Thank you for joining us today and I hope I gave you some inspiration for your designs.

Wednesday, October 5, 2022

Fall Country Girl

Good morning! The weather is great at the moment, nice and sunny but at a great temperature! I am loving it - yes it gets cooler at night but who doesn't like that!

Fall is THE best season and my card today is fall themed - Sunflowers and western boots my favorites and I would love some boots like these.


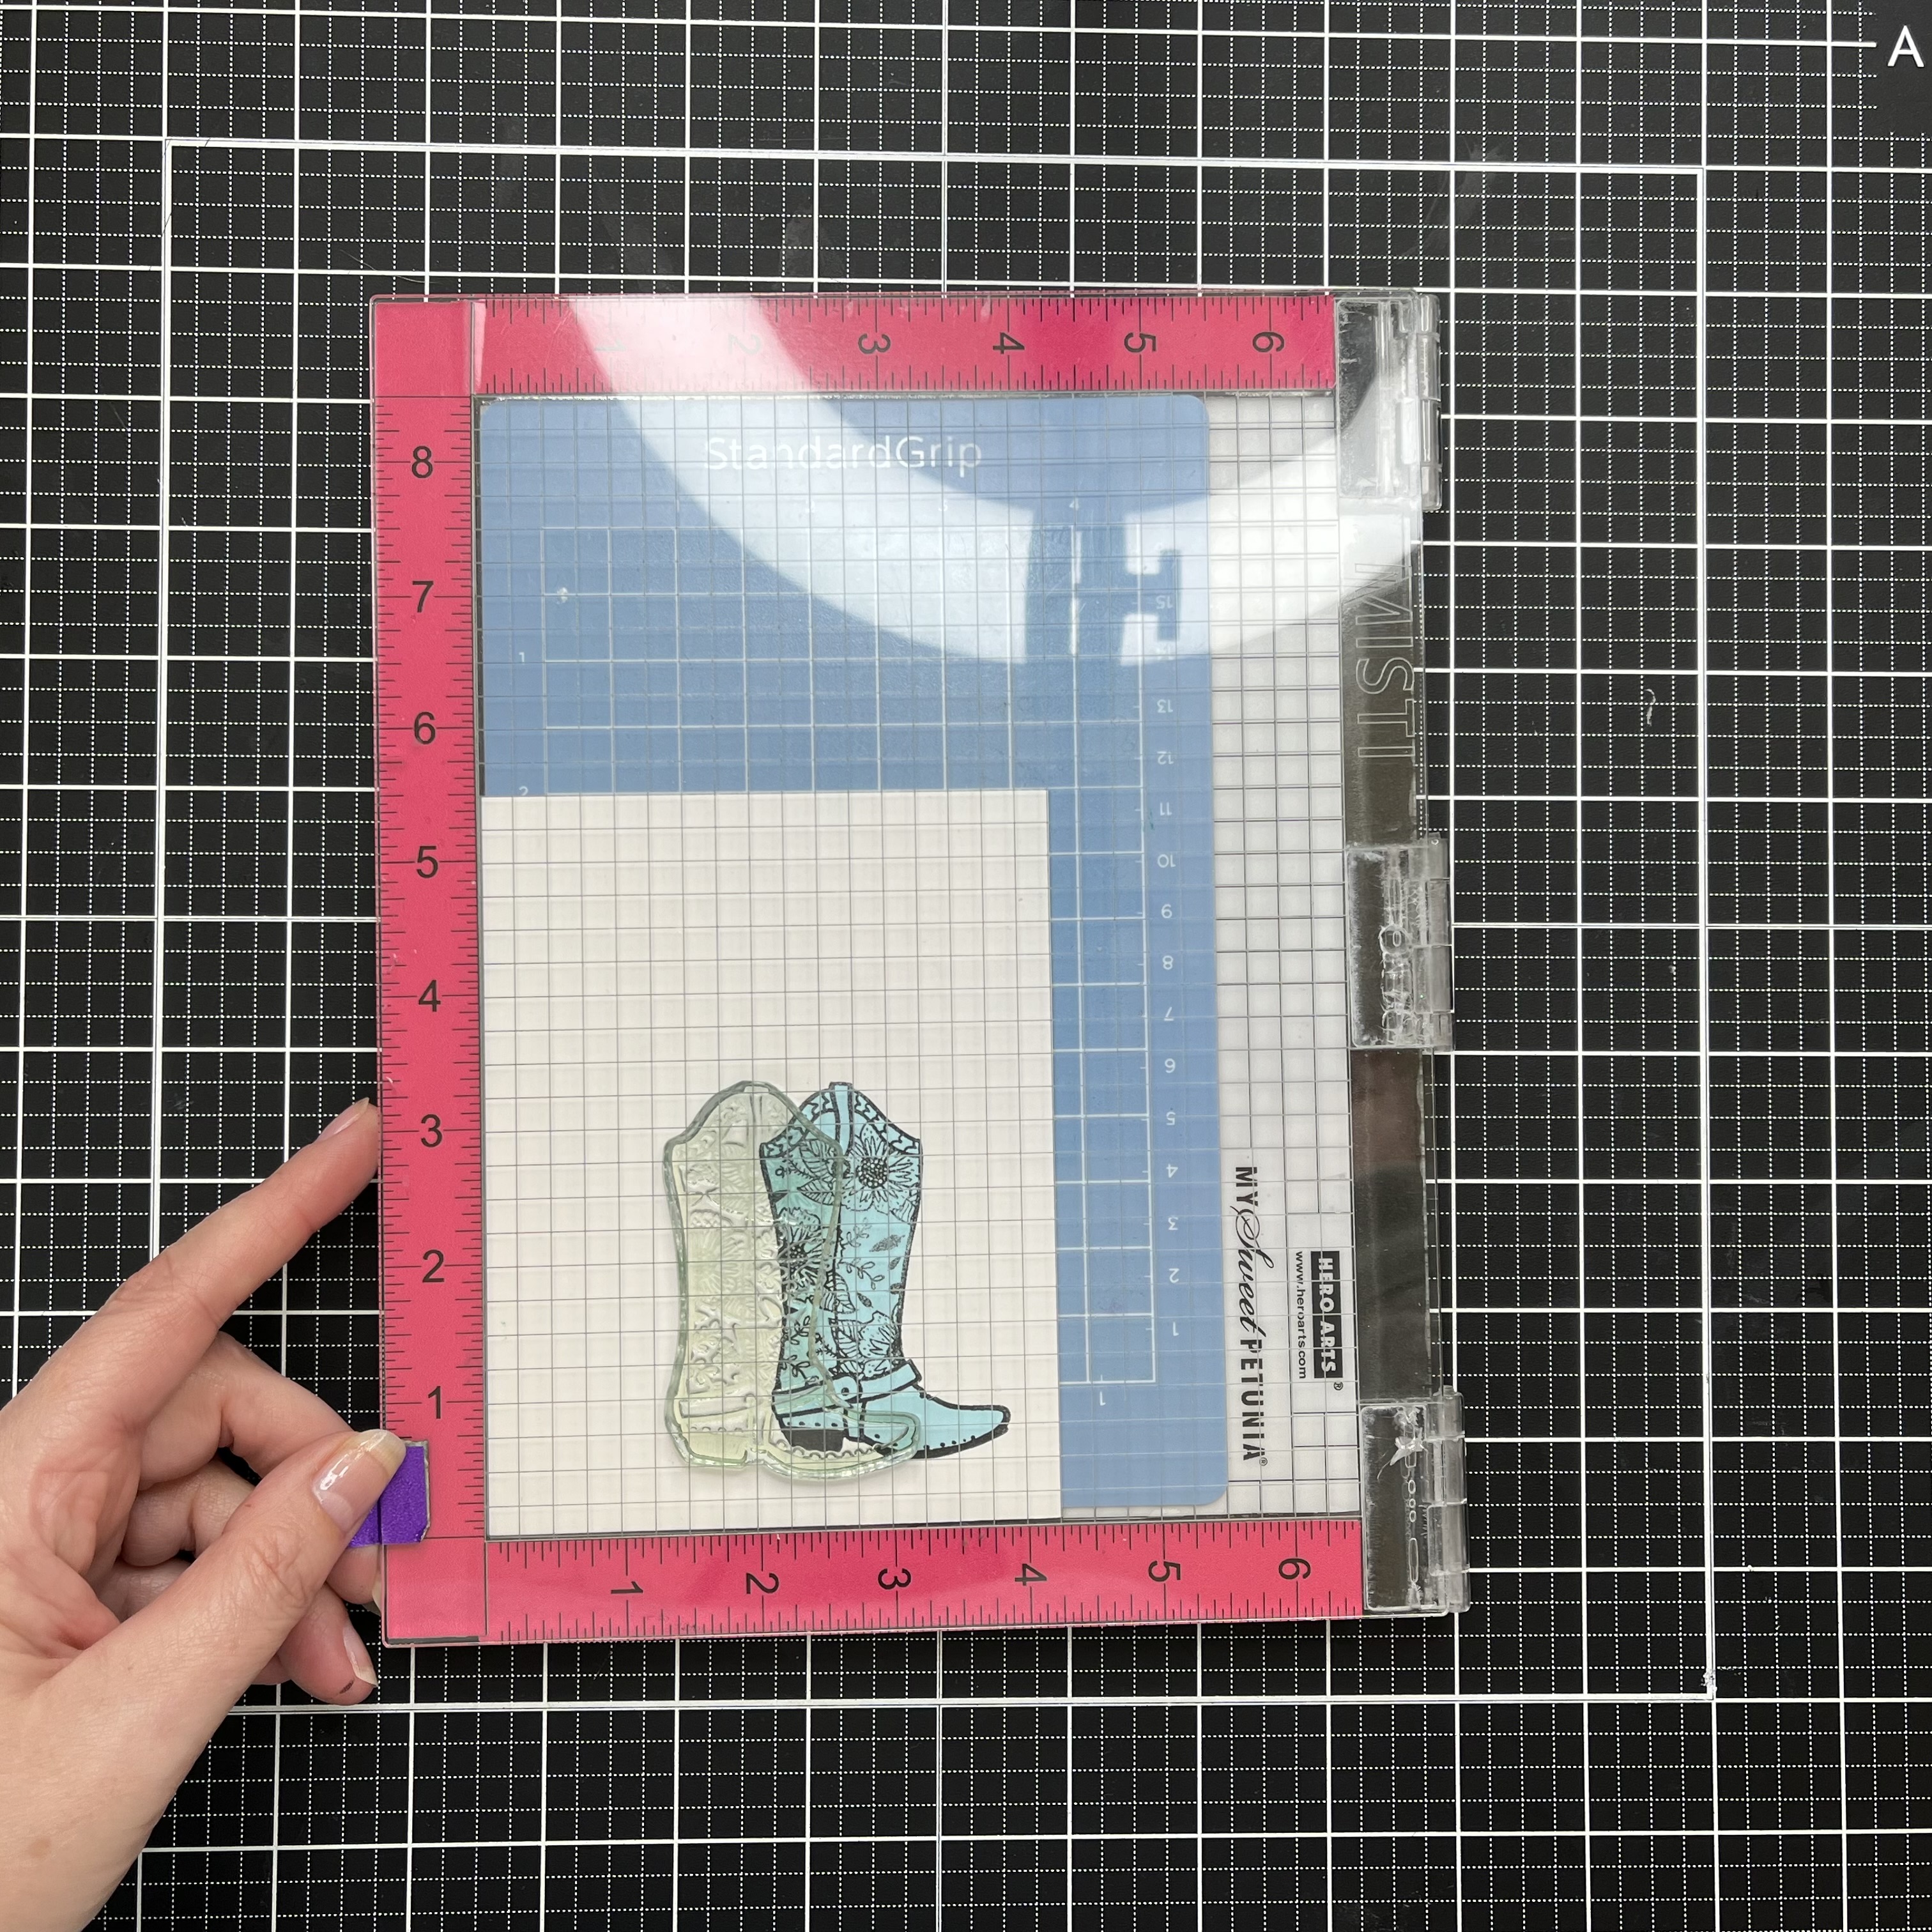
Aren't they adorable? There are a few boot designs to choose from in the For My Cowboy Stamp Set from Maker Forte. I began with stamping one the floral boot onto stamping card using Eclipse Black Ink. 


Covering the first boot with masking paper I stamped 2 more boots on the paper and fussy cut these. 


Masking is how to achieve layered images. By covering the first boot and stamping the second one nearby I can make it look like the 2nd boot is behind the first.


Placing a mask over the 2nd boot I moved on to my background. The Layered Sunflower Stencil is perfect so the first layer I stamped in English Mustard Ink which is a great yellow.


The next layer is the shading on the petals using Red Leicester Ink. Grand Canyon Ink colors the flower center then the seed layer uses Ground Espresso Distress Ink.


Removing the masks leaves me with clean white stamping of the boots all ready to color.


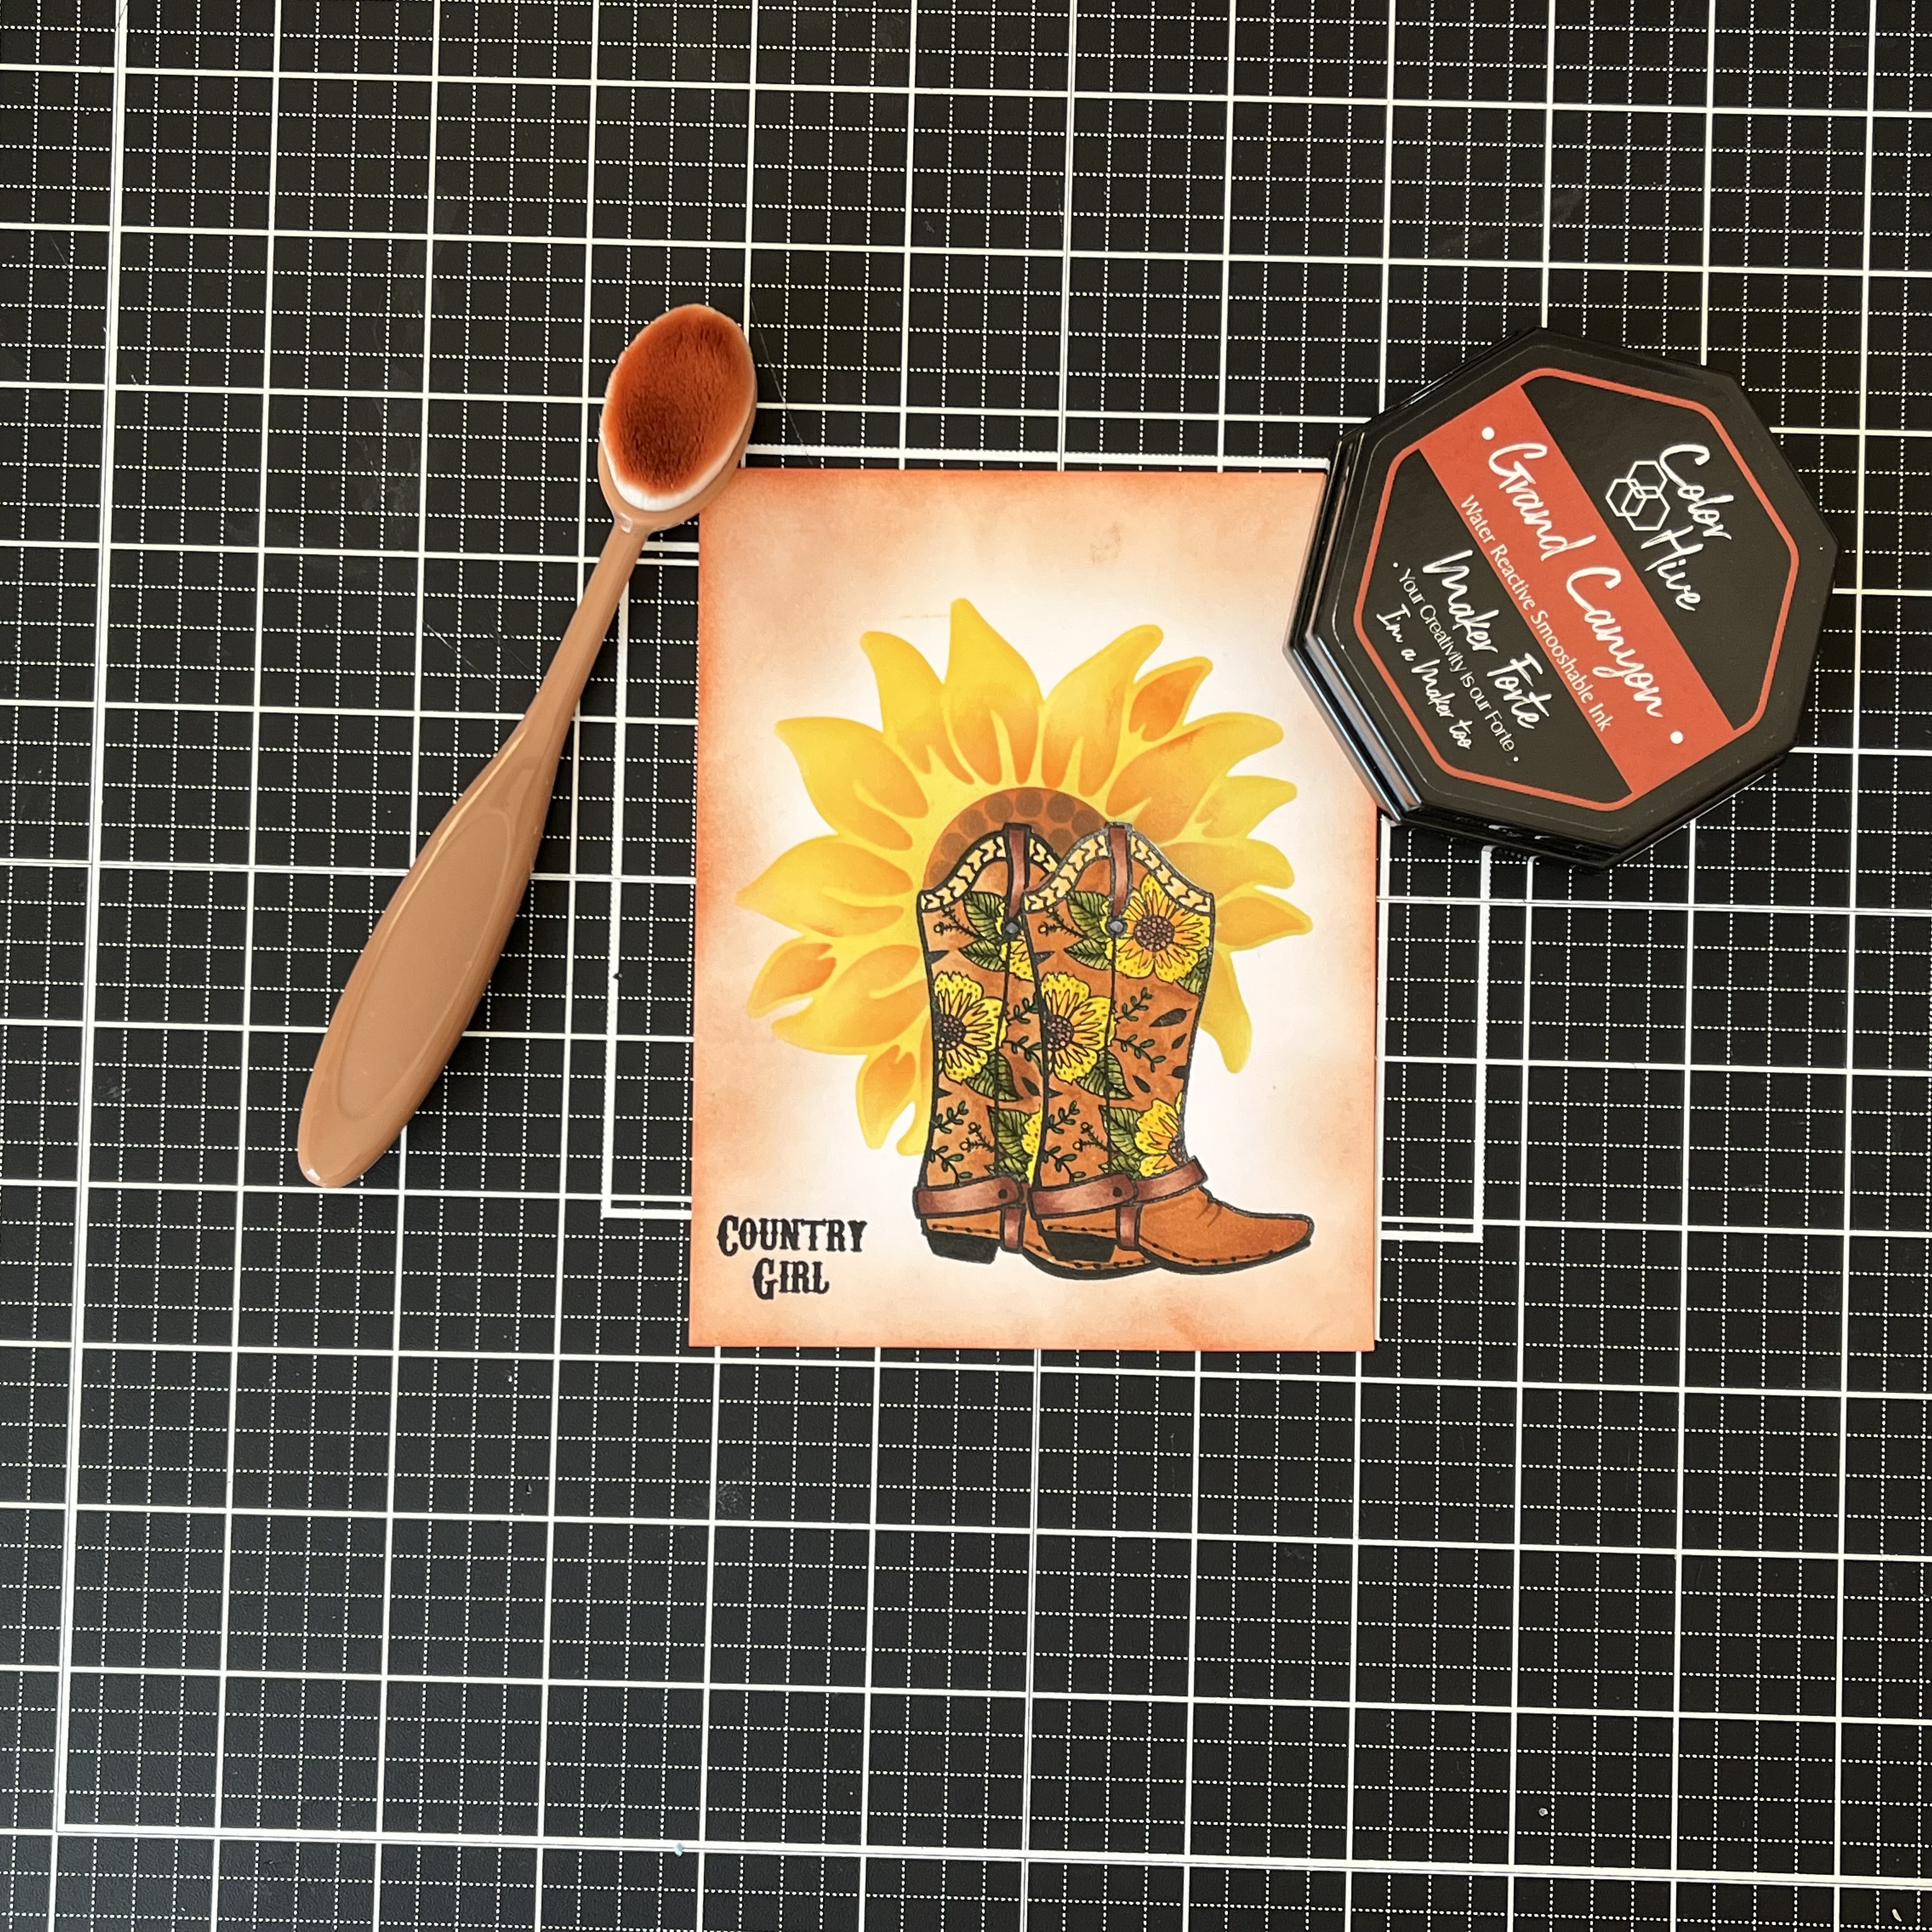
You can see here how masking gives the impression of stacked images with the sunflower behind them.

Copic markers work great for the main color of the boots and fine liners for the floral design. These allow me to get into the smaller parts of the design.


My card needs a sentiment and 'Country Girl' is part of the stamp set. It fits well with the design in Eclipse Ink.


I love clean and simple cards however the white of this looked a little stark against the bright colors. using Grand Canyon again I ink blended the edges of the card.


To finish the design I chose a brown cardstock for my mat and a Side Folding A2 Card Base with wet glue so keeping the layers flat.


The colors just pop against the darker brown mat.


I hope you love the fall look of this card as much as I do and thank you for stopping by.


Wednesday, April 27, 2022

Mother's Day Blessings

Good morning! The weather is really messing with us here. Saturday it was 77F today it's been snowing and is forecast to drop into the 20s overnight! We are currently waiting for Sassy to have her pups, she's due any day now so we can't go anywhere even if the weather was better!

My post today is in celebration of all the Bonus mom's out there, I have one here who is always there for me to chat with! I have used Maker Forte products for this card starting with Motherhood Is A Blessing Stamp Set.


I started as always by collecting my supplies I used very little for this card. The gorgeous frame that is the main component of the stamp set doesn't need much more than a bit of color.


My design started by me stamping the frame on to some Bristol Vellum Card. This has a tooth to it which is needed with colored pencils. The ink color I chose for this was Memento London Fog because I didn't want black outlines on my flowers.for my sentiments.for my sentiments.
I stamped towards the bottom right of the card as I wanted plenty of white space on the card and room for my sentiments.

Once I had stamped the frame I used colored pencils in yellow and purple to color the flowers and of course green for the leaves. I decided to define the diamond of the frame with black fine liner. My thought was it would stand out from the flowers but I didn't want a thick line. This was where I made a mistake! I drew through the flower that goes over the frame. Luckily I was able to remove it with a sand eraser and I was able to disguise what was remaining with another layer of yellow pencil.


I used the Best Bonus Mom Ever sentiment on the card. I love this wording! This stamp is the only set I have seen with this wording. Being a Brit living in the US I have a bonus US mom for whom I am truly grateful.
This and the sentiment I placed in the frame were both stamped using Remarkable Eclipse Black Ink. I wanted them to stand out from the card and I think black ink does this. I did have to stamp a few times as the texture of the card left gaps - Hooray for my MISTI!


Once I had finished the stamping I started to build the card. Pulling the green color from the colored I chose a mat to coordinate. I used Welsh Dragon Solid Cardstock for my mat and an A2 Top Folding Card Base.


I cut my mat so it was 1/4in narrower than my base but the same length which left a slight white edge up both sides. Making sure this was central I used wet glue to fix it in place. My image was 1/4in narrower than my mat and I fixed this in place with foam tape. This gave dimension to my card. 


Finally I added some bling with Lemon Crown Jewels. I adhered these in place with Makers Magic Crystal Clear glue. Have you seen the Makers Magic Rings? These little pink heart rings hold glue and you can dip the Micro Brush Applicators in to it getting just the right amount for sticking little gems down.


I hope this has given you some inspiration for your Mother's Day cards whether it's for your real mom or your bonus mom.

Oh and Happy Mother's Day to all you Moms and Mums!

Saturday, October 2, 2021

Happy Birthday!

 Good afternoon and Happy World Card Making Day! Yes I am spending time in my craftroom today to celebrate. 

There are some amazing sales out there as well as some fab new releases including this one from Stamper's Delights. Meet Chibi A Gift For U Girl:


She is available as a digital stamp but also as a clear stamp collection.
I printed her with a pile of gifts and sentiment then colored with Copic markers.
An A2 card base was matted with coordinating cardstock and my image trimmed to fit. I decided to add more detail by cutting apposing corners off and adding coordinating enamel dots into these corners - who doesn't like a bit of bling on their birthday.

Head on over to the Stamper's Delights Store to see all of this week’s New Releases.

Why not stop by the Stamper's Delight Facebook page for regular news and inspiration from my Teamies you can also enter the progressive challenge there, no blog needed and if you sign up for the Stamper's Delight Membership you will get free images to enter the challenge with!

All the design team projects are available on the Inspiration blog - hop on over there for more inspiration.

Thanks for stopping by and if you like what you see please leave a comment to let me know!

Monday, September 13, 2021

Altenew Educators Certification Program. Level 2 Final Challenge part 2

 Good morning from a rainy Michigan, we had storms last night and lots of rain so it's a bit cooler this morning - I just hope it stays that way.

I'm back today with part 2 of my AECP level 2 challenge. For this I needed to make an altered /upcycled project. I decided to do something that all us crafters use. Whether gifting cards or sending them envelopes are usually required. We put lots of effort and love into making the card but often send it with a plain white or colored envelope.

 As I did for part one I have chosen 3 techniques on this project too. Monochrome for the inside of the envelope from the Polychromatic class, layering from the All  About Layering Class and masking from Masking Unleashed. I love the layered stamp look, I don't do many monochrome designs and masking has opened a whole new designing world for me so that's why I chose these.

I have used Build a Flower Wild Rose (which is the latest build a flower set) with the Envelope Liner die set to upcycle some plain white envelopes.


I decorated 6 envelopes which turned into a mammoth stamping session each envelope has 52 individual stamping components!
I started with the liner, I die cut this from yellow cardstock for all 6 envelopes.


I then chose an ink collection that was same tone as the card stock so I could achieve a monochrome look. using my MISTI, I stamped the roses on to this.


I did initially start with all 4 inks from the Golden Sunset collection. I didn't use the solid stamp layer as the cardstock was the correct color for this, which meant I didn't need the lightest ink. I continued stamping all layers until I has 6 flowers and their layers on each liner.


Setting these to one side I made my masks for the outside of the envelope. I wanted to keep a white section for where the address would be written so I cut a piece of masking paper 3x2in and placed this on the envelope. I then stamped the flower and leaf outline a number of times on to the same masking paper and fussy cut these ready to use.


Now to decorate my envelopes - I started by stamping an outline flower in the darkest ink and placed one of my masks over this. I wanted this to be my top image so masking helps me achieve this - other stamped images will appear to be behind this. I continued stamping the outlines, leaves, small bunch of flowers and a little sprig that is also included with the set. masking elements as I went.


Then the magic of layering started to come to life when I removed the mask off the leaves and stamped their layers followed by the gorgeous roses.


After stamping the first envelope I did change my mind about the color of the small bunch of flowers and stamped these in black.

Next I turned the envelope over and repeated the masking and stamping process on the back. I also colored the small bunches and little sprigs, both back and front with fine line markers.


The Envelope Liner die set comes with word dies too so I chose 'for you' from these and die cut this into the flap of the envelope.


The address section mask was removed on all the envelopes. This masking technique is known as reverse masking - Where a section of the base color (white in this case) doesn't get any ink on it.


Because I had stamped all around and on to the mask it is quite impactful when it's removed.

The last part of my project was to add the liner. I folded the flap section on the embossed line which the die scores and slipped the liner in to the envelope. 


I decided to use an inverted corner punch on the liner flap for 2 reasons, 1 so the corners didn't show when envelope was closed and 2 because I felt it looked more professional.
Making sure I added glue to all the small parts of the die cut letters I adhered the 2 flap sections together. 


I love the way the words allow the yellow liner to show through.

I wanted to demonstrate with this project that you don't need a ton of craft products to make something pretty. I used a six pack of envelopes, some cardstock, one stamp set, a die set and inks for this.


I am going to make matching cards for these and gift them to a friend so I wrapped them up with a nice big bow!


Oh also waste from the envelope masks is so pretty too - I have kept these and may use them on another project - recycle never throw away!


 I said at the start this is part 2 of my challenge if you missed part one you can find it here.

Thank you for taking time to read my post, if this has inspired you to decorate your own envelopes please tag me on Instagram as I would love to see your creations!

Altenew products I used:

Envelope Liner Die Set
Purchase From:
SSS | ALW
Golden Sunset Crisp Dye Inks Mini Cube Set
Purchase From:
ALW
Build a Flower Wild Rose Stamp and Die set
Purchase From:
ALW
Green Fields Crisp Dye Ink Mini Cube Set
Purchase From:
ALW
All About Layering 1
Purchase From:
ALW
Polychromatic
Polychromatic
Purchase From:
ALW
Masking Unleashed
Masking Unleashed
Purchase From:
ALW
MISTI Original
MISTI Original
Purchase From:
ALW