Hello

Welcome to my blog, a place where I can lose myself in a crafty haven. Pull up a comfy chair grab a cuppa and come and have a read. Oh and if you like what you see, stop by and leave me some love in the comments section

Followers

Showing posts with label Copic Coloring. Show all posts

Saturday, July 9, 2022

Love 15!

 Good afternoon. We have a lot of work going on this weekend, deck being stripped out and new one laid. Painting hall, stairs and landing. Front door also needs painting. We have a bunch of James's friends coming to help so I will be feeding everyone!

While all of this is going on it's the tennis finals at Wimbledon so my card today is has a tennis theme. Meet Anime Tennis Tess:


She is a digital image available from Stamper's Delights. 

I colored her with Copic markers and fussy cut her. I used some digital tennis themed design paper and sized it so it would fit an A2 card base. I used a top folding card base and matted it with pink cardstock. This coordinated with the pink trim on my image. I decided to print the sentiment that came with the image onto the tennis themed paper and added this to my card. My image was glued in place. I then colored the piece behind the racket to match the background so it looked part of the background.

Stamper's Delights has lots of digital images that will fit with any theme, you can check out the store and my teamies' inspiration over on the website.

Thank you for stopping by,  I hope you leave with some inspiration.


Saturday, March 5, 2022

Some Bunny

Happy Saturday everyone! Hope you are enjoying your weekend.

 I'm back with some more inspiration for the Stamper's Delights new release. The image today is called Some Bunny and isn't she the cutest!


I started the card by printing my image and sentiment on to stamping card. I colored her with Copic markers and die cut using a shabby edged die.
My A2 card base was matted with some neon green cardstock to match her dress and my image was adhered to this with foam tape to give some dimension to the card. A simple card but so spring like!

Why not stop by the Stamper's Delight Facebook page for regular news and inspiration from my Teamies you can also enter the progressive challenge there, no blog needed and if you sign up for the Stamper's Delight Membership you will get free images to enter the challenge with!

If you are looking for more then read on: 

NEVER Having To Struggle With Your Creative Process Alone Ever Again…

What if you had all the knowledge and techniques you need to create beautiful inspiring projects each month and a supportive community all in one place without the hours of unnecessary searching leaving you feeling frustrated, alone and over whelmed?

Stamper's Delights Have Packed This Membership With So Much Goodness!

To inspire you and help you grow... It's finally time to invest in yourself and what YOU love! 

Work together with them to find your own artistic voice, to help you get out of your comfort zone and try new things.

They are looking for Founding Members who can help to mould this membership by sharing ideas, what is working and what could be improved and in return for being an active member you will be locked into the lowest monthly fee it will ever be for as long as you are a member. Stamper's Delights main launch will be much high as they build up the content libraries. 


Friday, December 17, 2021

Homemade gingerbread

 Hello - We are already for the big man in the red suit to pay us a visit. Even my cards have started doing Christmas crafts - Crescent Creation's little gingerbread people have built their own gingerbread house.


I printed out 4 images of the Gingerbread House on plain card stock and one on stamping card which I colored. I glued 2 houses together. For the next 2 I cut the sides off and glued the centers of the houses to the 2 others this gave a chipboard effect to my house. The one on stamping card was colored with Copic markers, had the sides cut off and the center adhered to the stack. The sides were glued in place this gave dimension to my gingerbread house.


I sized my little gingerbread people so they would work with the house, colored these and fussy cut them.
I matted an A2 card base with some of the gorgeous red glitter mix cardstock from Crescent Creations and some Kraft snowy paper.
My house was adhered in place. My little gingerbread man sat with his recipe book at the side of the house. He is telling is pals how to decorate the house.
Finally, I added glaze to the candy on the house and added holly and berry from the Wonderland Claybits to the door.


Thank you for stopping by, if you still need holiday card ideas check out Crescent Creations blog where me and my teamies are still in holiday mode


Wednesday, November 3, 2021

Remembrance

Good Morning! Remembrance Day also called Poppy day is the 11th of November - The significance of the day is, I hope, known to all. It was when World War 1 ended - The 11th hour of the 11th Day of the 11th Month.

In the UK with is remembered by the wearing of a poppy. My card is using the Stained Glass Poppy from The Little Paper Tree:


I colored the Poppy with Copic markers and cut the circle out.
I matted an A7 card base with red card. I then printed the Flanders Field poem onto grey card stock. If you've not heard the poem it tells the reason for using the poppy as a symbol of remembrance.
I added this to my card base and adhered my Poppy with foam tape.
Using my Cameo I then cut the letters for remember and added these to the card. This didn't appear to stand out as much as I wanted so I covered the letters with crystal glaze.

I hope my card has made you stop and think about the significance of the date. To all the veterans including my own Kev. Thank you for your service!


Thursday, March 4, 2021

It's A Girl!!!!

 Good afternoon! The snow finally is shrinking back, hopefully spring is round the corner although with the weather here we probably aren't out of the woods yet!

It's the first new release day over at Stamper's Delights and we are some super cute images for you. Do you need a new baby or shower card? Then this image is perfect - Meet Chibi It's a Girl:


Isn't she sweet! She comes with the sentiments shown with the image and being a digital stamp is easy to resize. 
I decided to print off a few of the images so I could decoupage them:


I colored the whole of the first image, the second one I colored the box lid and tag (which had one of the sentiments printed on it)  and the last image I just colored the box lid ribbon.
I fussy cut all of the colored parts and stacked them on top of each other in the corresponding areas
I mated a A7 card base with some pink card and a peach colored polkadot paper. Then die cut a heart bunting from the same card I used for my mat. The sentiment was die cut again with a mat. I added my image to the card and tucked in the sentiment. The bunting was added across one corner and the waste from this, the hearts were 'scattered' down to my sentiment.

If you love this image head on over to the Stamper's Delights Store to see all of this week’s New Releases.

Why not stop by the Stamper's Delight Facebook page for regular news and inspiration from my Teamies you can also enter the progressive challenge there, no blog needed and receive freebies! 

 All the design team projects are available on the Inspiration blog - hop on over there for more inspiration.


Tuesday, December 29, 2020

Ooh La La Birthday Wishes

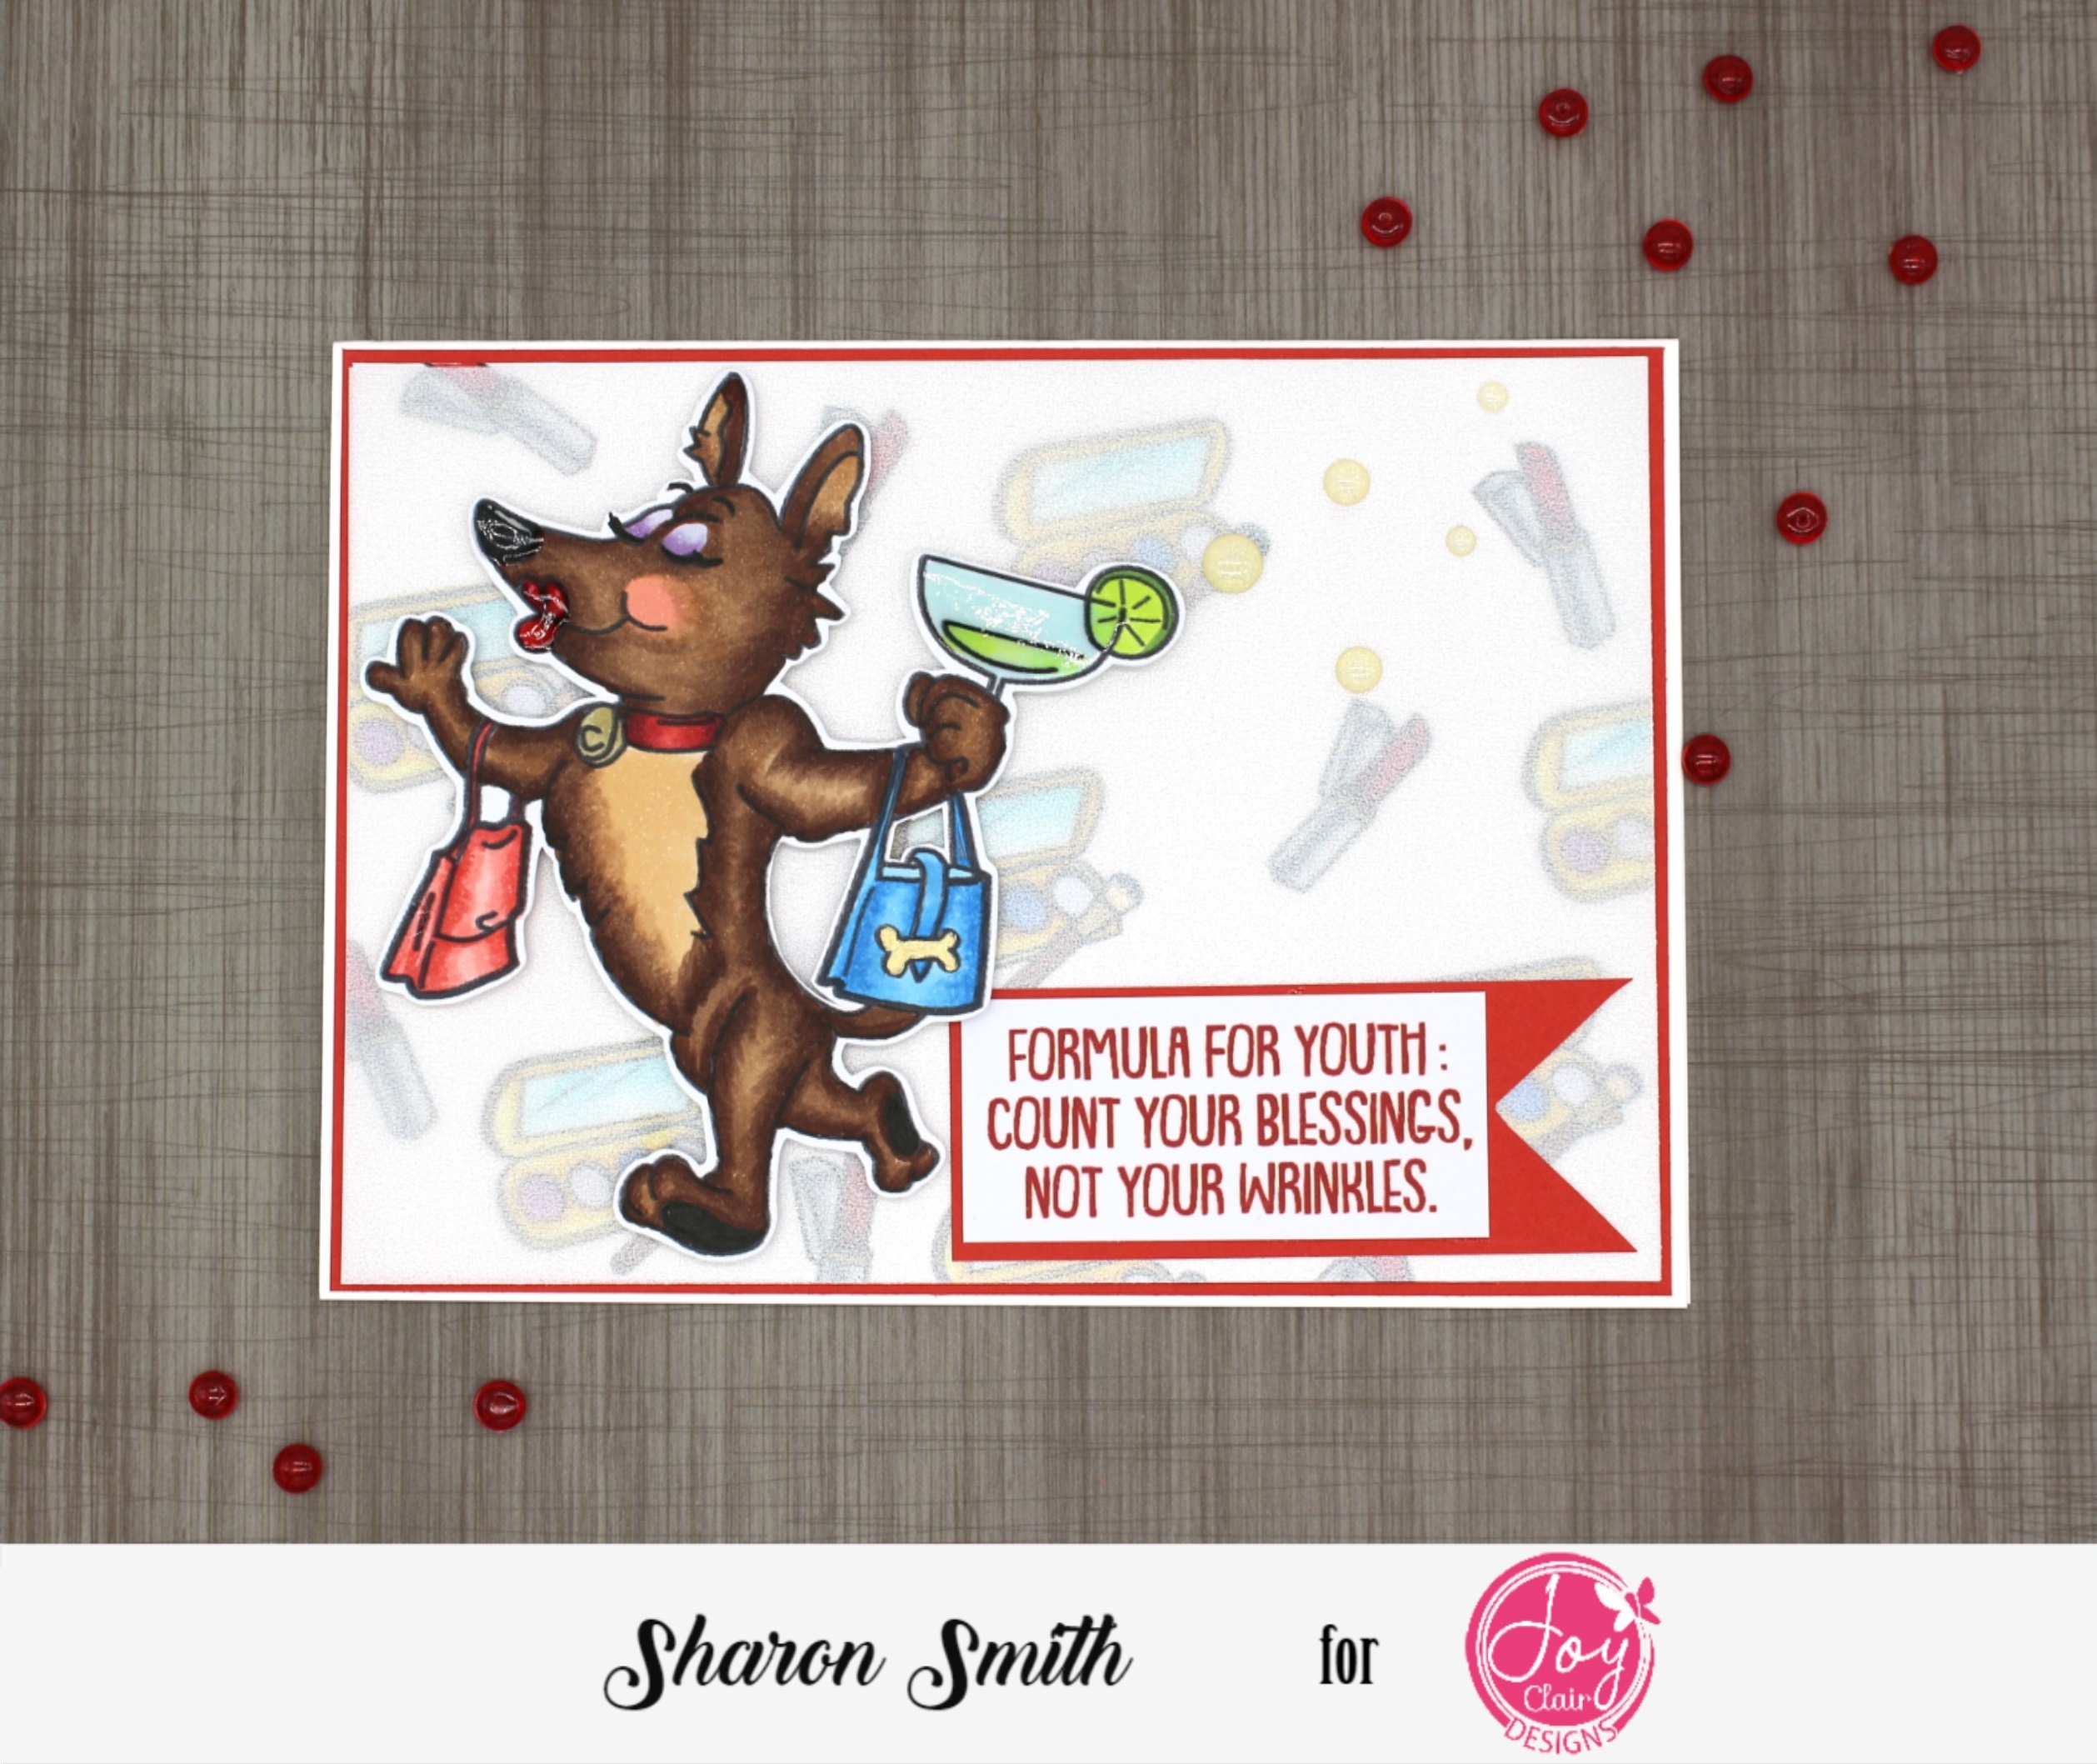
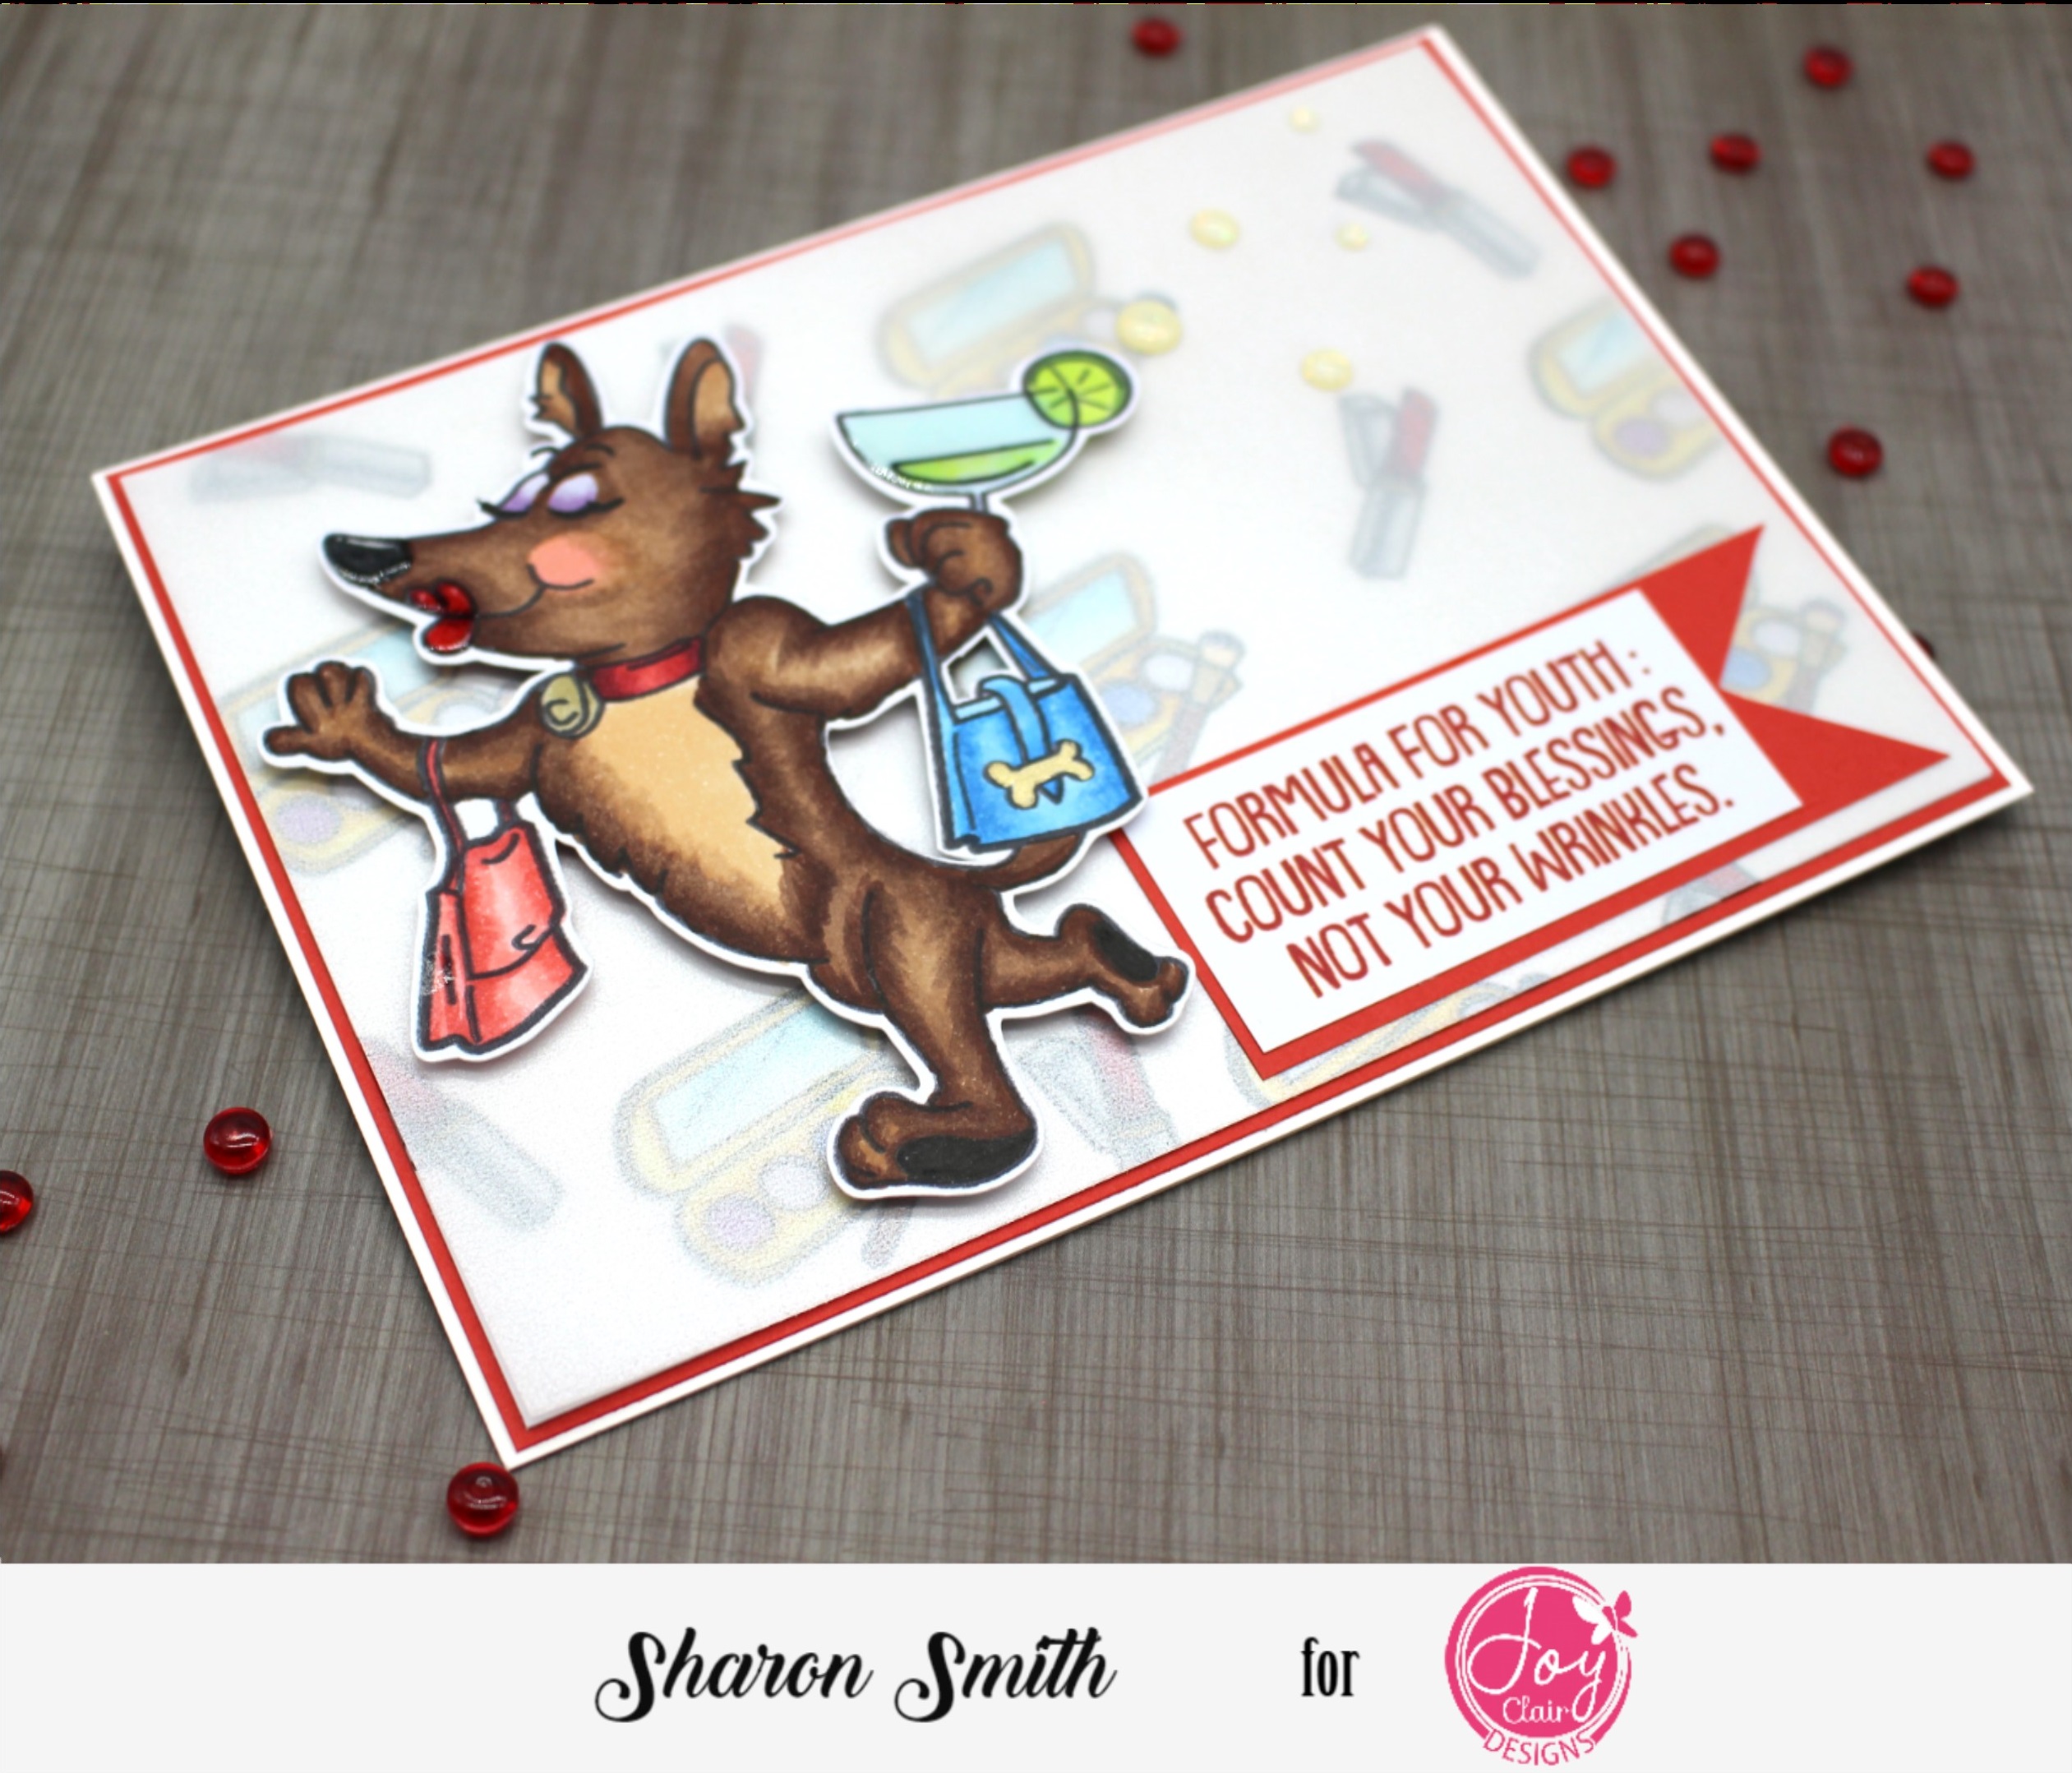
 I hope everyone has a very merry Christmas! As the holiday season is coming to a close my inspiration today is a birthday card. I love the pooch from the Ooh La La digital stamp set, she is on a shopping mission!

I started my card with the eye shadow and lipstick images, I resized them and used multiples to make a design paper. Once printed I colored the images and cut to size. I printed and colored Miss Ooh La La and fussy cut her. My card base was matted with red cardstock and the design paper. When I placed my image on the stamped backing was too busy so I added a layer of vellum to soften it. My Pooch was added with foam squares, my sentiment matted onto red card and added to the card. Finally I added Crystal glaze to her lips nose and margarita glass!


She would be great for a card to celebrate the sales that are currently happening including the Joy Clair sale - 20% off the store which continues until the 31st of the month.

Thank you for stopping by. I will be back next month with more inspiration from Joy Clair. Also my teamies will be sharing with you over on the Joy Clair Facebook Group.

Friday, December 18, 2020

Santa's Favorite Gift Tags

Good Morning! It is white over here, it snowed at the weekend and because it's so cold it's hanging around.

I'm here today with inspiration for the gifts you are going to be giving during the holidays. Each gift needs a cute tag to go with it and I am going to share 4 with you using Santa's Favorite Digital Stamp Set:


The first 2 have the adorable Santa's Favorite penguins - the little guy fishing and my favorite the penguin in eye glasses:


I die cut some tags and mats for my little guys. The penguins were fussy cut with my scan n cut and colored with alcohol markers. I couldn't resist giving one little guy candy cane glasses. I used crystal glaze on the glasses and the other little guy's proud catch! Foam tape was used to adhere them to the tags and some bows and ribbons completed the design.

My second set of tags used the same Santa's Favorite digital set, the remaining penguin is skiing and I decorated a tree for him.


Both images were colored with alcohol markers and added to the tags with foam tape. I then added snow writer to the edge of the tree layers and decorated it with red ornaments and of course a star at the top! My little skier had glitter added to his hat pompom and glaze to make his eyes shine. again ribbon and bows completed the tags.

Thank you for stopping by. I will be back during the month with more inspiration from Joy Clair. Also my teamies will be sharing with you over on the Joy Clair Facebook Group.