Hello

Welcome to my blog, a place where I can lose myself in a crafty haven. Pull up a comfy chair grab a cuppa and come and have a read. Oh and if you like what you see, stop by and leave me some love in the comments section

Followers

Showing posts with label Rainbow. Show all posts

Wednesday, September 14, 2022

Rainbow Flowers

Good morning, We finally have cooler weather and I am loving it! No need for air con, all doors open letting the cool air in!

My post today is showcasing 2 cards designed and created with Maker Forte products. Both of them are using the Flower Market White Rubber Stamp. It is a great background stamp which is how I have used it but got 2 different effects even though I have only inked it once! I love rainbows so both have this theme.

My card starts by inking up the stamp. To do this I laid it flat on my desk. Picking out rainbow colors from the Color Hive Inks - Red Leicester, California Love, Everglades, Vegas Strip and Sugar Plum. I also added in Candied Apple Distress Oxide for my red. Not wanting to contaminate my inks with other colors I used blending brushes to add the inks to the stamp giving me stripes of color.


I laid a piece of white cardstock onto the stamp and using a brayer pressed it against the colors. when lifted I had a simple inked piece of card.


On lifting the cardstock there was still plenty of ink on the stamp. So I gave it a light spritzing with water and laid a 2 piece of card over it. Braying this gave me an even color.

This pieces left to dry and I returned to my first piece. Due to the rainbow of ink I decided to do no more than add a sentiment. The toner Ephemera is great a great alternative to stamping. and you can turned them any color you want with foil! I chose the Birthday Elements both the wording and the backing so I could decide which to use once foiled. My background is rainbow - so is the foil

I decided to go with the wording as it stood out better against my background.

By now my other background had dried. I did consider using the reversed foiling piece on this but decided to stamp on it instead. Using the Boxed Sentiments I arranged the box and 'With Thanks' on my background. Wanting to achieve a shiny effect I stamped with Eclipse Black Ink and then quickly covered it with Crystal Clear Embossing Powder. Using my heat gun I melted this, The Eclipse ink stays wet for a few seconds after stamping allowing the embossing powder to stick.

I chose A2 Side Folding Card Bases and Coronation Purple Cardstock to mount my background on to for both cards. Once I had built my cards I added the foiled sentiment. Foam tape gives this lift to make it stand out from the card background.

I felt something was missing from both designs. As a finale I sprinkled some Crown Jewel Gems in Rollerskates, Lemon and Lady Liberty.

Here's the background with water added.

And the one that was just ink.


Which is your favorite?

Thank you for taking time to read my post and hope you have some inspiration.

Monday, February 7, 2022

Rainbow Birthday

 Good morning - the snow continues as does the below freezing temperatures.

I have more exciting news - Paper and i which is a craft store here in Michigan accepted me as part of their design team. They sell a wide variety of craft supplies and products and I will be hoping customers love my inspiration of what can be done with them.

My first card as part of their design team uses just dies, glue and cardstock!


As I am struggling with all this cold weather I thought a nice cheery rainbow would brighten everyone's day!
I started this card by cutting multiple strips using the LDRS 1/2" stitched slimline background strips. Back in the UK, as kids, we are taught to remember rainbow colors with this little rhyme:

Richard - Red
Of - Orange
York - Yellow
Gave - Green
Battle - Blue
In - Indigo
Vain - Violet

I put adhesive all over my A2 card base and laid the strips diagonally in the above order. repeating as needed - as you can see I has to add a tiny bit of red to the bottom right corner to completely cover the card. I trimmed the excess off by turning the card over and cutting all the colored card away with scissors.
Next I used black card and cut the Picket Fence Happy Birthday Word Topper Die 4 times. These were then glued on top of each other to give my sentiment dimension. I chose black card as it stands out well from the rainbow colors.


I glued these in place with wet glue and trimmed the edges so it fit on my card.
Finally I added a few different sized enamel dots also in black to draw the eye to the sentiment.


All of the products I have used can be purchased from Paper and i. If you check out their Facebook page they hold bi-weekly lives showing all the new products that have arrived in the store. They also show techniques of different ways that the products can be used. 
If you are local to the store pop in and say hi - tell them I sent you!


Saturday, May 1, 2021

Altenew Educator's Certification Program - In the Mood for Color

 Good afternoon, it's May already - how crazy is that! we only have a few more weeks and school will be out - I've survived around 18months as a home school mom!

My post today is showcasing the work I have done for my next AECP class. The lessons this time were all about "In The Mood For Color" Stephanie Klauck led the lessons which taught about how your mood can apply to the theme of your cards. I chose to showcase 2 colors Blue and Pink. 

As defined in the classes blue has a calming mood, I chose to work with the Painted Butterflies stamp set. I have always found watching butterflies calming.


I started with a 4x5.25in piece of white cardstock and using different shades of blue ink and different butterfly layering stamps created a flutter across the card. I decided to stamp the sentiment vertical for interest. I carried the blue theme onto a mat between the stamped card and my A2 card base.
Finally I added some clear blue gems.


Pink is not only one of my favorite colors but is also said to be sweet, sensitive and caring and I fulfilled these with the sentiment on my next card:
 

For this card I used Beautiful Day stamp and die set - This is one of my all time favorite Altenew sets. I stamped the outline of the flowers and leaves with black ink and then used alcohol markers and colored pencils to add color and depth. They were then all die cut and put to once side while I moved on to next step.
I carried the pink theme onto my card layers. I used a white A2 card base and matted this with pink cardstock. I then took a 4x5.5in piece of cardstock and laid Altenew's Halftone Stencil onto it. I colored some matt texture paste with pink ink and spread this over the stencil to give some delicate detail to the surface.
While this dried I heat embossed my sentiment on to a strip of vellum. This was then wrapped around the bottom of my stenciled card. 
I added the stenciled piece onto my card base with foam tape. My flowers and leaves were arranged and added both with wet glue and foam squares to give more dimension.


These were going to be the 2 cards for my post but then we were invited to join an Instagram Hop celebrating the ACEP course so I decided as I loved composing these cards I would do a 3rd card using In The Mood For Color. 

As it's a celebration I decided rainbow was the perfect color combo. 


I loved using the Painted Butterflies stamp set  for my first card so used them again. This time I used some rainbow colors and had the butterflies flittering diagonally across my card front. I die cut the word hello and the font just was perfect to follow my butterflies

My A2 card base was decorated with strips of coordinating cardstock on a diagonal, I cut my card front down so the rainbow would show underneath.
Finally I added rainbow colored enamel dots


Thank you for taking time to stop by and read my post. I am learning so much on this course and can't wait to start the next class


Items I used:

Neenah Classic Crest Solar White 110lb Coverstock
Purchase From:
SSS | AZN
Copic Markers
Copic Markers
Purchase From:
SSS | AZN
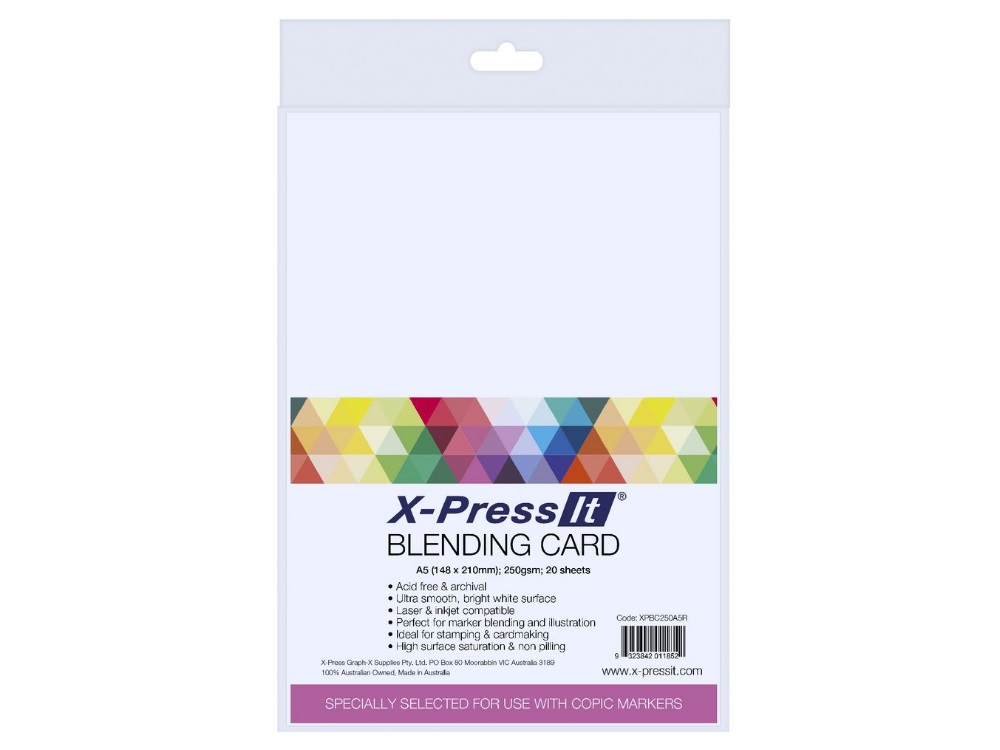
X-Press It Cardstock
Purchase From:
SSS | AZN
Altenew Beautiful Day Stamp & Die set
Purchase From:
ALW
Altenew Painted Butterflies Stamps
Purchase From:
ALW
Altenew Half tone Stencil
Purchase From:
ALW
Altenew Glacier Caves Crisp Inks
Purchase From:
ALW
Altenew Cool Summer Night Crisp Inks
Purchase From:
ALW
Altenew Blush Crisp Ink
Purchase From:
ALW
Altenew Jet Black Ink
Purchase From:
ALW
Versafine Ink
Versafine Ink
Purchase From:
SSS
Altenew Crystal Clear Embossing Powder
Purchase From:
ALW
Ranger Matt Texture Paste
Purchase From:
SSS
Altenew Envelope Liner Die Set
Purchase From:
ALW
Altenew Red Sunset Crisp Inks
Purchase From:
ALW
Altenew Summer Afternoon Crisp Inks
Purchase From:
ALW
Altenew Green Meadows Crisp Inks
Purchase From:
ALW
Shades of Purple Crsip Inks
Purchase From:
ALW
colored cardstock
colored cardstock
Purchase From:
SSS

Saturday, February 6, 2021

Getting Crafty with Rainbows

 Good afternoon and welcome to day 2 of the Stamper's Delights release of their clear stamps! Today they are releasing a Chibi version and she is adorable - If you use markers she is perfect for you! Meet Chibi I love my Markers:


I couldn't decide what color to do her hair so as she is coloring I thought why not rainbow!
I printed her on to stamping card and colored her with Copic markers then fussy cut her using my SNC. The background is a digital design paper and it went so well with her so I added it to an A7 card base which was matted with coordinating card stock.
My image was placed on foam squares and I finished the card with a die cut sentiment and some clear drops.

All the images can be found on Stamper's Delights brand new website, 

Head on over to the Stamper's Delights Store to see all of this week’s New Releases.

Why not stop by the Stamper's Delight Facebook page for regular news and inspiration from my Teamies you can also enter the progressive challenge there, no blog needed and receive freebies! 


Thanks for stopping by and if you like what you see please leave a comment to let me know! 


Tuesday, August 15, 2017

Circles

Good afternoon wow where is this month going, can you believe that we are half way through and summer break will be over in 2 weeks!
Summer is my second favorite month - sorry I have to give my favorite to fall - the temperatures are lower but still pleasant and I love the fall colors.
But summer brings all the flowers and critters that love the flowers. We have a pond across the street from us so get some huge dragonflies buzzing around, with their iridescent colors flashing in the sunshine.
For today's card I have colored a bunch of Prickley Pear Rubber Stamps Dainty Dragonfly stamps and colored them in a rainbow of colors:


I then used the coordinating dies to cut them out. We have a theme of round about over on Prickley Pear blog so I used circle dies to cut my card and matting layers. On the pink layer I stamped one of my all time sentiments from Prickley Pear: Life doesn't have to be Perfect. This hits home with me every time I read it.
I shaped the dragonflies so that they look as though they are fluttering around the card. I added a few clear glitter dots just to balance my design and finish the card.

 Thank you for stopping by, you can find all the Prickley Pear stamps I have used over in their store here. If you are looking more inspiration from me and my teamies check the Prickley Pear blog and our Facebook page.

Friday, June 16, 2017

I'm hopping around with Prickley Pear Rubber Stamps and CardMaker Magazine


Good Morning!

It's an exciting day today, Prickley Pear Rubber Stamps are joining with CardMaker magazine for a blog hop!

Do you want the chance to win a $20 gift certificate to spend on the gorgeous stamps over at Prickley Pear? then find out how at the end of my post.

My card for the hop is using the new Danity Dragonflies stamps:


I stamped them onto acetate using archival ink. I then turned them over and colored then with alcohol markers. I used the coordinating dies to cut them out and they were then shaped so that their wings flutter on the card. 
I then stamped 'There is only one happiness' sentiment on to some rainbow design paper and matted this with green card onto a white card base.
The dragonflies were the added being careful to only stick the body down. I added some green gems just to balance the design.

To win the gift certificate all you have to do is hop over to my teamies blogs to see the gorgeous designs they have made. Don't forget to leave them some love along your way,  then head to the Prickley Pear Rubber Stamps blog and leave a comment. 

You should have arrived here from Kat's blog and now you need to hop over to see what Melissa has designed for us.
If you get lost along the way just head back to CardMaker's blog for the full list of participants.

Good luck and have fun checking out all the gorgeous makes!


 photo Crafty Hugs_zpsmrp6bnmu.gif

Sunday, May 22, 2016

I can build a rainbow!!!!

Good afternoon, here's the 2nd post from me today and Wow is a colorful one!!!

Faery Ink had a fab new release this month which just screamed color me!!!

When I chose her as my design team inspiration image I knew straight away I was going to challenge myself and give her rainbow hair!! My go to colors for hair are usually brown or blonde so doing this was a real challenge for me.
Artist
It took patience to work out which part of her hair went with which so I could carry the same colored strand from root to tip.
 I used alcohol markers but then added Aqua fine tip markers over the top to add texture.
She was then fussy cut before adding her to the gorgeous rainbow paper from my stash. I typed the sentiment on my pc and printed it in multiple colors. 
The skittles were also rainbow colors to just follow the color theme through.
Ingredients Used:
Rainbow deisgn paper - from my stash

I hope that this has given you some ideas of what you can do with this beauty.
Lahla can be purchased over in the Faery Ink Store along with other digital stamps
For more Faery Ink inspiration check out our Facebook page where My Teamies and I hang out!

Wednesday, March 9, 2016

Unicorn's are cute!

Good afternoon, we are having a real mix of weather, snow, warm sunny days and rain all within 4 days! Yesterday was so nice that Mollie got her sandals out!!!

On to my post for today - who love's unicorns - these mythical creatures are stunning and can look so elegant but today's version is a little cute pudgy one from the Scrapoholic Candy Shop:


Aren't they the cutest?

I have colored the one on the left:


I used my Spectrum Noir Markers and a purple fine line pen to give the mane and tail depth.

I then matted the image and some gorgeous rainbow design paper from my stash with purple card before adhering them to an 8x8in scalloped card base. I added a matching ribbon and some colored skittles to finish the card.

The image is part of this week's Monday releases and you can find him in the Scrapoholic Candy Shop along with cute dragons and the most adorable gymnasts you have ever seen! You can see other inspiration over on the Scrapoholic fan Facebook page 

Thanks for stopping by please let me know what you think in the comments.