Hello

Welcome to my blog, a place where I can lose myself in a crafty haven. Pull up a comfy chair grab a cuppa and come and have a read. Oh and if you like what you see, stop by and leave me some love in the comments section

Followers

Thursday, July 30, 2020

Some News and a New Release!

Good Morning!!! I have some exciting news today! I was chosen to join the design team for Joy Clair! I am so excited to be part of this amazing company. They have some gorgeous products as well as digital stamps.

Today is new release day for them, and my inspiration for this is using on of the new digital collection called Floral Friendship, you all know just how much I love making floral cards and this collection is just perfect for that:


This is just one of the floral arrangements and sentiment from this set, I colored the flowers with alcohol markers, matted it with a coordinating cardstock and added it to a black card base. A few clear enamel dots were all I felt was needed to compliment the image.

For the new release and to introduce the new team Joy Clair is doing a blog hop, click on each of the links and leave a comment telling us what is your favorite product from the release to be entered :

You are invited to the Inlinkz link party!
Click here to enter

Thank you for stopping by. I will be back during August with more inspiration using the new release. Also my teamies will be sharing with you over on the Joy Clair Facebook Group.

 You can check out the new release and all of Joy Clair's products over in their store.


Items I used:

Copic Markers
Copic Markers
Purchase From:
SSS | AZN
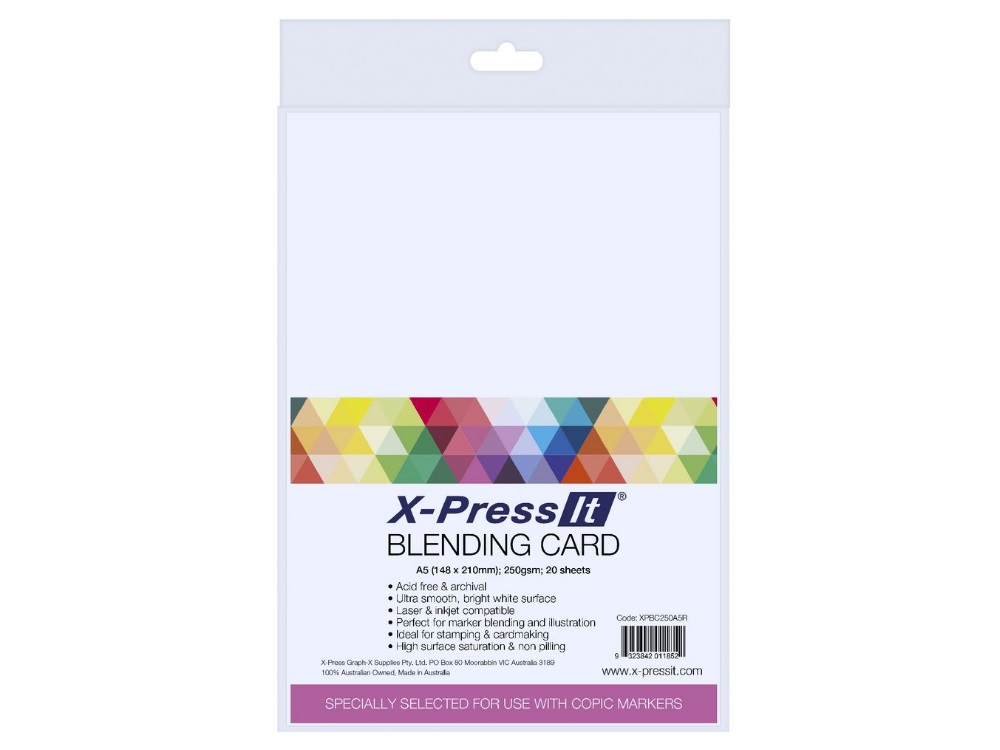
X-Press It Cardstock
Purchase From:
SSS | AZN
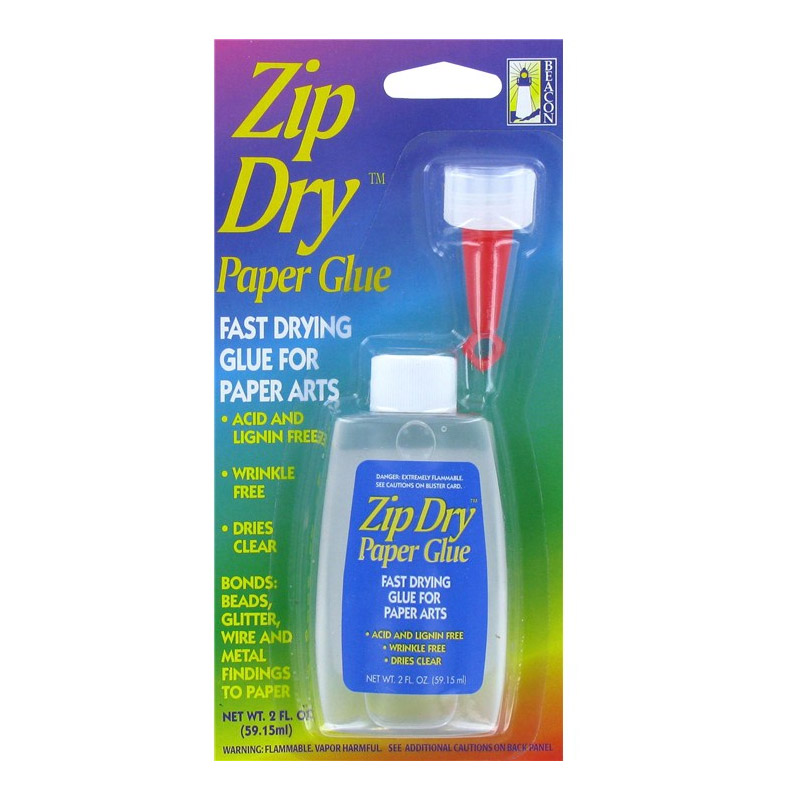
ZipDry Glue
ZipDry Glue
Purchase From:
SSS | AZN
Translucent Enamel Dots
Purchase From:
GMD
Joy Clair Floral Friendship
Purchase From:
JC

Saturday, July 25, 2020

Just Hanging Around..........Underwear Bear

Good afternoon! My good friend and digital stamp artist is also a children's book author, Sherry West shared an image from her book, It's raining Cats, It's raining Dogs, It's Raining Bats and Pollywogs with the design team and I really loved it so she let me color it meet Underwear Bear!


Isn't it the cutest! I colored the image with Copic Markers and added it to a card matted with coordinating colors. My sentiment was printed from my pc, matted with same cardstock as my card and added using foam tape. As I finished my card Kev suggested I add string so the hanging line continues off the card. Great idea! I added bakers twine to match the card design, adhered it to the back of the card then glued a piece of cardstock over this so you don't see the ends of the string.

This little guy isn't available in Sherry's Store yet but I'm sure he will be.... In the meantime check out our Facebook page for more inspiration using Sherry's gorgeous images

Thanks for stopping by and if you love what you see, let me know in the comments section


Friday, July 24, 2020

Home Tweet Home

Good afternoon! Despite being stuck at home this year is flying by, I can't believe we are at the end of July already!

Guess what?? Stamper's Delights' Kawaii new release starts now!!!! head on over to the store and check out the cute images they have. For my design team inspiration I have 2 cards to show you using Tweet Kawaii:


Aren't they cute!!!
My first card show one of the cuties singing away in her tree:

I arranged multiple elements from the digital stamp collection onto stamping card, colored them with alcohol markers and stenciled clouds in the background;

My second card uses the bird house as its base:


So I resized and printed 2 version of the bird house, I used one as a template to make my card base, I cut 2 of them from cover stock card, scored down the side of one, glued these together and hey presto! a bird house shaped card base! The second bird house was fussy cut, including the heart in the center. I used alcohol markers to color this and the bird. The house was stenciled with a vine stencil. I then adhered bird in the center of the card base. Foam tape was added to the house and this was adhered so the bird was looking out of the center. The Home Sweet Home sentiment was matted on coordinating card and added using foam squares.

What I Used:
Digital Stamp: Stamper's Delights - Tweet Kawaii
Stamping card: X-Press It
Alcohol Markers: Copic
Stencil for clouds: Picket Fence - Layers of Clouds
Stencil for bird House: Sara's Signature Collection - Enchanted Forest Hanging Foliage
Card base: Neenah Solar White 110lb Coverstock
Blue and brown cardstock for mats: Core'dinations Premium
Glue: Zip Dry
Foam Tape; Dollar Store


Head on over to the Stamper's Delights Store to see all of this week’s New Releases. including these:


Why not stop by the Stamper's Delight Facebook page for regular news and inspiration from my Teamies you can also enter the progressive challenge there, no blog needed and receive freebies! You can also use your Stamper's Delights images to enter the Cheerful Sketches Challenge as we are sponsoring them this month 

Thanks for stopping by and if you like what you see please leave a comment to let me know!


Tuesday, July 21, 2020

Christmas in July

Good Morning! It's a bit cooler this week than it had been thank goodness!

But Hey it's Tuesday! New challenge starts over at Digi Choosday today! As always it is anything goes but the design team are sharing their Christmas makes with an unusual shaped card, Here's Winnie about to step over the prickly holly on my wreath card:

What I Did:
I started by resizing and printing 2 copies of the wreath and one of Winnie on to stamping card. I then fussy cut one of the wreaths, cut the blue and white flowers out of the other and shaped the petals on these. I colored Winnie with alcohol markers and fussy cut her too.
Using my Cameo I cut 2 rings from cover stock card. I scored about half an inch from the top of one and glued this section to the other making a card base that had a hole in the middle. So that this would stand I cut the bottom half inch off the back one.
The center of the front of the card base was covered with acetate and I added the wreath over this covering all of the ring. The white and blue flowers from the second wreath were then layered on their matching flowers on my card.
Winnie was then adhered to the center of the card on the acetate. I finally added glitter to her hat and collar as well as the flowers on the wreath.


What I Used:
Stamping Card: X-Press It
Alcohol Markers: Copic
White Coverstock Card: Neenah Solar White Cover Stock 110lb
Actate: From my stash
Glitter: From my stash
Glue - ZipDry and Quicky Glue pen

The Digi Choosday Challenge runs for 2 weeks, it is always anything goes so there is no reason not to enter and you never know you may just win!

Looking for more inspiration? Then check out my teamies designs over on the Facebook page, you can also post your own Polkadoodles' designs on the Craft Stamp and Colour with Polkadoodles Facebook group

Thanks for stopping by, now go join the challenge!


Sunday, July 19, 2020

Just for Fun

Good evening! I wanted to play this evening, no reason for making a card I just wanted to play with stash I've not used yet.

I pulled out my Flower forming foam from Crafter's Companion and the Peony dies that came with it:


I made 3 flowers so then needed a card to put them on. I used Tonic Studios Petal Pattern stencil and Altenew ink and made a lace effect background. This was layered on to 2 different shades of purple cardstock and a white card base.
I arranged my flowers and adhered with hot glue to my card. I then used Crafter's Companion Stamp and Die Thankful for You collection, die cutting the thankful in the same purple as my layers


I love how it turned out now to decide who to give it to...............

Thank you for stopping by and if you love what you see let me know in the comments.