Hello

Welcome to my blog, a place where I can lose myself in a crafty haven. Pull up a comfy chair grab a cuppa and come and have a read. Oh and if you like what you see, stop by and leave me some love in the comments section

Followers

Sunday, March 26, 2023

Fawn Hugs

Good afternoon, we had snow and frozen rain yesterday - Today you wouldn't think so - although cool it's a nice spring day just in time for Spring Break!

I'm back with a card made using Stamper's Delights Chibi Fawn who's another cute member of this month's digital stamp and coloring club pack. 


I sized him to fit an A2 card and printed him on stamping cardstock. He was then colored with Copic markers and fussy cut leaving a thin white border.

My card base was matted with brown cardstock. I have these cute wood slices as digital images so I printed and fussy cut a heart shaped one - Hugs was stamped in to the middle. I added foam squares to the back of their and threaded some jute string through this to make a pendant. 

The heart was added to some leafy digital paper and the string fastened behind this.
I then used foam tape to adhere the paper to my base.
Finally Chibi Fawn was added again using foam squares.

Love what you see? Check out the blog posts from the rest of the team for more inspiration. Also join us on the Fan Facebook Group and share your designs there!

Join the Free Community too - Freebies, Challenges and more will be happening here but you can only access if you have joined us!

Thank you for stopping by. The clubs are open for you to join check all of them out here!  

Sunday, March 12, 2023

Is that Spring I can See?

Good afternoon is that spring that's around the corner? We've woken to snow the last few days but it's not hung around thank goodness!

Have you seen this month's Stamper's Delights club Images? Meet Chibi Fairy Under a Leaf if you have.


I started my card by printing off the image at a size to fit an A7 card base. She was colored with Copic Markers and trimmed to size.
I used some spring colored pattern paper to mat my card base and a sentiment stamp that seem to fit as she's not smiling!!
Her hair was amazing to color - Loys of ringlets - Wish my hair was more like this although not green lol. 

Love what you see? Check out the blog posts from the rest of the team for more inspiration. Also join us on the Fan Facebook Group and share your designs there!

Join the Free Community too - Freebies, Challenges and more will be happening here but you can only access if you have joined us!

Thank you for stopping by. The clubs are open for you to join check all of them out here!  

Friday, March 10, 2023

Gnome in a Box Garden

Hello, I've been a bit quiet on here but have still been crafting in the background. We are suppose to have a snow storm today so I'm catching up with things while keeping warm.

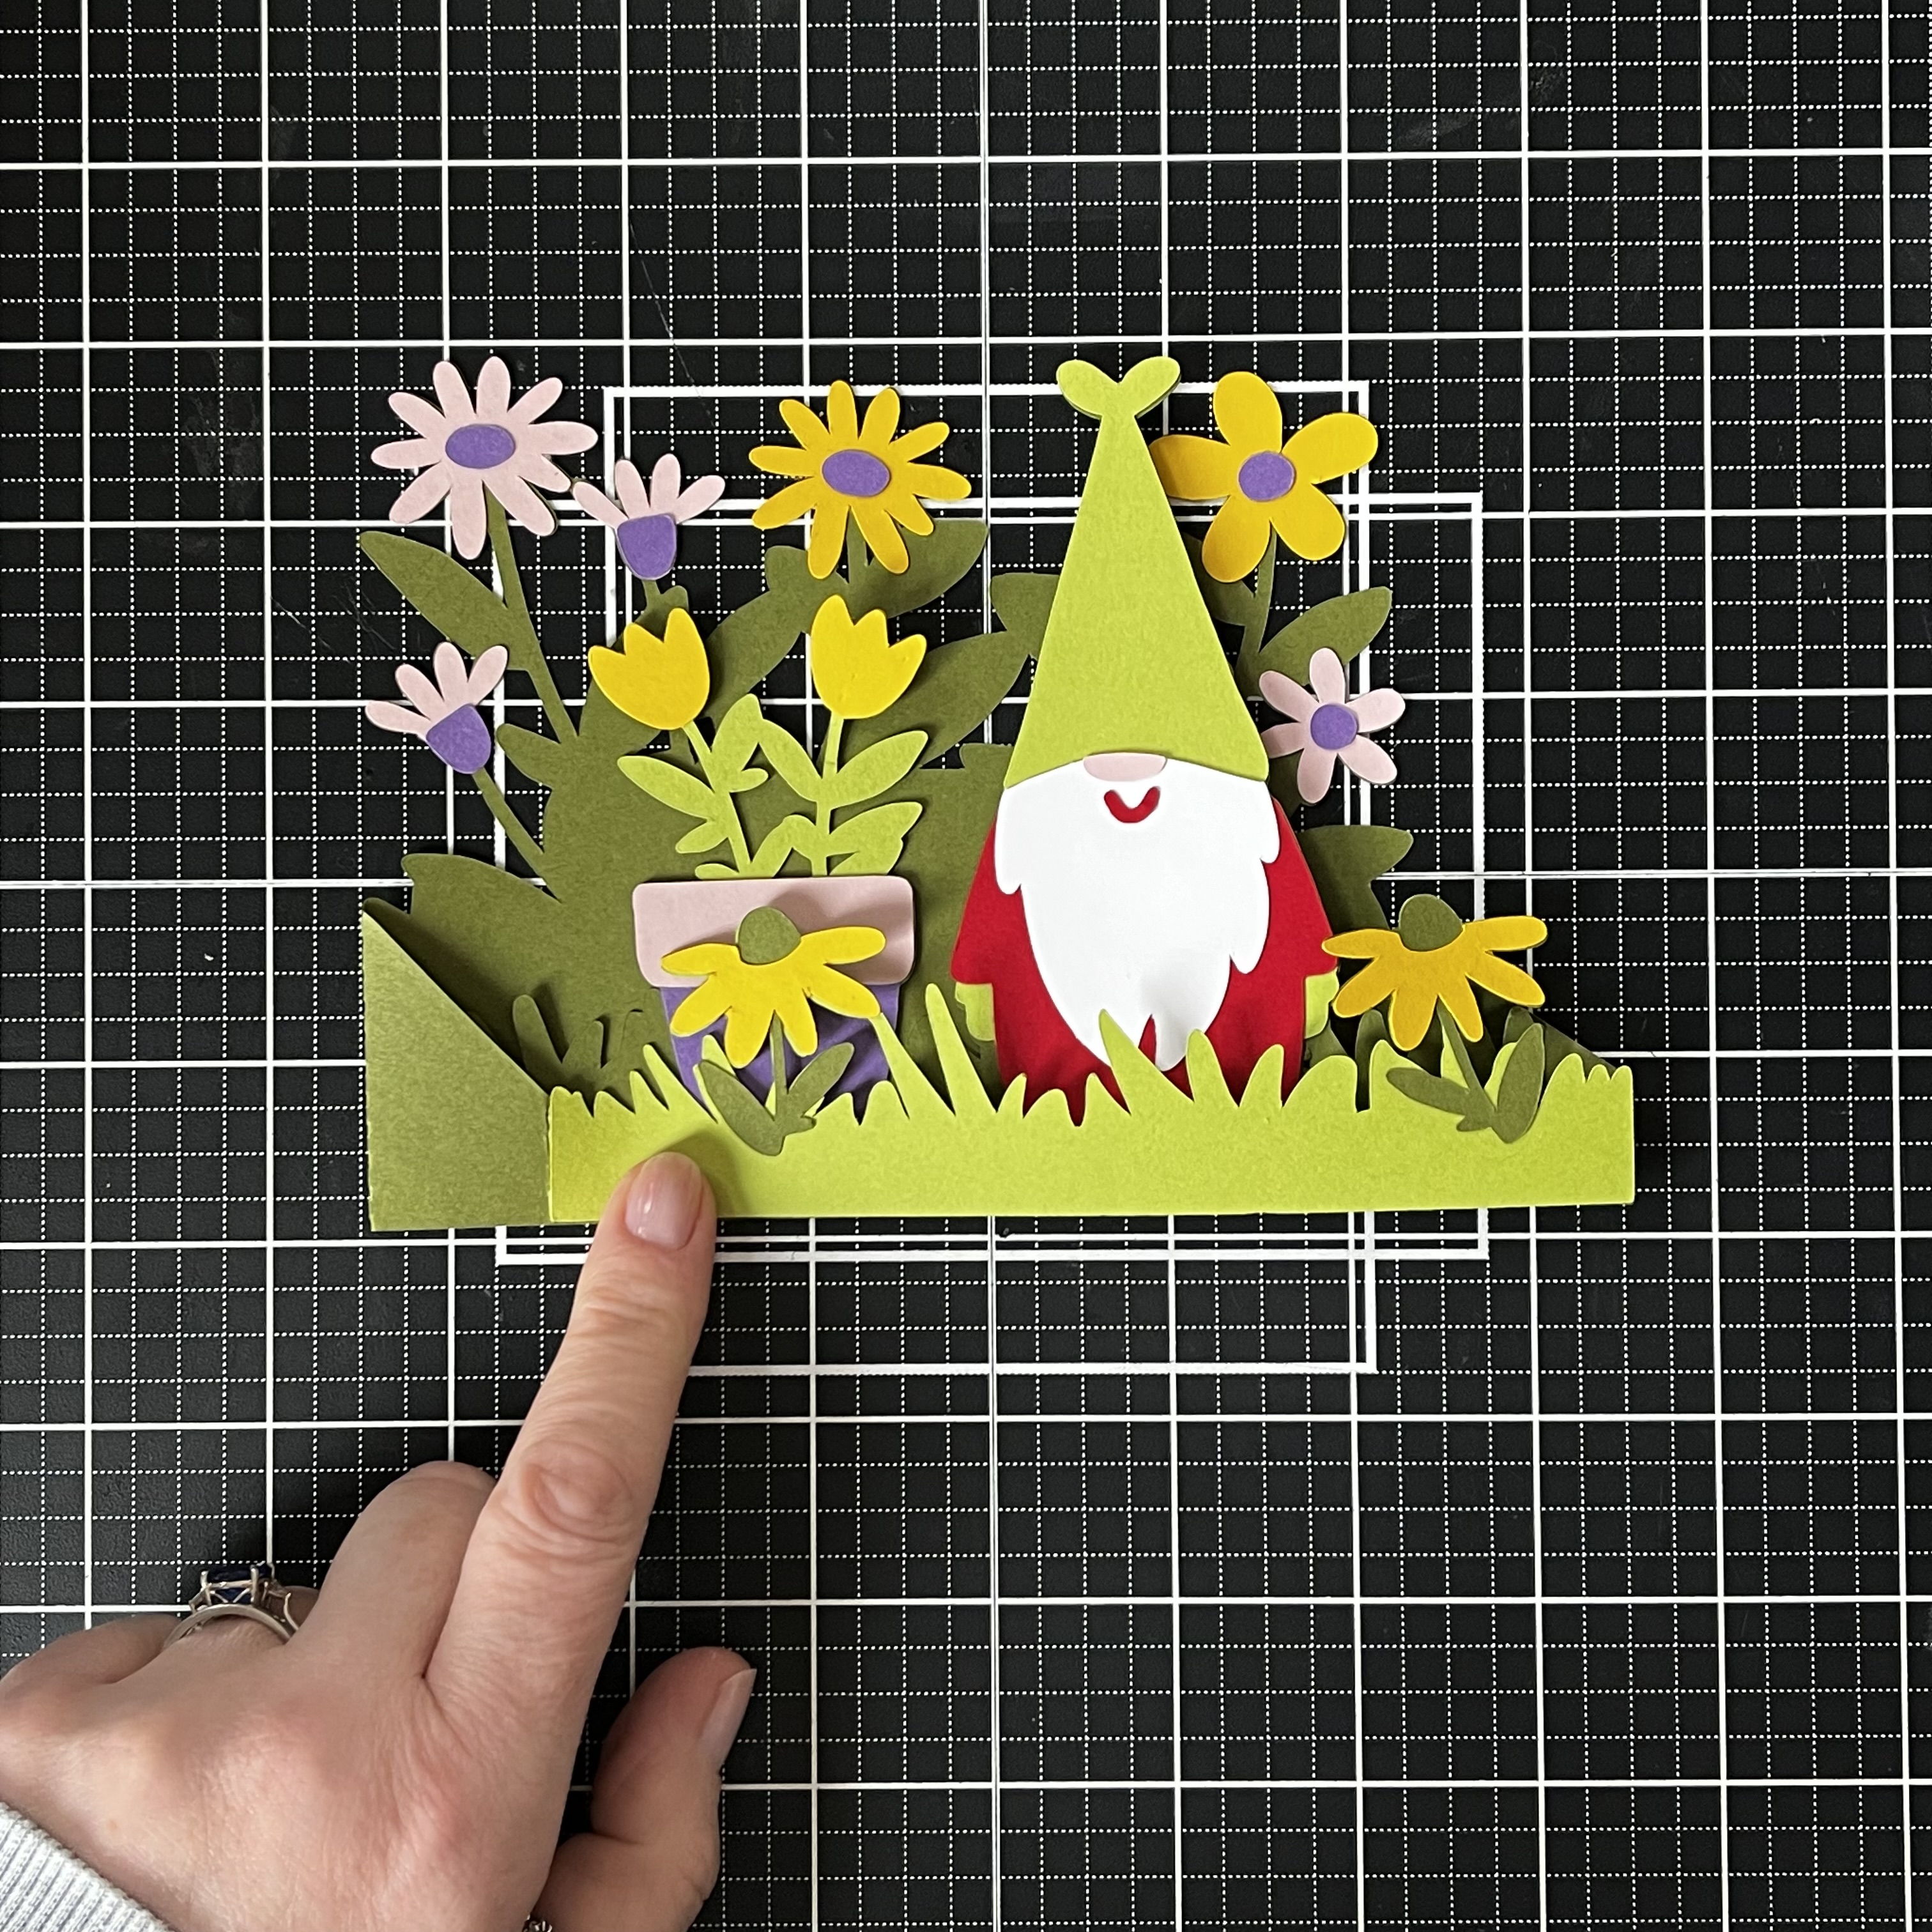
My post this morning is to showcase this super cute box card:


I made it using a Silhouette Design Store cutting file. The card stock I used is Pop Tone from Cutcardstock. This card is extremely affordable and comes in a rainbow of colors. These are the ones I used today:


After cutting all the pieces the box was easy to construct only needing TomBow Mono Glue to add the decorations and glue it together. Score lines are added by the cutting machine which makes it easy fold.

Oh and once the glue is dried the card folds flat so it will fit in a 5x7in envelope.


It then just pops back up again once you let go! The depth gives it stability to stand on its own and separates the layers enough to make it have a 3D feel.


Hope this has given you inspiration for your own paper crafting!

Friday, February 24, 2023

Wonderland Digital Stamp Club

Good afternoon! We have had a winter storm over the last few days so have been home in the warmth.

Stamper's Delights have some new stamp clubs and the image I have worked with today is from their Wonderland Club - Alice Reading is so adorable.


I colored the image with Copic markers and fussy cut around it. Using an A7 card base I matted it with blue cardstock then a paler blue gingham which felt very "Alice" like. I then colored a strip of cat themed backing paper, matted this with the blue card and added to the left of the card.
Finally Alice was added popped up on foam squares.

Love what you see? Check out the blog posts from the rest of the team for more inspiration. Also join us on the Fan Facebook Group and share your designs there!

Join the Free Community too - Freebies, Challenges and more will be happening here but you can only access if you have joined us!

Thank you for stopping by. The clubs are open for you to join check all of them out here!  

Friday, February 17, 2023

Pretty Little Clutch

Hello! we have had a crazy week of weather, Tuesday it was 52f and sunshine. Yesterday came another blizzard and the temps are in the 20s again!

Have you ever wanted to send a gift card but didn't want just a plain envelope or store provided card? Then this little clutch is perfect.


Stardream Metallic cardstock in Lagoon makes this extra special by giving it a sparkle.
I die cut all the components from Stardream Lagoon and Pop-Tone Strawberry Lemonade cardstock. 


The dies I use are from Concord & 9th's Classic Clutch Collection this also has stamps for the decoration.
The first step is to create the main part of the clutch the die cut full piece and mat. By scoring the parts and matting the Lagoon base with Pink Lemonade. 


This is the flap and back sections, part of the inside also has a mat. I leave this open at the top to form a pocket.

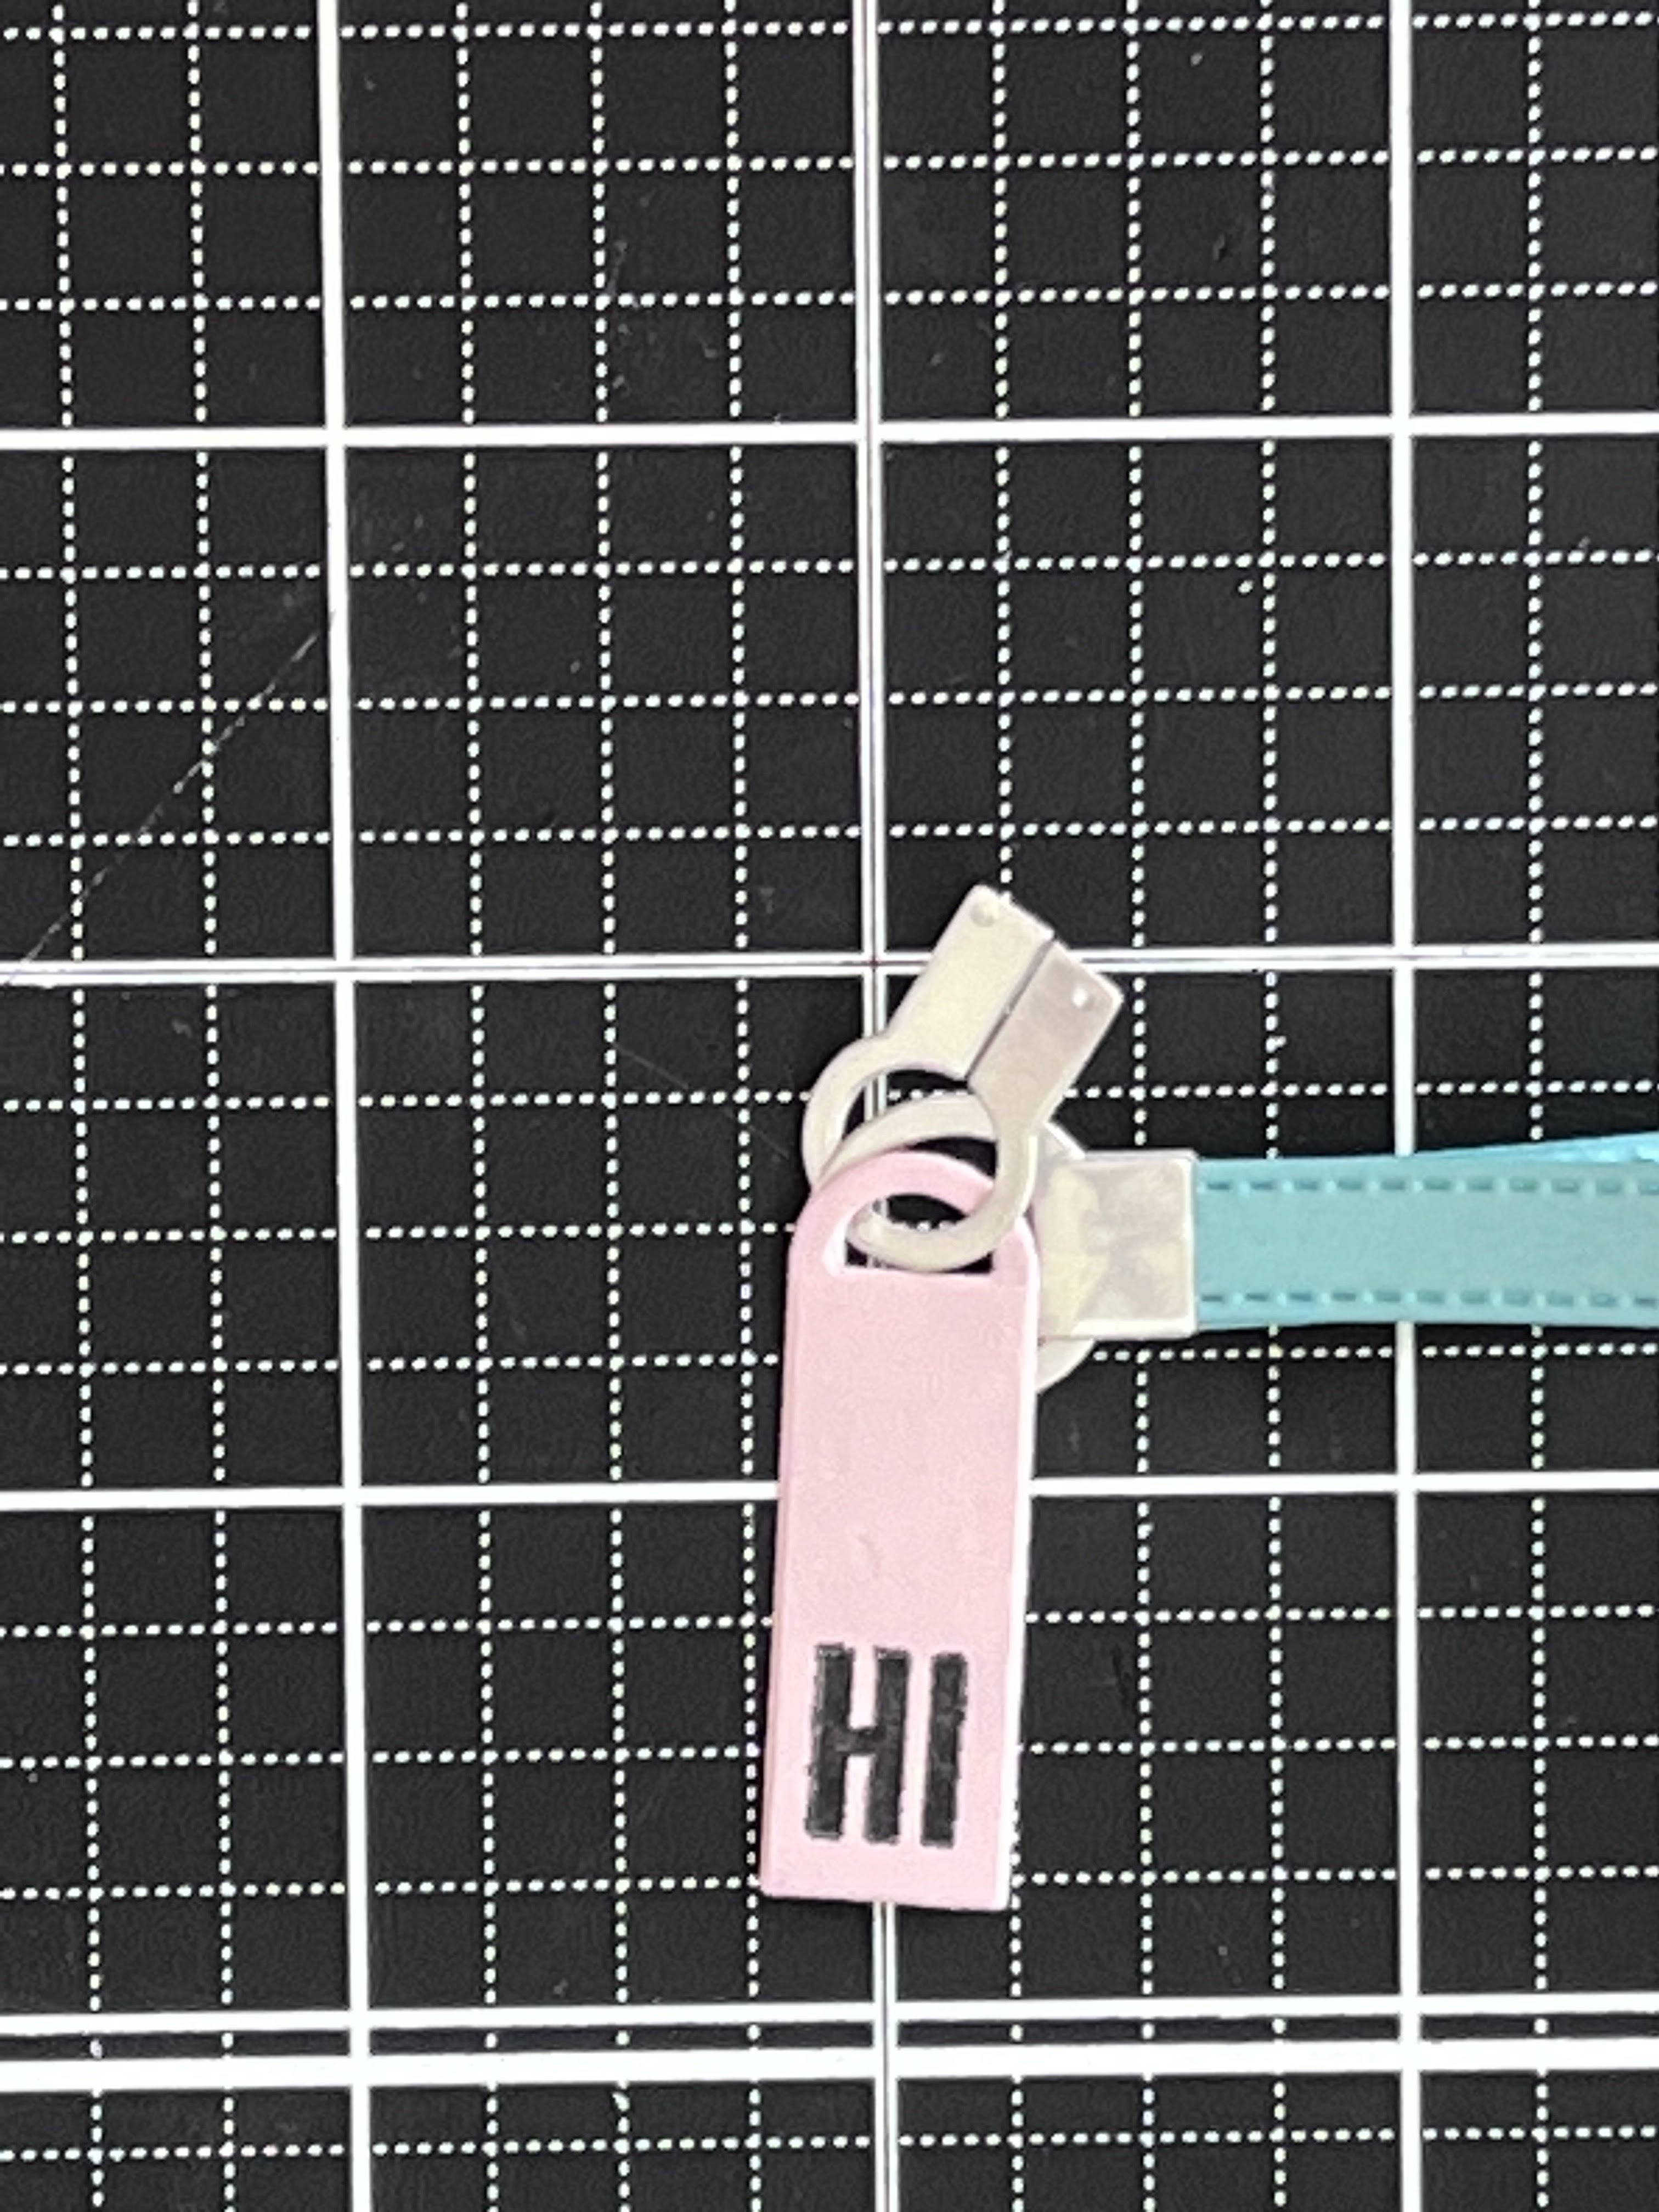
There is also a cute zip for pockets, this is from silver mirror card along with a heart pull. I add this to the back pocket of the clutch using wet glue.

The sides and bottom of this fold at the score lines and strong adhesive tape holds it in place.

Next I need to create the sides of the purse. Again these are cut using a die, they are then folded into concertina shapes.

I apply lots of tape on these as they need to be strong enough to hold the clutch in shape. The tent shape faces the outer edge of the sides to allow plenty of room for a gift card to fit inside.

They fit perfectly and still allow the piece of cardstock I placed inside to fit a gift card. Then you can use the main section for another small gift.

The clutch doesn't stay closed on its own so self adhesive Velcro dots are perfect for this. I place both parts together and apply to the flap of the clutch. when I then close the flap the second part adheres in the perfect place to hold the flap down.
The clutch has an adorable strap, this also has adorable tags and findings. I cut the strap in the Lagoon cardstock and the findings in silver mirror.
I then adhere this to the inside of the clutch which leaves the strap and tags hanging from the side.
Lastly the flap needs some decoration the word enjoy fits perfectly across the flap along with some die cut hearts. The outside as well as the inside looks pretty.
I just love the little zipper on the back.
I hope you have gained some inspiration from my post, If you have please tag cutcardstock on you Instagram or Facebook posts.