Good morning, Hope it's warmer where you are than here!
My post today is inspiration for an encouragement card using Maker Forte Products. My main image is using Maker Forte and Alex Syberia's Beautiful Magnolia stamp set.

This stamp is stunning on it's own but I wanted a background too so I'm sharing my process for this in this post.
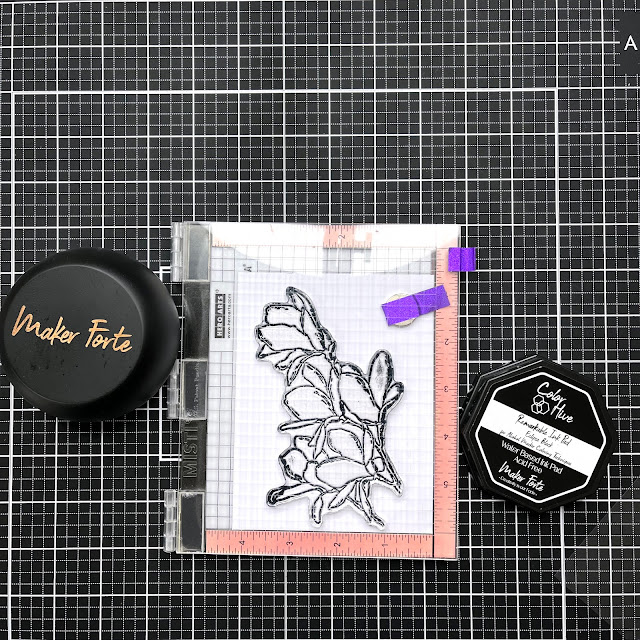
As I was going to be coloring with alcohol markers, I stamped it on to white card with Remarkable Eclipse Ink Pad.

I stamped it again on to masking paper and fussy cut this out making sure I had removed all the landlocked areas to. Some of the branches are fine so when cutting they came apart but this didn't matter as I could just lay the extra parts in place and they would stick to cover my image.
Once the image was masked I laid The Cobblestone Stencil over it and fixed in place with some tape and magnets.

Using Coral Keys Color Hive Ink I lightly blended the ink through the stencil - yes it's a cobblestone pattern but I think it looks great as a patterned background. I removed the masks to reveal my clean image.

I found an image of a magnolia branch online and chose the Copic Markers nearest to the colors as I could so I could color the flowers realistically.

Magnolia flowers grow on the tops of the branches so I decided to make a landscape card at this point. I colored the flowers, petal casings and branches in my chosen colors:

The sentiments included with this stamp set were a little small for the look I wanted to achieve. I decided to chose one from Be You Dahlia stamp set which says BE YOU AND YOU WILL BE FINE. I wanted this to stand out from the pink on my card so I used a piece of black card and heat embossed the strip using Color Hive Clear Ink Pad and Ranger Seafoam White Embossing Powder.

I then constructed my card, I covered an A2 Side Fold Card Base with pink cardstock. My image was trimmed to 4x5.5in and centered on the pink card, adhered in place with foam tape. I then decided to add some splatters with with the Splatter Rubber Stamp Style 1 and some pink ink.

Finally, I fixed my sentiment in place with foam squares.

Thank you for taking time to read my post, I hope I have given you some inspiration!
No comments:
Post a Comment