Good afternoon! We have had a winter storm over the last few days so have been home in the warmth.
Stamper's Delights have some new stamp clubs and the image I have worked with today is from their Wonderland Club - Alice Reading is so adorable.
Good afternoon! We have had a winter storm over the last few days so have been home in the warmth.
Stamper's Delights have some new stamp clubs and the image I have worked with today is from their Wonderland Club - Alice Reading is so adorable.
There is also a cute zip for pockets, this is from silver mirror card along with a heart pull. I add this to the back pocket of the clutch using wet glue.
Next I need to create the sides of the purse. Again these are cut using a die, they are then folded into concertina shapes.
I apply lots of tape on these as they need to be strong enough to hold the clutch in shape. The tent shape faces the outer edge of the sides to allow plenty of room for a gift card to fit inside.
They fit perfectly and still allow the piece of cardstock I placed inside to fit a gift card. Then you can use the main section for another small gift.
Good morning everyone! The weather here is so unpredictable. Normally winter it's snow snow and more snow. We've had some but it doesn't stick around for long!
Stamper's Delights is making changes and bringing you amazing new clubs. We have 4 new clubs for you to join.
Community Image Challenge Image - If you love challenges this is for you
Wonderland Digital Stamp Club - Creative Community, Challenge Image bringing this beautiful classic story to life in chibi/anime art style. 1 exclusive image pack each month. 1 exclusive Colouring page, 1 printable calendar and 1 printable sheet.
Digital Stamp & Coloring Club: Gives you access to everything - Creative Community, Challenge Image, Wonderland Digital Stamp Club, This includes Exclusive character packs: 3-4 image packs each month, 3-4 colouring pages, early access to presales, supportive community, behind the scenes & work in progress & sneak peeks.
Want all that and more:
Digital Printables & Stamp Club: Creative Community, Challenge Image Club, Wonderland Digital Stamp Club& Digital Stamp & Colouring Club. PLUS Monthly Themed: calendars, bullet Journal Sticker Sheet(s) & bullet Journal content like printable trackers/goals etc.
Want all that and MORE????
Then the Digital Art VIP club is for you: Free Creative Community, Community Challenge Image, Digital Stamp & Colouring Club, Digital Printables Club PLUS support Sessions, approx 400 + Stampers Delights digital stamps., approx 200 + Scrapper's Delights digital stamps & 2X year craft parcels with my limited clear stamp(s), craft supplies & one-of-a-kind art pieces.
Want a peek and what is included for February??? The Digital Stamp and coloring club includes these characters:
Hi, who is looking forward to the new Year? Are you planning on making any crafty resolutions? Mine is to send more cards 'just because!'
I'm starting that off with new year cards, my latest design is bright and cheerful yet classy looking.

I love hot pink and black together so Cut Cardstock Pop Tone cardstock in Razzleberry and Black Licorice are perfect.
My card begins with an A2 sized piece of Razzleberry which I place inside a 3D studded leather embossing folder.

The Pop-Tone cardstock embosses really well. Even with a 3D folder there is no cracking or creasing it just gives an amazing finish.

The other thing the cardstock is perfect for is foiling. One of my favorite techniques for a classy look is foil. I do this in a number of different ways but today I used my Spellbinder Glimmer machine. The hot foil plate is a very ornate sentiment and looks great in silver against the Razzleberry.

Now my elements are ready I am building my card. Trimming 1/4in off both length and width of my embossed piece gives room on and A2 base for a mat. As I said black and hot pink go so well together so my mats are in the Black Licorice.

These are cut 1/8th inch smaller than my cardbase which gives me a thin mat. I much prefer just the hint of a mat to a wider one.

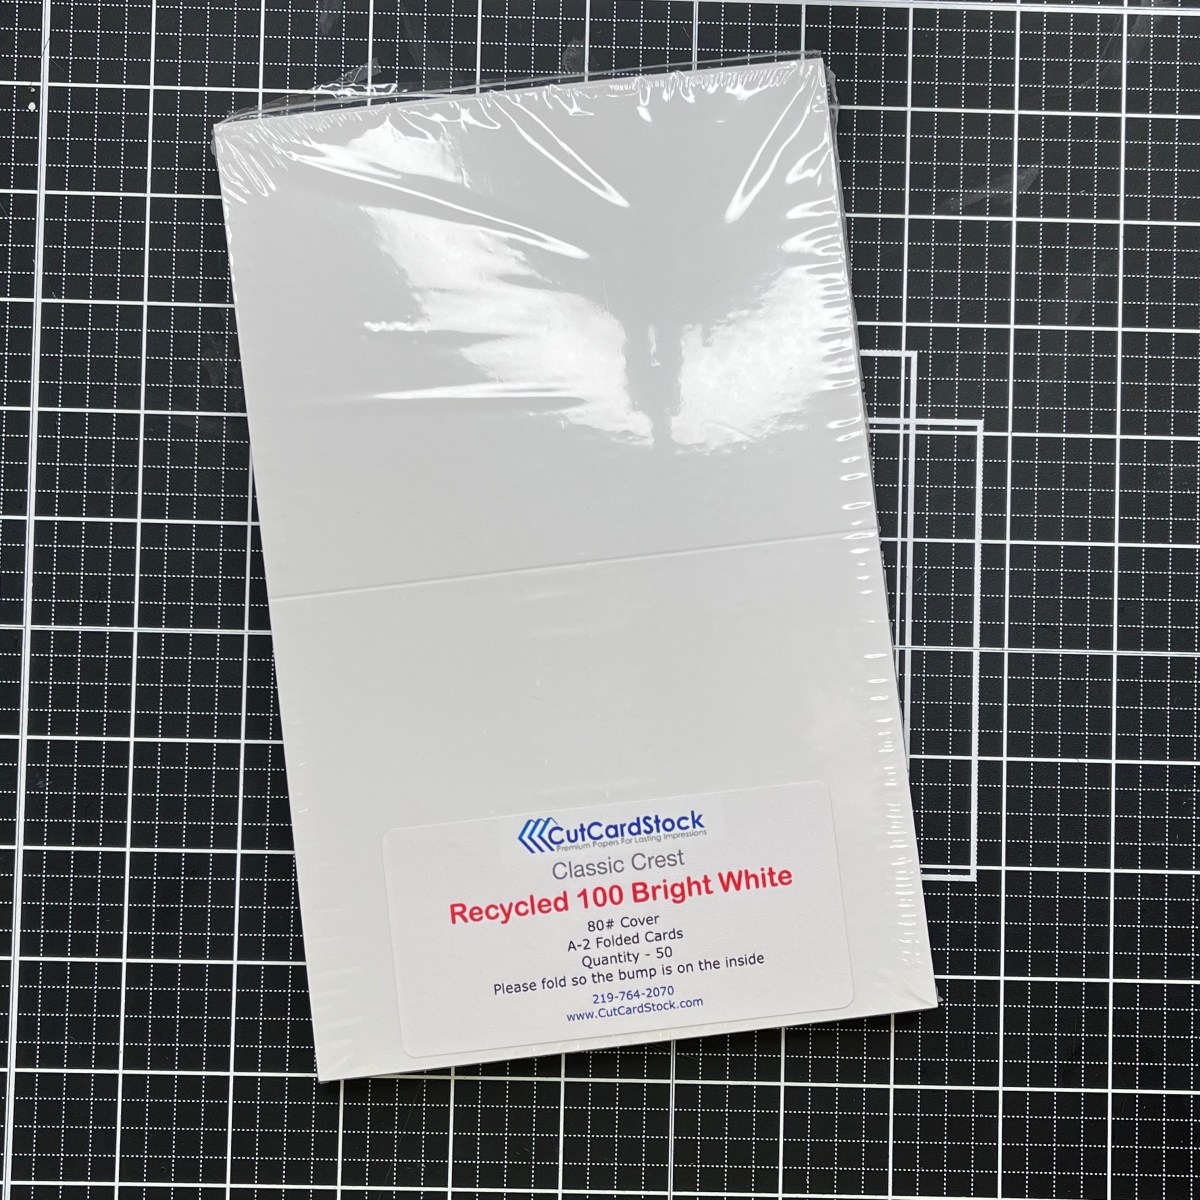
The Classic Crest Recycled 100 Bright White Card Bases are heavy enough to take the weight of the Pop-Tone cardstock without buckling.
Once my mat is in place I can add the embossed panel. This is heavily embossed so I used wet glue, this gives more grab than double sided tape.

My sentiment is my focal point. It has a mat of black cardstock before I adhere it to the center of my card. I did contemplate making this a portrait card but think the sentiment looks better on a landscape orientation.

Foam tape holds the sentiment in place. This not only gives me more dimension it takes makes the embossing look deeper by casting shadows.

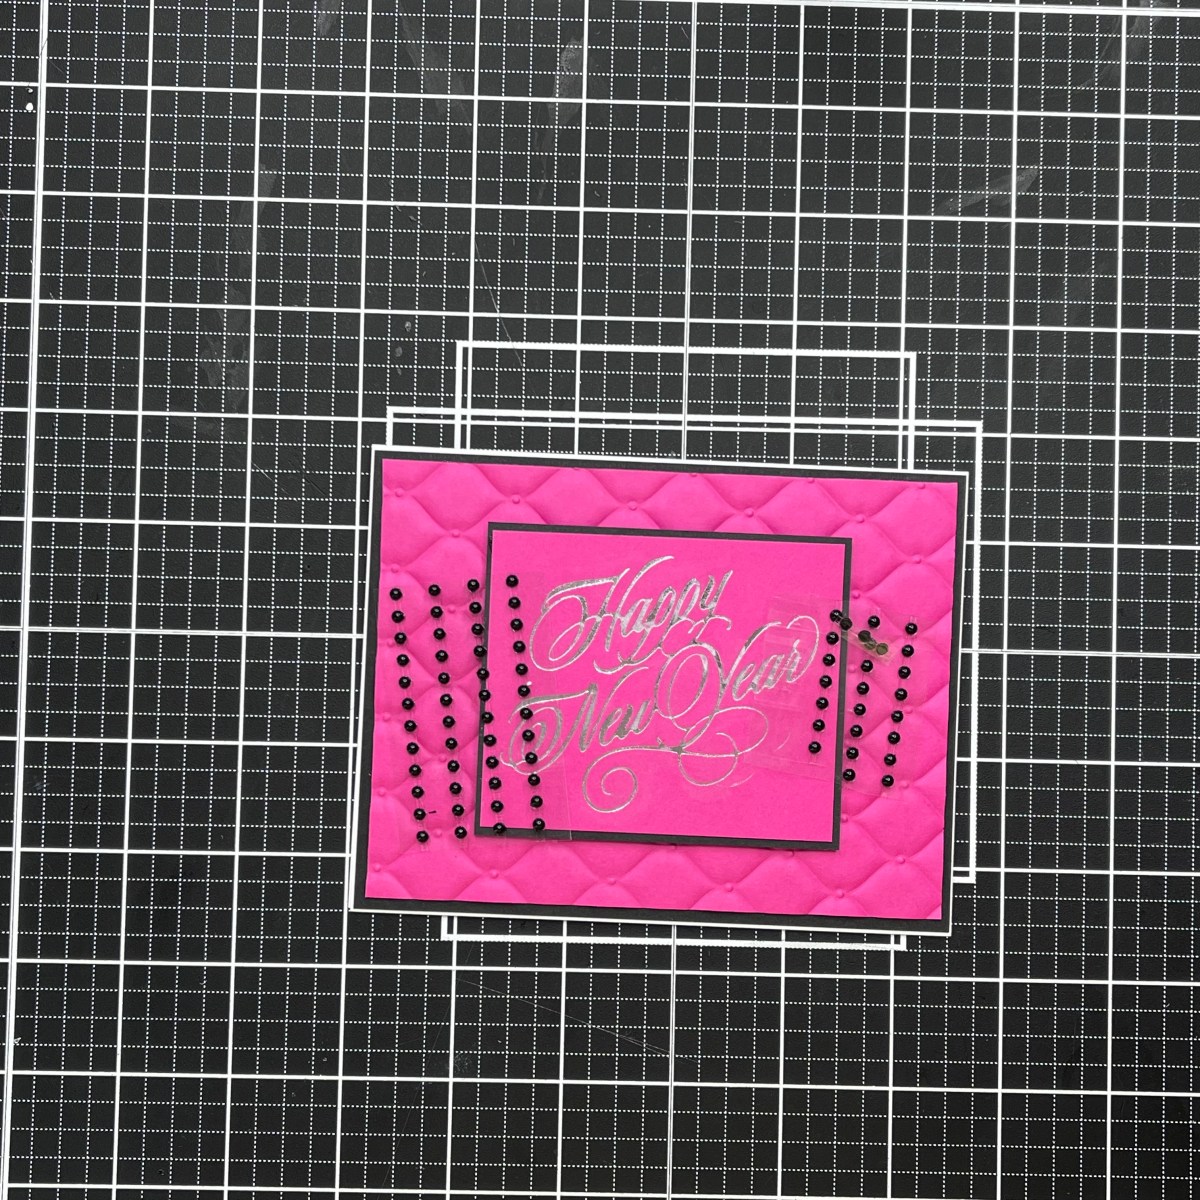
Finally to accentuate the cushioning of the embossing I added black pearls in each 'button' area.

These pearls are on an adhesive strip. I don't want any of the adhesive to show and they are so tiny it was difficult to cut around them. They are removed from the adhesive and using a fine tip bottle, glue is added to the card to fix the pearls in place.

I hope everyone has an amazing new year and you get lots of inspiration for you crafting here on the Cut Cardstock Blog.
Hello! The holidays are almost upon us. Who is ready for Christmas? We are just about there - presents to wrap and some food to buy!
Who love's to receive candy at the holidays? There is always lots of it around in our home and what better way to give it as a gift when decorated with hand crafted wrappers. My family love to see what I have come up with.
This year I have chosen some little critters to hold a small treat for everyone.

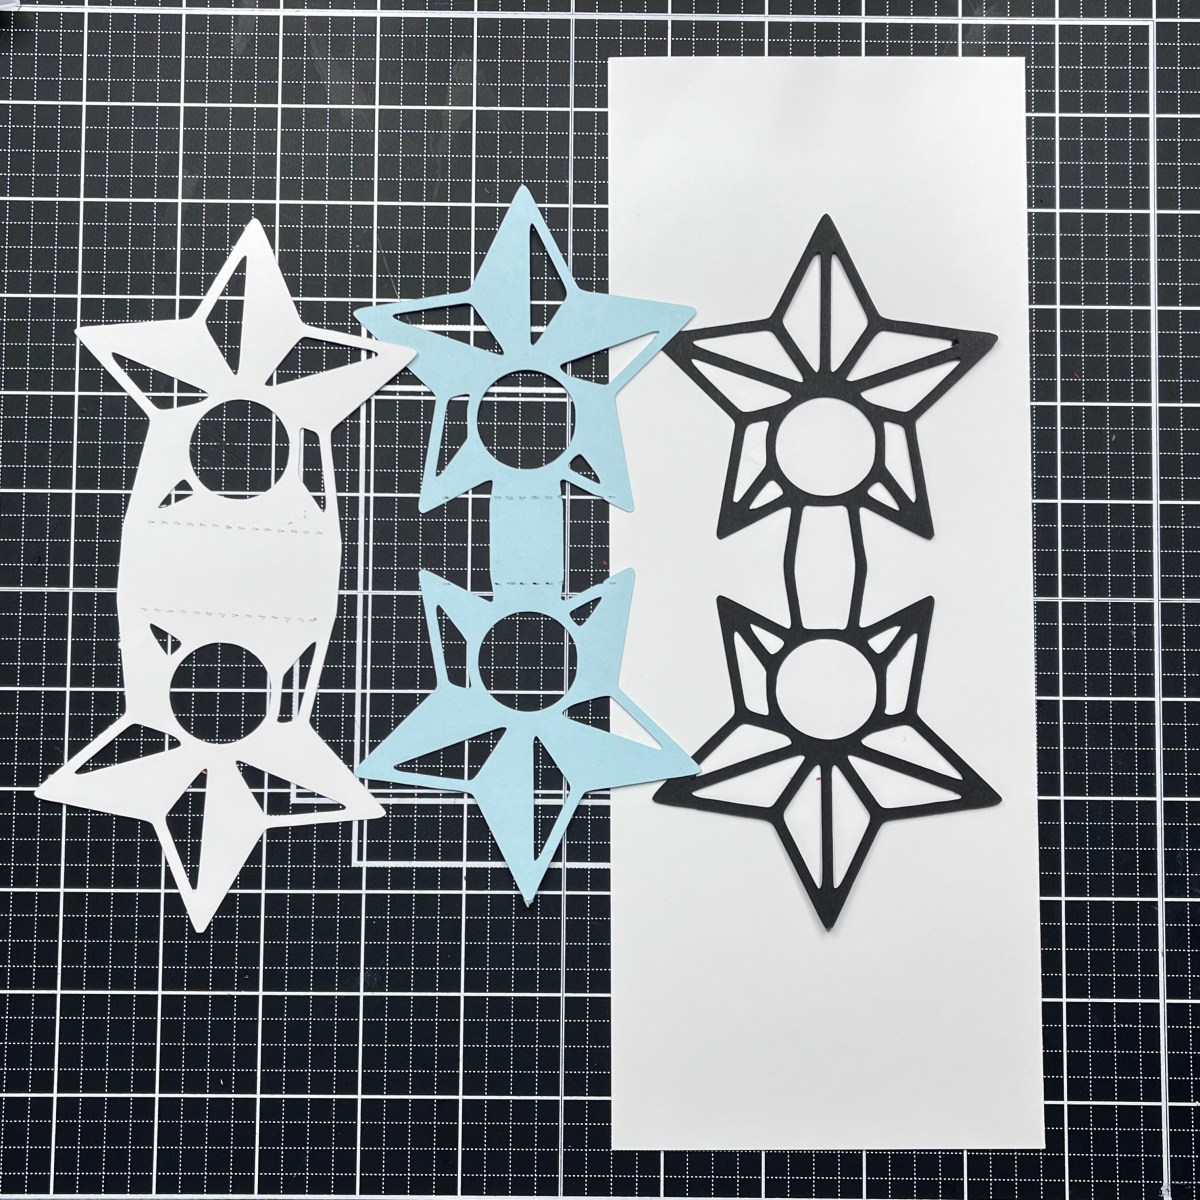
They are very simple to line up and by using wet glue I can have some wiggle room to make sure the layers all line up correctly.

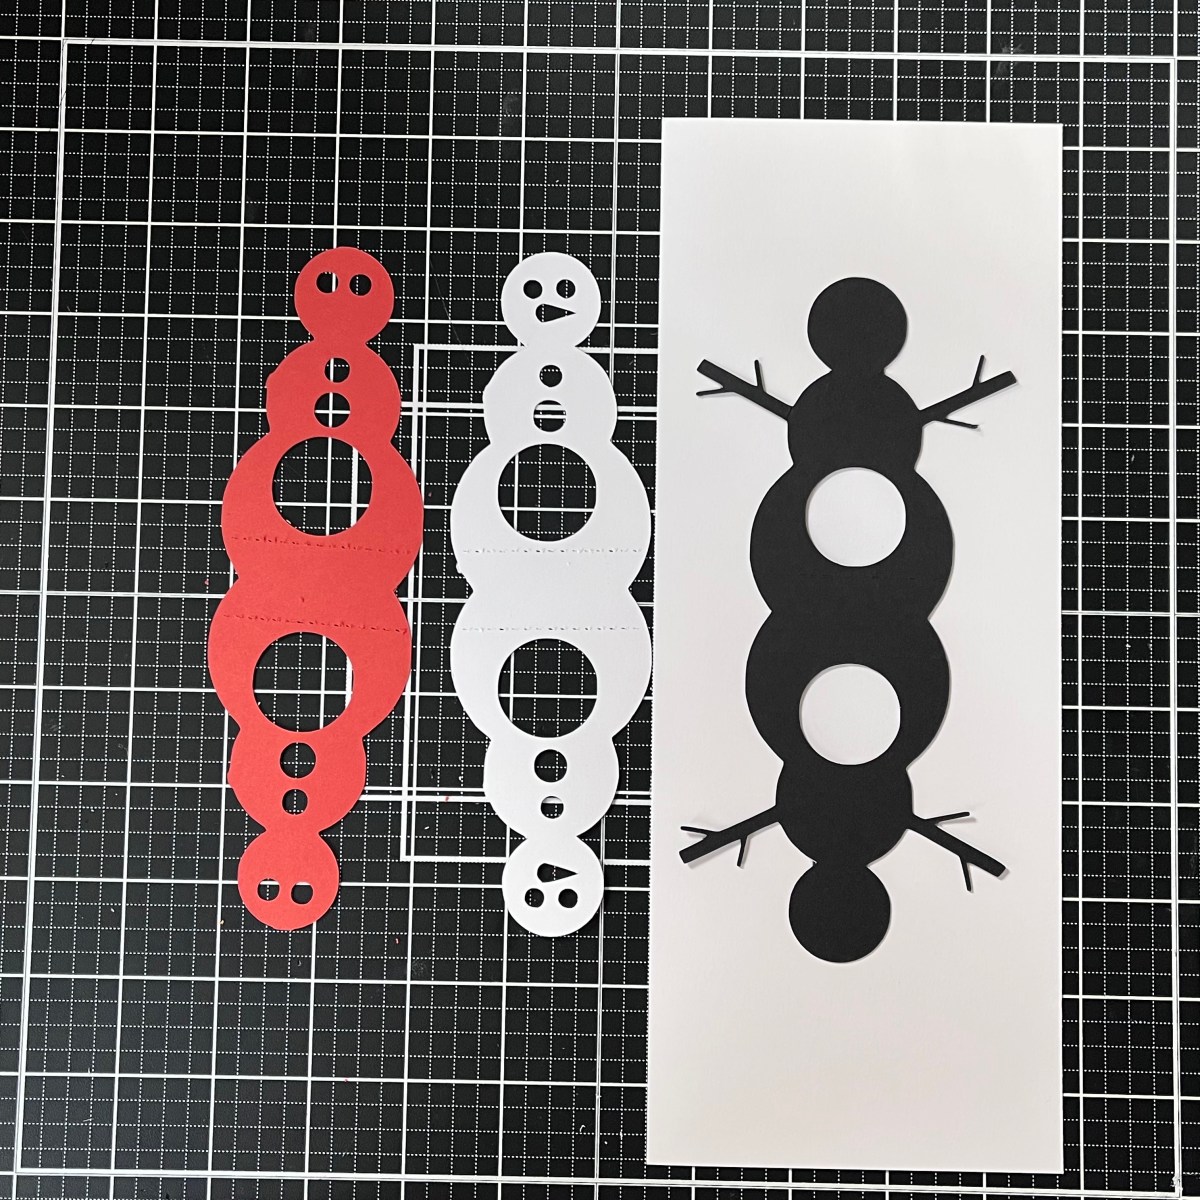
The little snowman is next. He has 3 layers Black Licorice for his eyes and coal buttons, Tangy Orange for his nose and of course Neenah Classic Crest Solar White for his all over color.

Even though his nose is only a tiny section, each color a full piece so that the end result is flat with no uneven surface.

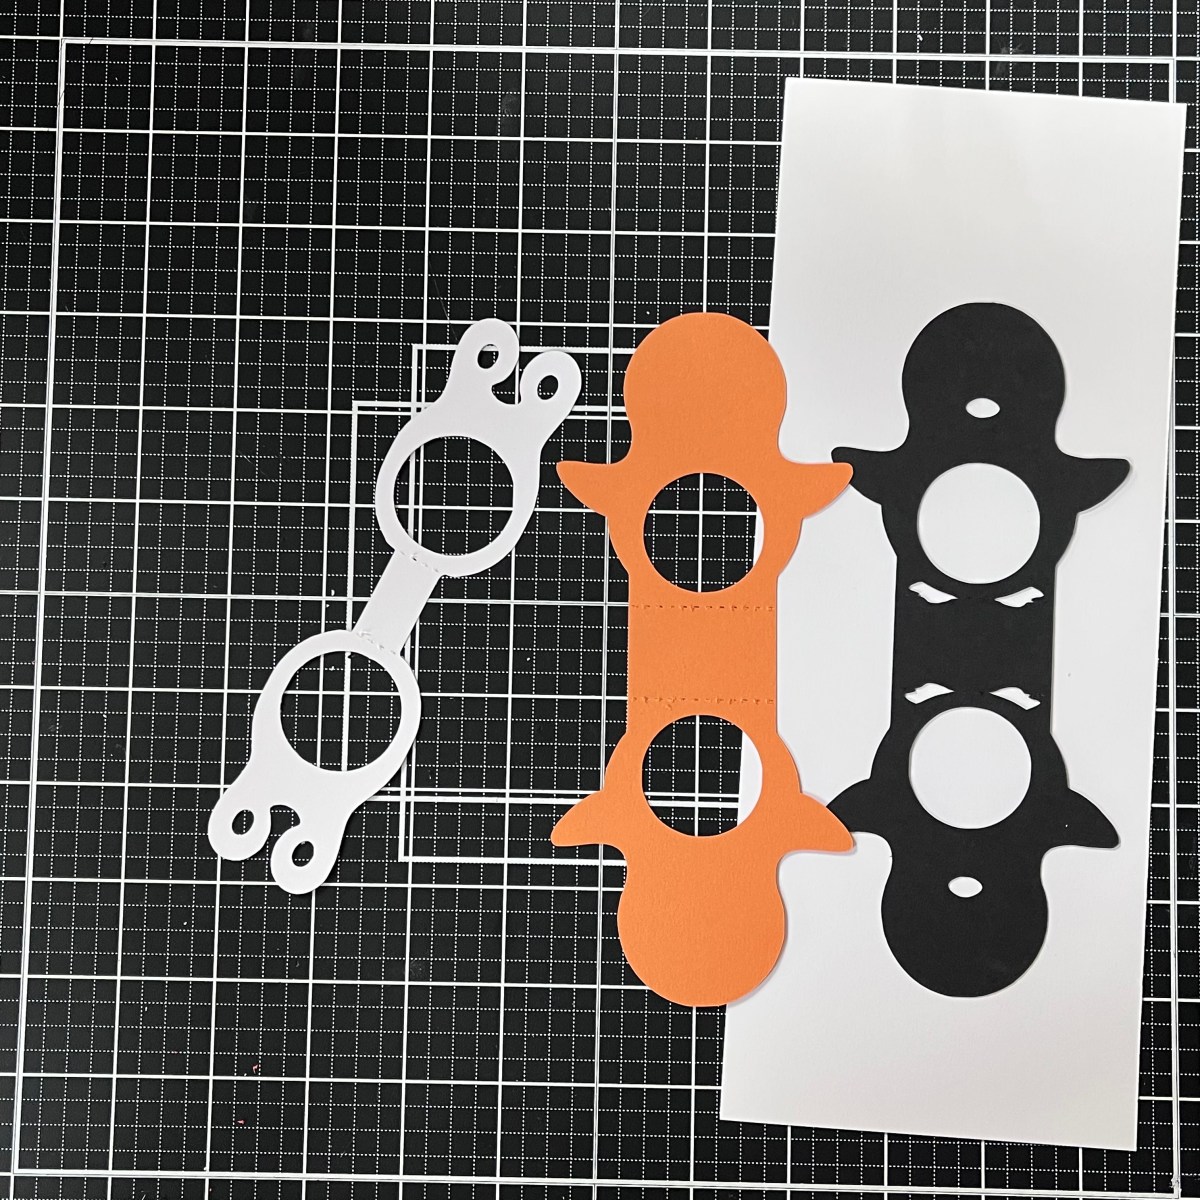
Next comes the penguin, he is my favorite. Orange Fizz, Black Licorice and Neenah Classic Crest Solar White make him come to life.

The piece of white cardstock in each of these is only there so the black section shows against my mat. Mr penguin has orange feet and beak and of course his black and white body.

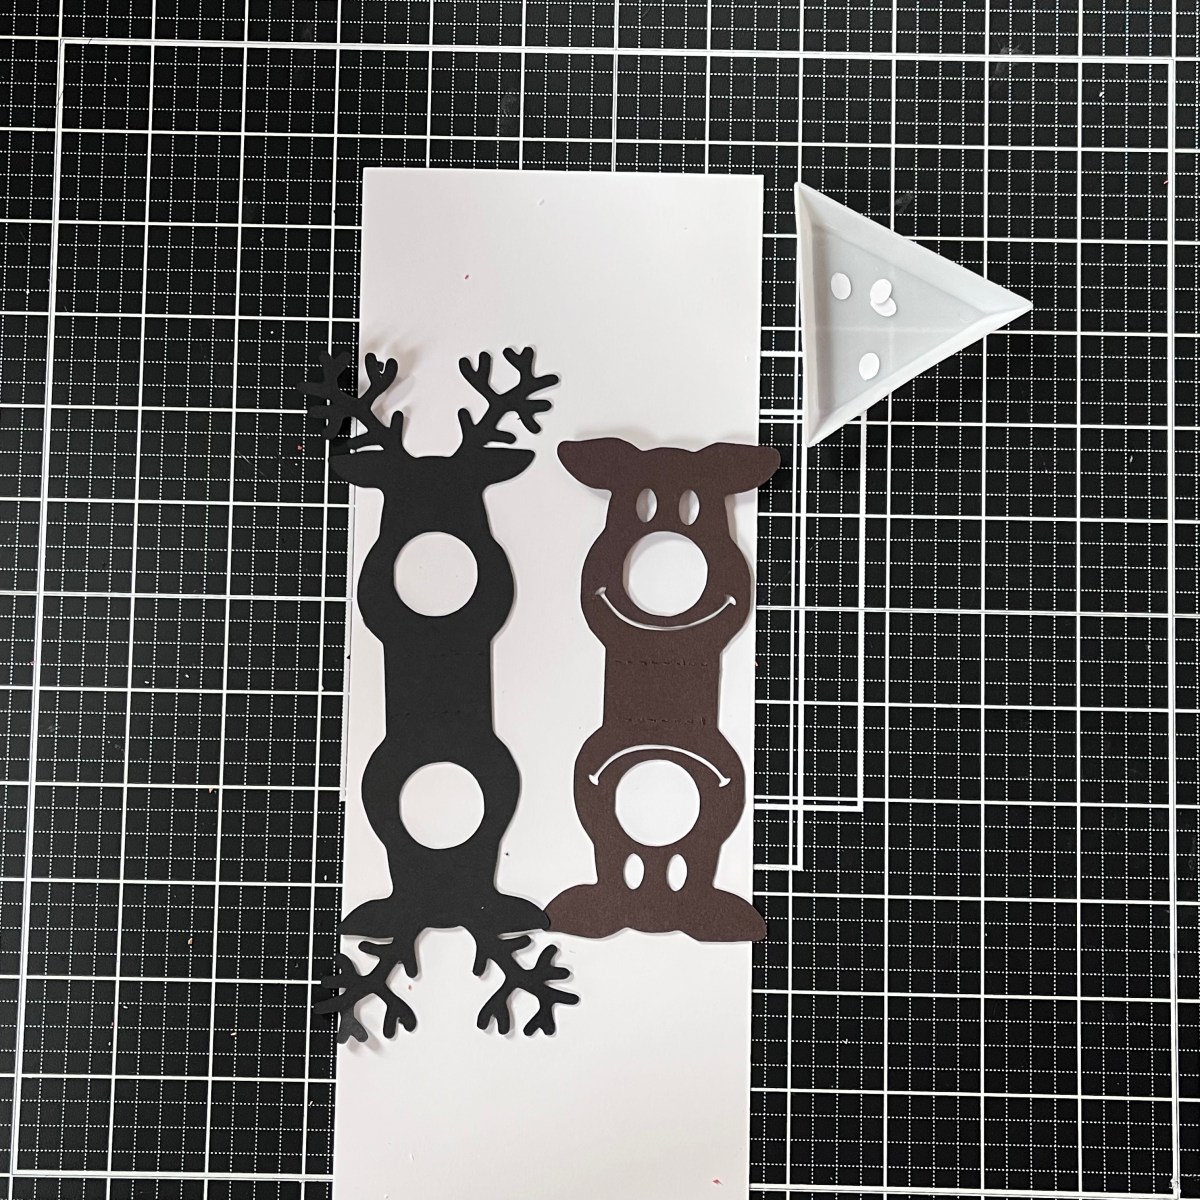
We can't do Christmas crafts without a reindeer. There are only 2 colors for him: Black Licorice and Hot Fudge.

Once I adhered the layers together I realized that his eyes were very vacant. I had saved the waste from the penguin's face and the eye piece fit so well in the reindeers eye sockets.

A little black marker and white gel pen makes him more friendly.
Now to make them in to candy holders. Each shape has 2 score lines so they bend in to shape.

The popular truffles fit well well in the holes of each shape, you can also use round lollypops. Once the candy is in position I can glue the top of each shape. Again I use wet glue and hold them together with a paper clip until dry.

Rudolf now has his red nose. I intend on adding one of these to each of our stockings as a little extra surprise.

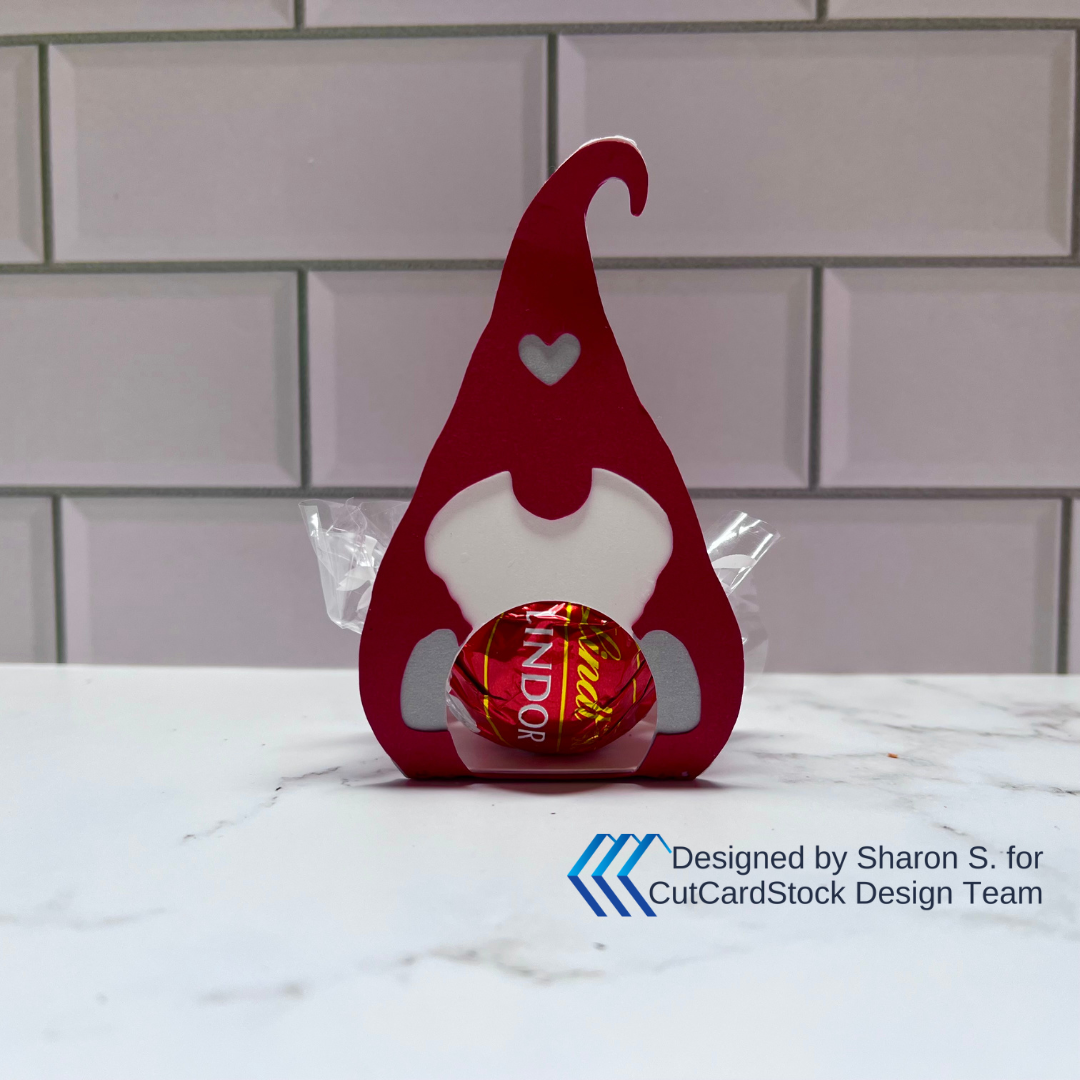
Oh I have made a little extra one since I did my tutorial photos, since gnomes are popular I had to add one to my little candy family.

He actually looks like he has fairy wings with the wrapper of the truffle.
I hope I have given you some inspiration especially if you need last minute crafty holiday ideas.